SB2U Vindicator – Accurate Miniatures
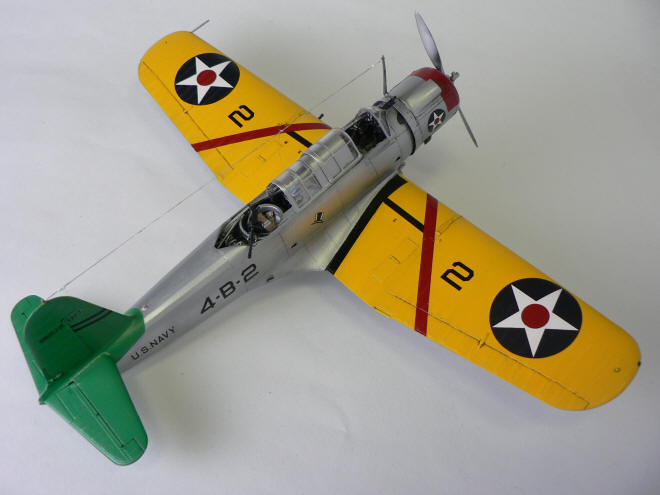
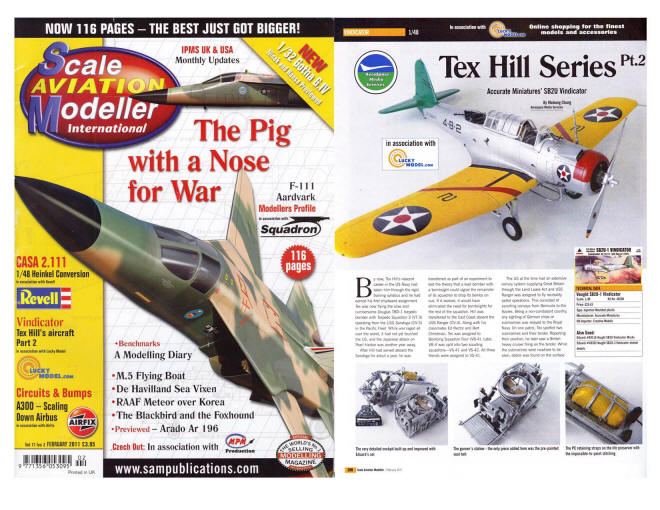
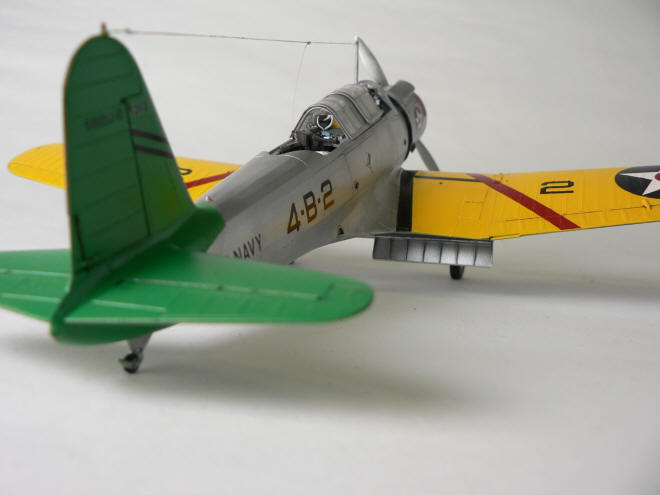
Accurate Miniatures Vindicator in Yellow wing prewar markings. This was built as part of a Tex Hill series in Scaled Aviation Modeller and published in Feb 2011.
Repainted to Tex Hill aircraft 2010
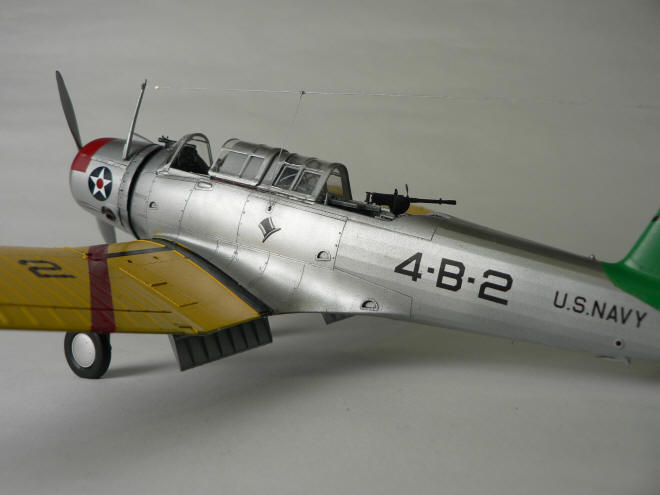
Much has been said about Accurate Miniatures Vindicator kit, but at the end of the day, it is the only 1/48 scale kit of this plane. The kit comes in the familiar sturdy whiteand yellow Accurate Miniature box. Clear parts and decals are boxed separately underneath a cardboard drawing of the plane. Included in the kit are canopy masks and PE frets for the seatbelts. You have a choice of an open canopy or a one piece closed canopy. Accurate Miniature always provided their instruction sheets in booklet format that had much more written instructions than other manufacturers. This text is crucial to read for a smooth build. This is especially true for this kit as the diagram have mislabeled or simply missing labeled parts. The markings are from Yellow-Wings Decals for the Vindicator – #48-008 and 48-009.
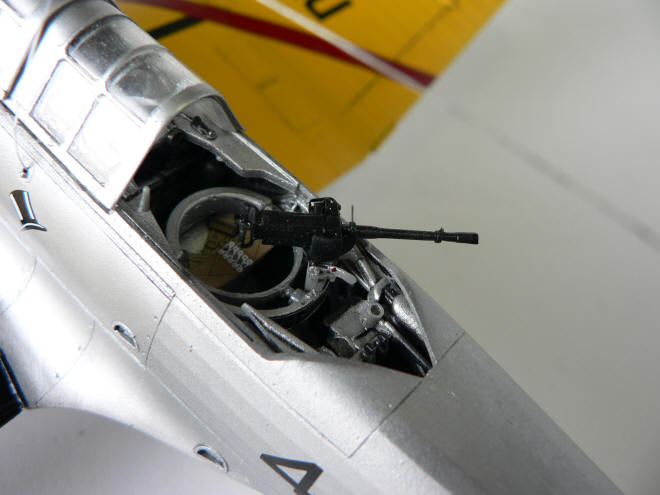
The build as usual starts with the cockpit and Accurate Miniature has crammed more details into this kit than their other two (SBD-1 and the F3F) that I have built. However, since I have the Eduard color PE fret also, it was really just gilding the lily. The Eduard PE does have very nice throttle quadrants, extra switches, and its usual replacement instrument panels. There were other small details that I elected not to use as it would have been lost once everything was closed up. The life raft tie-down straps were nice though.
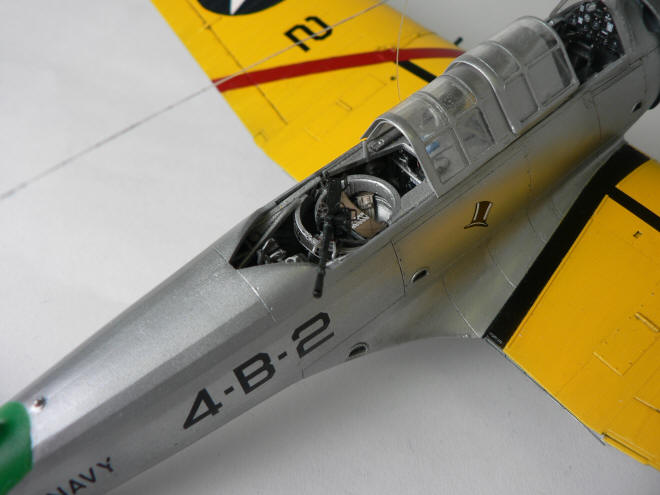
The cockpit has some issues with sink marks; these were especially large at the footrest and oxygen bottles. Some filler however easily remedied them. All the major components were painted Tamiya Aluminum, and with hindsight I should have used a different paint as the Tamiya metal acrylics tend to be quite grainy. The life raft was painted German Gelb and the oxygen bottles a bright green. The rest of the details were picked out in flat black and white. The only extra detail I added were some wiring beneath the radio between the rear gunner and pilot. The final piece I added here was the RDF antenna loop, which was painted half black, half white based on my references. This I proceeded to break of twice during the build and was eventually lost. I later replaced it with small gauge solder after the build was almost complete. This was one piece better left off until the end.
The problem with the cockpit is that the tolerances are very tight and I couldn’t close up the fuselage. The main culprit seems to be the upper and lower instrument panel supporting side struts. I finally resorted to cutting off these struts as they can’t be seen when the fuselage was closed and using a hidden metal struts in the middle to hold the two panels together.
As I received a kit with a later mold where the infamous fuselage sink marks were corrected, I saved myself some work there. The Eduard PE set I have also included dropped flaps, which looked like a great deal of work including cutting out the kits molded in flaps. I was going to skip this part as I was a bit intimidated at first. However, after realizing the difficulty fit with the original the wings and flaps I took razor saw in hand and proceeded to cut out the flaps. Folding the PE flaps required some patience; my PE folding tool came in real handy here.
The rest of the kit came together without further difficulty except for the canopy. First, the supplied canopy masks were ill fitting in certain areas. I used Eduard’s masks instead. Then despite the separate pieces provided to pose it open, the pieces are simply too thick to fit together in an open position. I finally resorted to sanding down the bottom of the two rear canopy pieces to make everything fit.
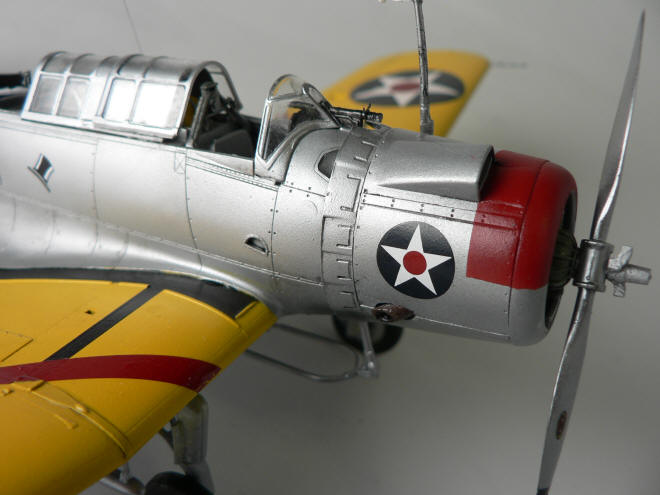
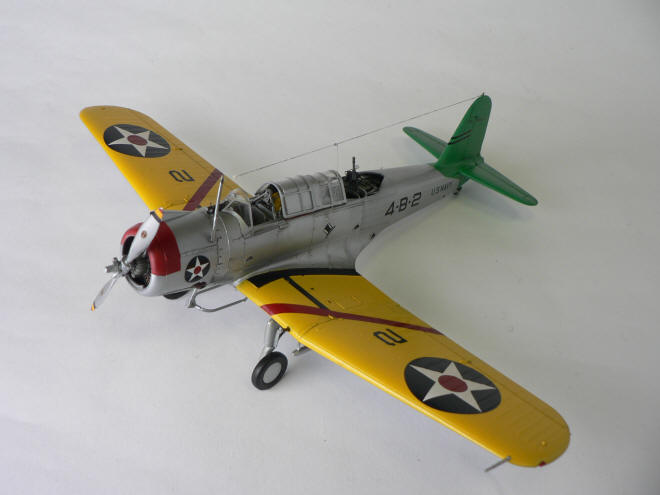
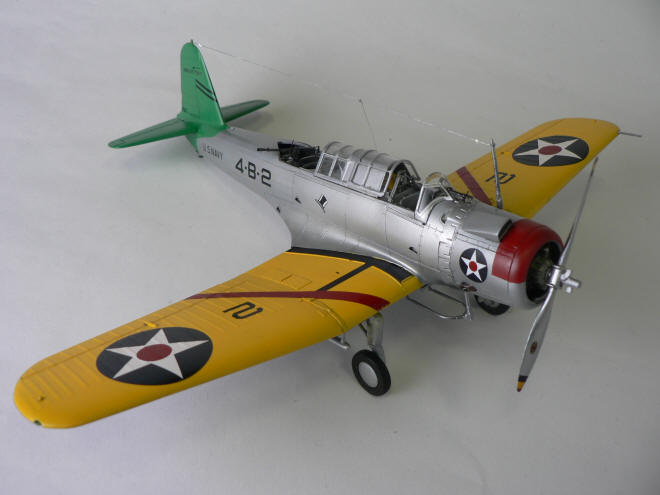
The painting started with some Tamiya gray primer as I was going to use Alclad Aluminum as my silver coat. Note that these planes had both metal skins and silver paint over fabric, so be careful how ‘metallic’ you make the different parts.
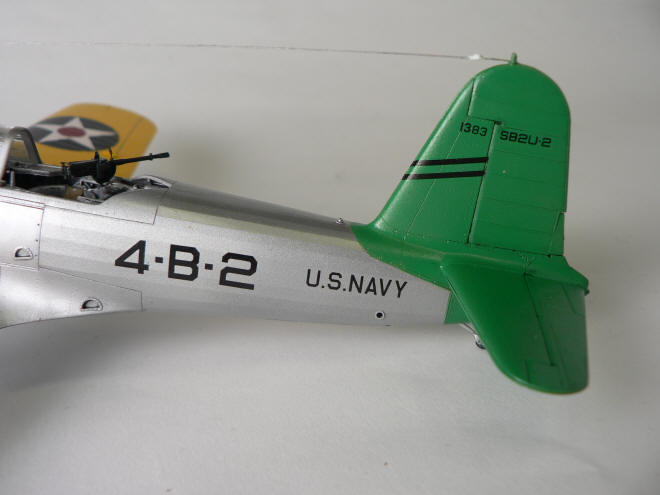
USS Ranger planes all had Green tails, so this was masked off for paint. The wings were then sprayed with Insignia yellow with a few drops of orange to simulate the proper yellow color. Instead of using the decals for the wing walkways, I decided to paint those also. After a coat of Pledge Future, all the decals were applied. These decals were very thin and responded well to a coat of Microsol. I applied a wash of black oil along the ailerons and wing folds areas. As these planes were well maintained during peace time, I used a much diluted amount of brown oil wash to bring out the panel lines a bit but otherwise kept the plane very clean. A slight spray of thinned Tamiya smoke was applied as exhaust stains and the whole plane was toned down a bit to a semi gloss with a mixture of Future and Tamiya flat base. At this point, adding the antenna and pitot completed the aircraft.