
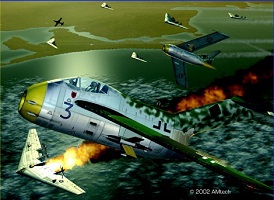
Focke Wulf TA-183 – AMTech
This was a great model put out by the fairly new company AmTech (at the time, unfortunately, its no longer with us). Being a “Luft ’46” plane, there wasn’t a great concern or need to get all the reference material right. The cockpit detailing was very good, and easily brought to life with drybrushing and some careful color placements witha 10/0 brush.
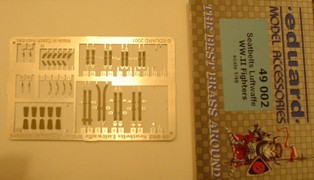
I’ve tried out Eduard’s new prepainted photoeteched seatbelts. I usually don’t use photoetched belts, preferring to Hitech photoetched belt buckles & webbing fabric. As I find photoetched belts too 2 dimensional in appearance. But honestly treading and painting the fabric through those tiny buckles isn’t easy. Now Eduard came out with these new seatbelts sets about year back. They solve the 2 dimension problem by having the buckles already attached and then you fold them over onto the belt. The lapbelts consists of 3 pieces for each side, and you get a choice on how the excess fabric droops, left or right. The final catch is that they are prepainted and have details such as stress point stitching that would be almost impossible to replicate (well, at least for me). One set comes with enough material for 5 different seats. Here’s the seat installed on the finished model, very nice effect
You may notice the open cockpit, the kit actually only supplies a one piece canopy and to displayed the interior one must cut open the canopy. I use a razor saw and it wasn’t too difficult as they give you a nicely engraved separation line. I did cause a slight hairline crack (hopefully not too noticable) because I didn’t reinforce the bottom (i.e. clay) when I applied pressure. Once you get over the scary part of actually applying the saw, it wasn’t too bad
The the actual main parts of the body went together smoothly with no putty needed anywhere. The next steps were washing and drybrushing the landing gear openings. This was followed by the standard camouflage, future, decals, wash, and flat coat treatment. The panel lines were very well ingraved and took to the wash easily. Finally the missles and landing gears were added.