
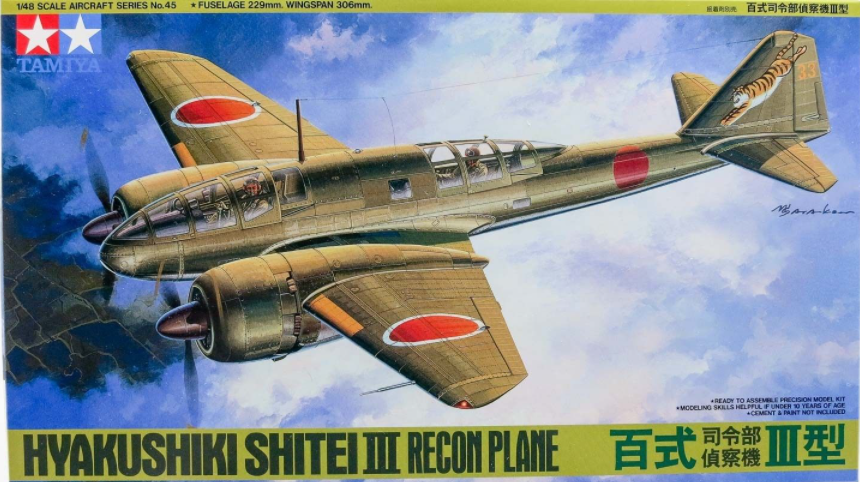
Mitsubishi Hyakushiki Shitei Ki-46 III

This is probably one of my older kits sitting in my stash and the only one that I ever started, but put it back in the box after just painting the cockpit. There was so much clear cockpit that I froze trying do as much research as possible, until I decided I couldn’t do the details justice.
Luckily, a months earlier, spotted the Eduard PE zoom kit on sale and with Finescale Modeler japanese group build going on, it was time to take the box back out.
The cockpit was based coated with Tamiya IJA cockpit green, and then went to town with the PE. Felt especially dedicated, so I actually used every piece possible, including all the small throttles and switches. A dark brown oil wash was added to pop out the molded on details. Went really heavy so that things can be seen after the cockpit iclosed up.


After all that, it was still lacking, so added the wiring harnesses and using an old PE and plasticard, added netting on the cockpit side.


The observer’s rear area needed attention, references show mess of hoses and wiring, I replicated it with solder. Didn’t need to go too crazy as it’s somewhat dark there once the cockpit is closed up. The Camera also was somewhat bare, so spare switch PE from a old reheat set (long OOP but will last me a few more years) added some details there. No the cockpit was complete, haven’t added so much detail in a while.


Closing up the plane and using filler as needed. For this one, I was going to try using Vallejo chipping fluid, so I primed with Vallejo black primer via the airbrush. The clear was masked with Eduard masks first though, can’t seem to live without them now for those intricate ww2 framings. It just saves so much time and usually comes out way better than my masking.


The a light coat of sliver metallic. At this point, I lost the clear lense up front – as a substitute I used bondic – one of those clear UV curing resin. Worked really well to creat a clear lense effect, not as well as a MV lenses, but pretty nice.


Then it was time to add a coating of the brown paint, followed by chipping with a wet stiff brush. I do like the control it gives me over drybrushing, and you can really create very subtle fading effects with it. So a new skill learned.


Af that, the usual wash to pop out the panel lines and rivets, some airbrush work with Tamiya smoke for the exhaust and it was time for a clear coat and decals. These decals came from an aftermarket set, and I’ll call it complete. Pretty happy with this one.


