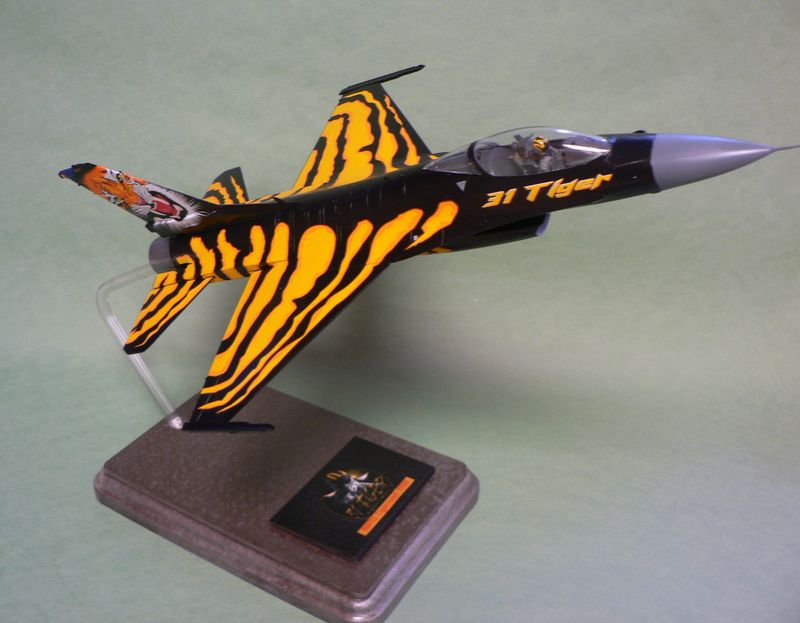
Belgian F-16 – Tigermeet
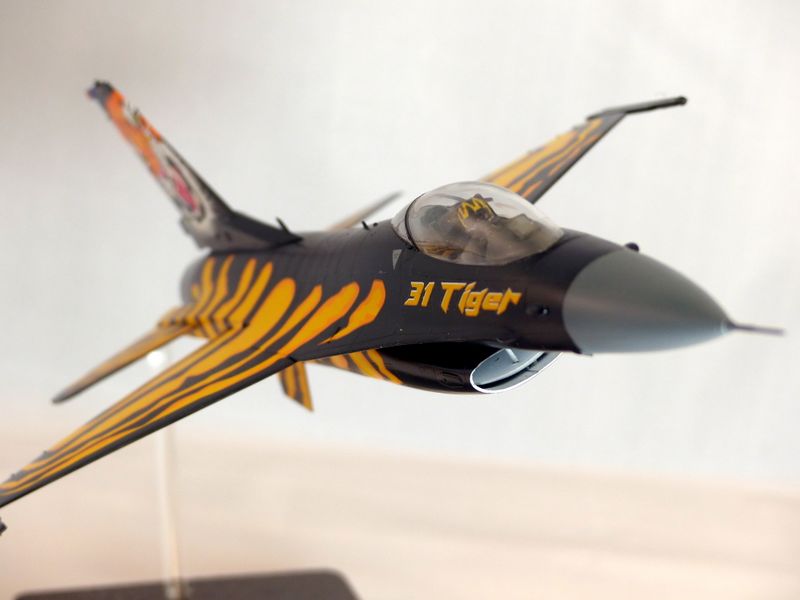
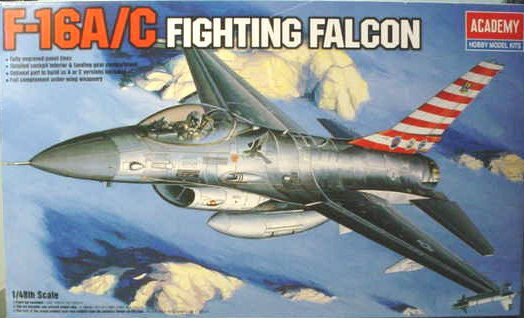
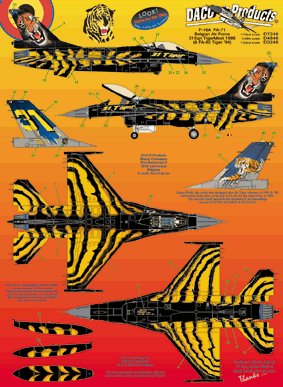
Using Academy’s F16 and special Daco decal sheet to build a BelgainTigerMeet Falcon
Purchased this kit for $10 at Hobby Lobby just to use Daco decal of a Belgian Squadron 31 F16 done up for NATO Tigermeet 1998. The kit is barebones, bad fit and cockpit, but it’s going to be closed up, cockpit and landing wheels. Also an attempt to bend some acrylic rods to create an inflight display. This was published in the Finescale Modeler.
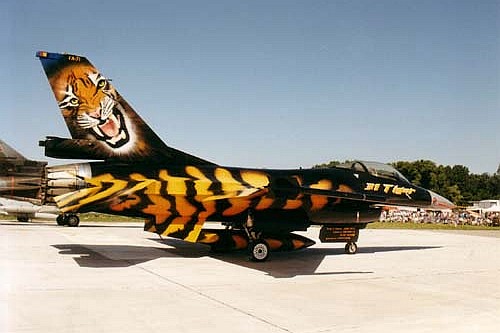
Here’s a picture of the actual aircraft
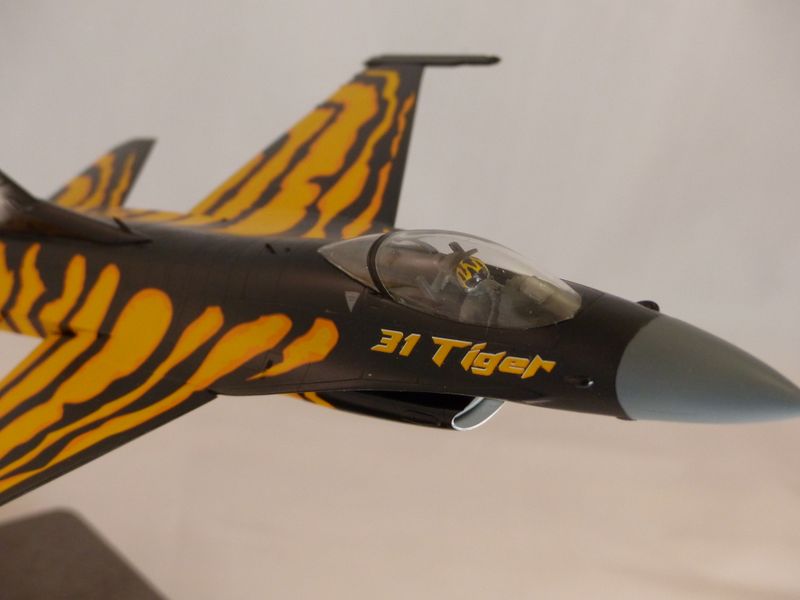
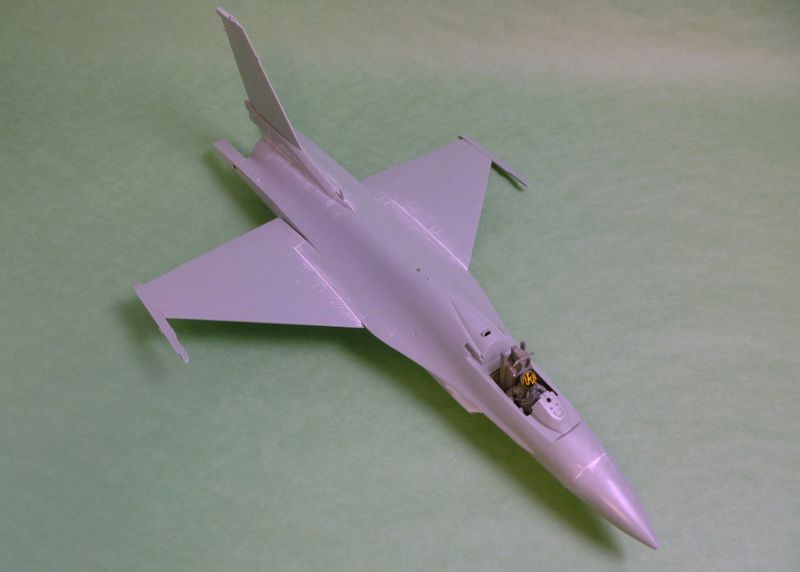
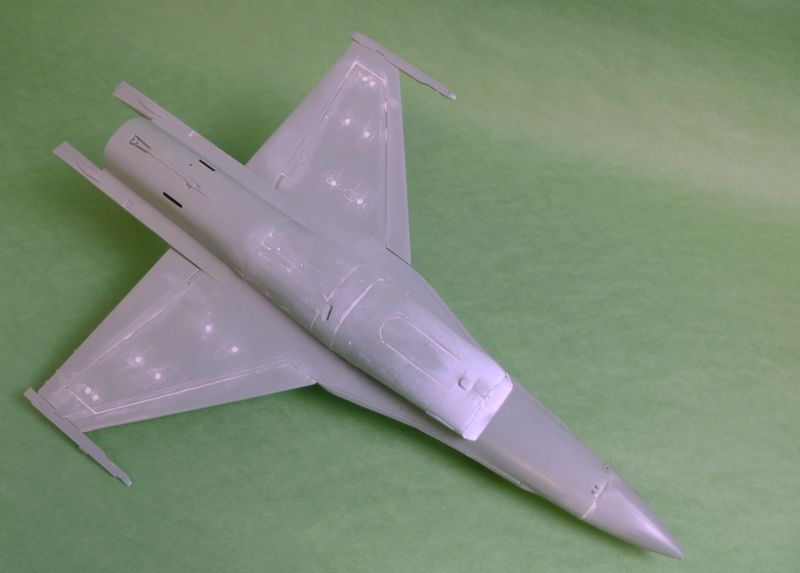
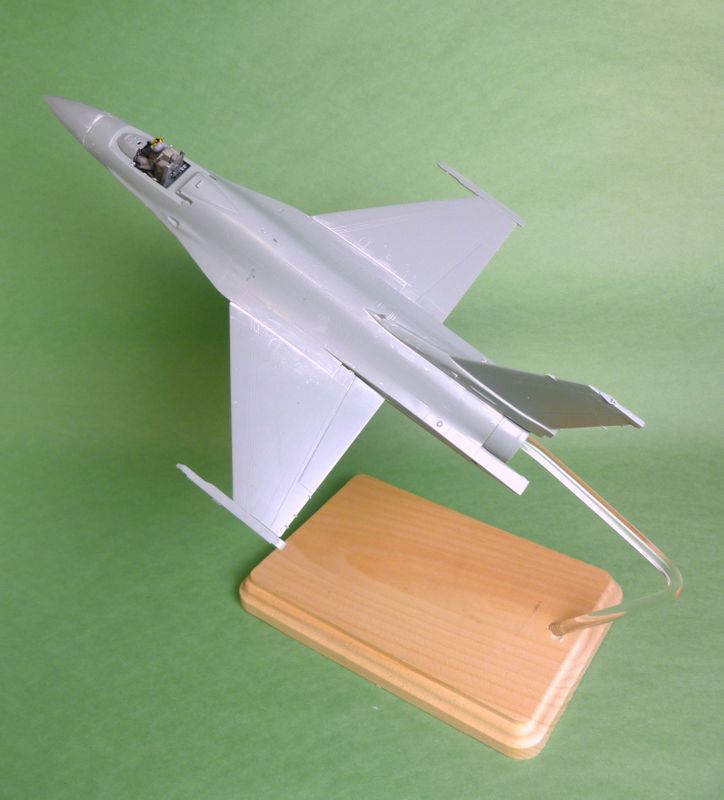
The build was fairly straight forward since everything was to be buttoned up and no ordnance. The kit is fairly simple and not too detailed, but for this build, it met my needs. Though be prepared for some major filler and sanding work. The nose and the air intake area just didn’t line up properly and had major steps to smooth out. I also filled in all the holes for the hard points.
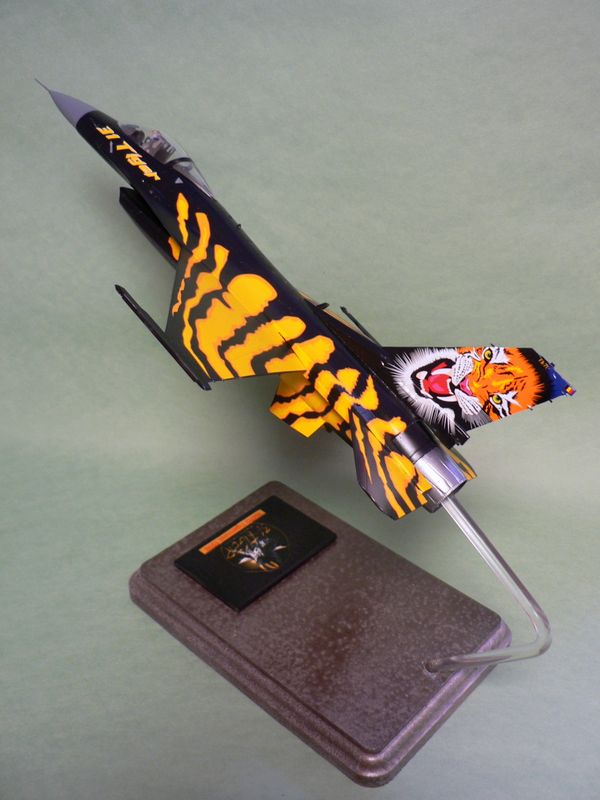
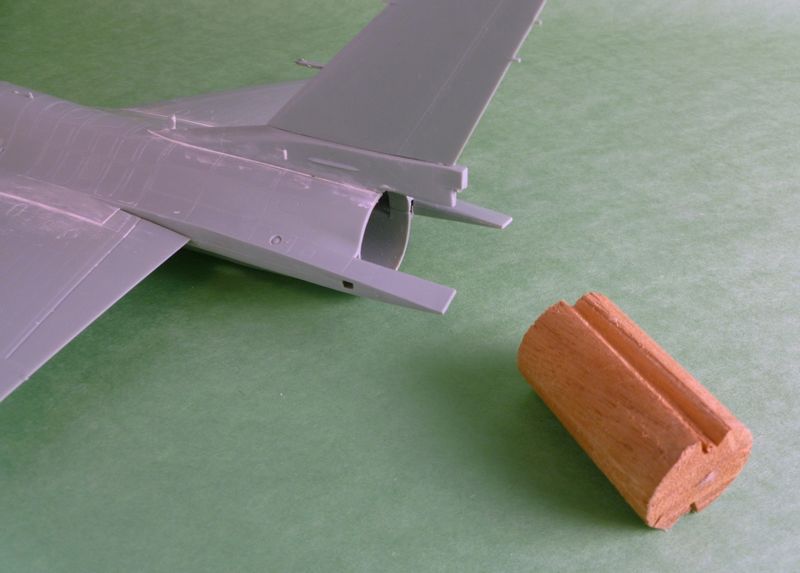
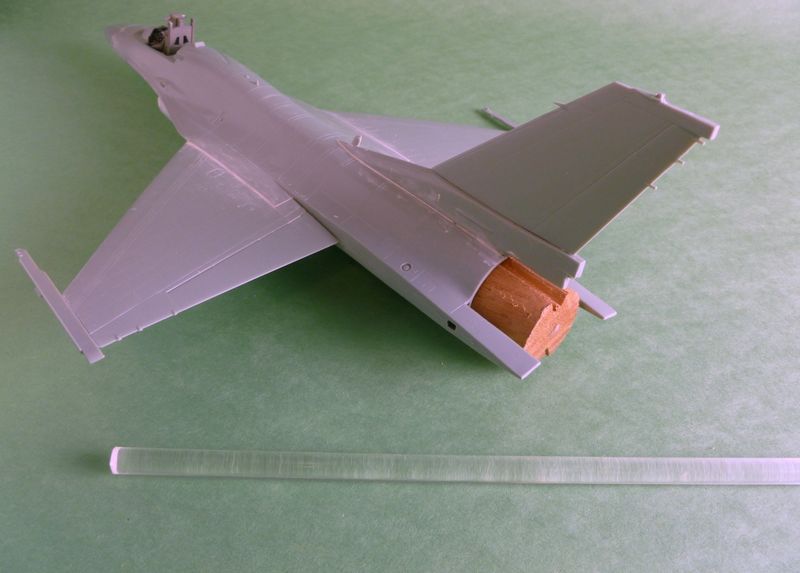
As this was an inflight display – I decided to try out using acrylic rods as support via the thrusters. First job was to use a piece of wood dowling that I carved to fit into the exhaust area. A whole large enough to fit the arcylic rod snuggly was drilled into the piece, and then it was epoxy glued into the model.
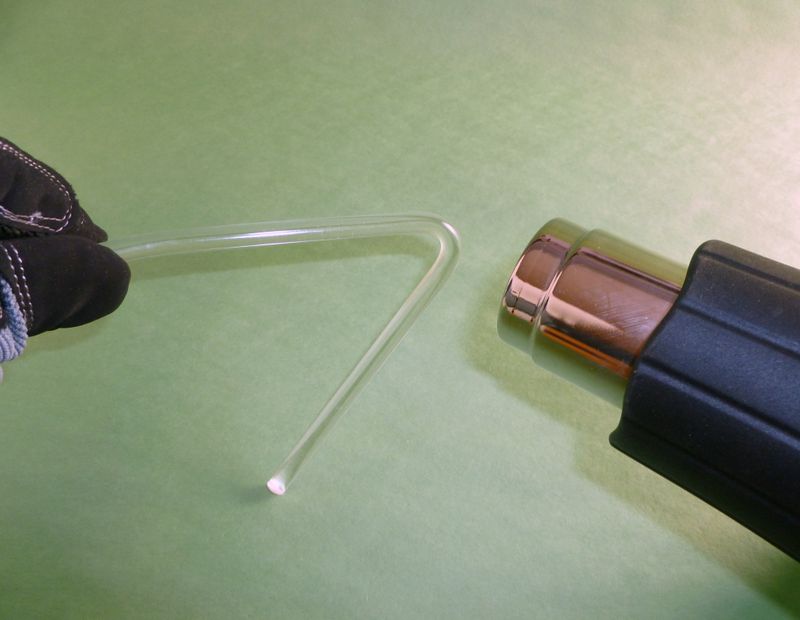
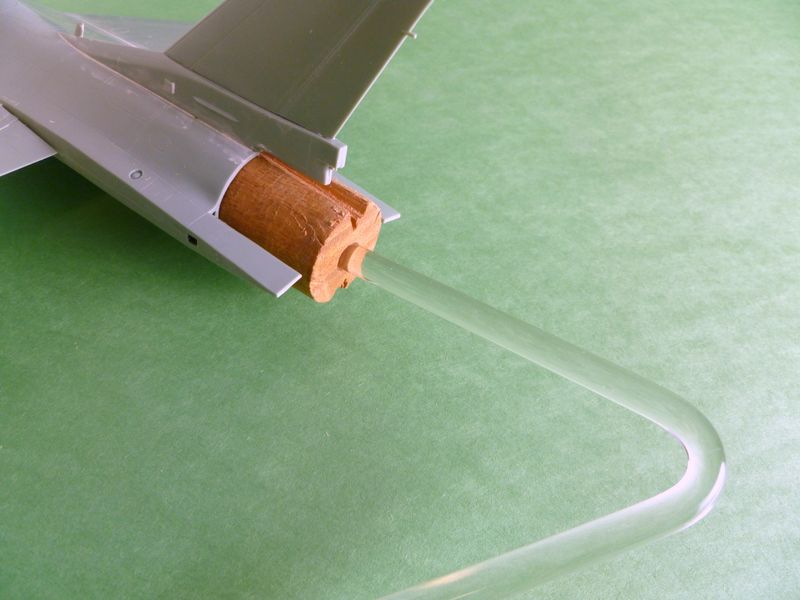
I had purchased a bag of Plasticstruct clear Acrylic rods off ebay, then wearing gloves, I used an inexpensive heat gun from Harbor Freight to slowing heat one area of the Rod. You have to keep exerting small pressure to feel then the rod is soft enough to bend, without melting the whole thing. You will have a feel seconds to bend it at that point. If you wanted a more round shape, you can bend it around a tin can or other cylinders of the desired circumfrance. After a minute or so, it will be cool enough to move around and retain its shape. Then it was test fitted into the plug to make sure it holds properly.
A corresponding hole was drilled into a bass wood bass that I picked up at a local craft store. Just make sure you drill the hole back enough to give a counter weight to the model, which really isn’t very heavy. Expoxy glue secuired the Rod to the base, and the whole thing was tested to make sure there was no tipping.
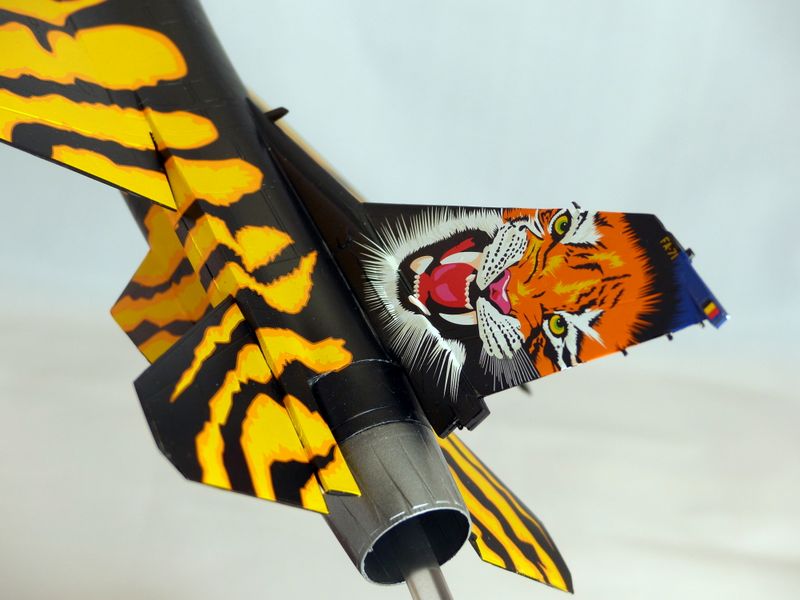
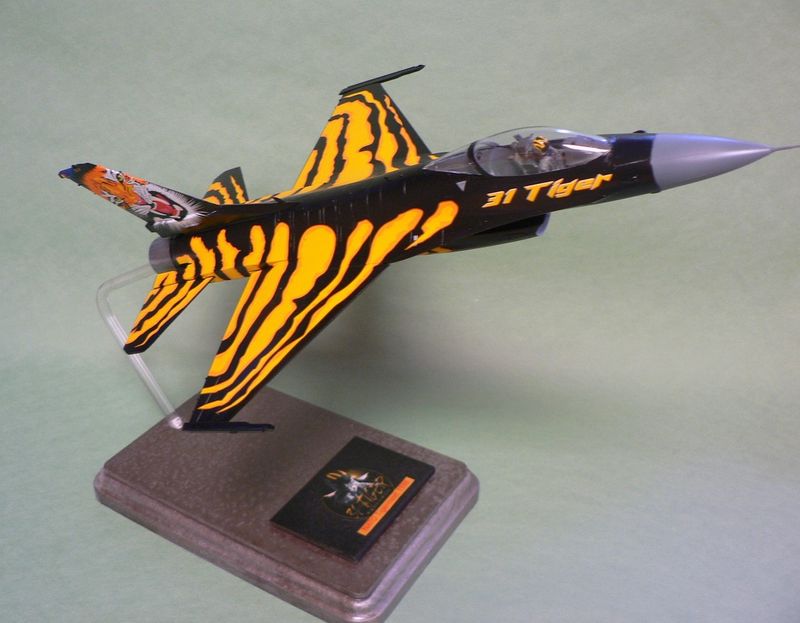
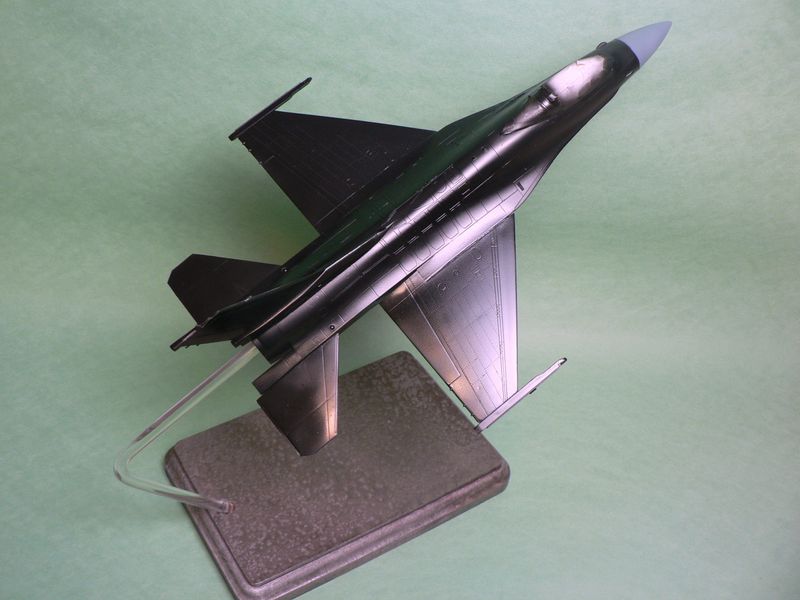
Now comes the fun part, coat of black paint followed by Future acrylic in prep for the decals. A LOT of decals – every stripe was an individual decal, Careful planning and slow going will keep it on track.
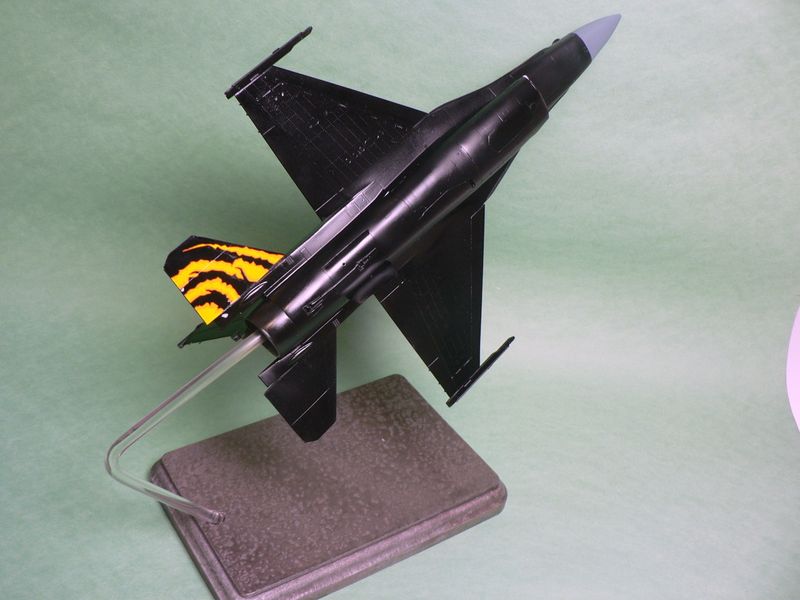
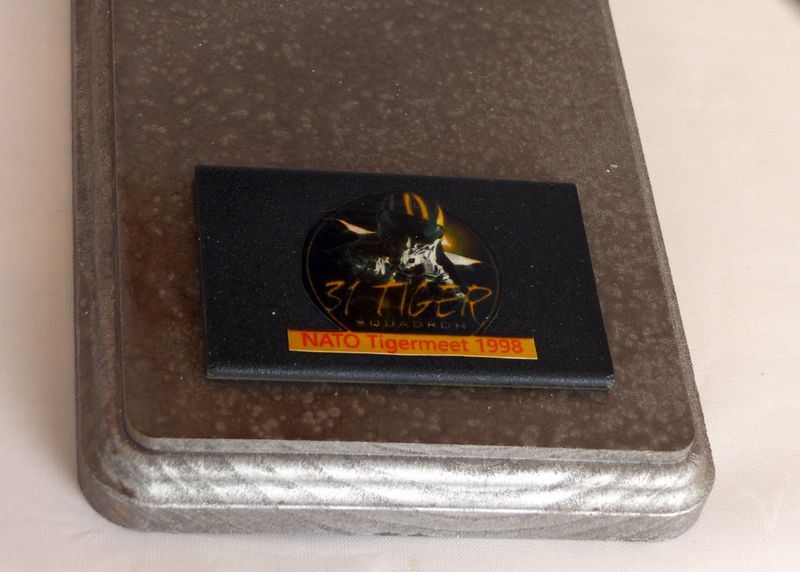
After many nights of decaling and a big portion of decaling solution depleted, it was fully decaled and sealed with a satin coat. I downloaded the Squadron’s insignia from their website and glued it on to a piece of plastic. That was in turn mounted onto the base to finish up the build.