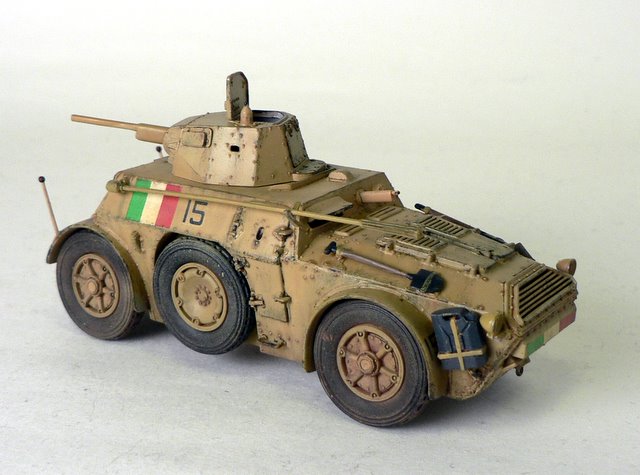
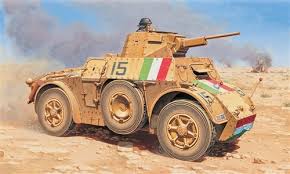
Autoblinda 41 1:48 – Supermodel (Italeri)
This the armor part of Italeri’s SuperModel branding that is coming out with dual kits (air & armor).
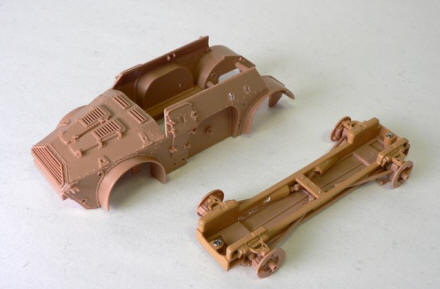
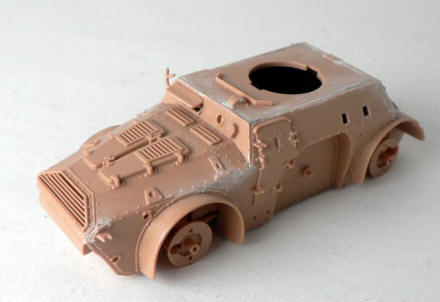
You may initially mistake this Italeri Kit for an Tamiya kit as it comes with a Cast lower body that needs to be screwed together. However once you start building the ill fitting parts will not scream Tamiya engineering. Not that is a bad kit by any means, but you just need some patience, putty, and filing – as you can tell from the second picture. Just be careful regarding the sequence of construction and ignore the instructions where it tells you to build the top independently of the bottom half until the very end. The top is composed of completely separate sides and you can easily build it out of square. By building the top pieces over the bottom (you don’t have to glue it down), you minimize the gaps when you the two halves together
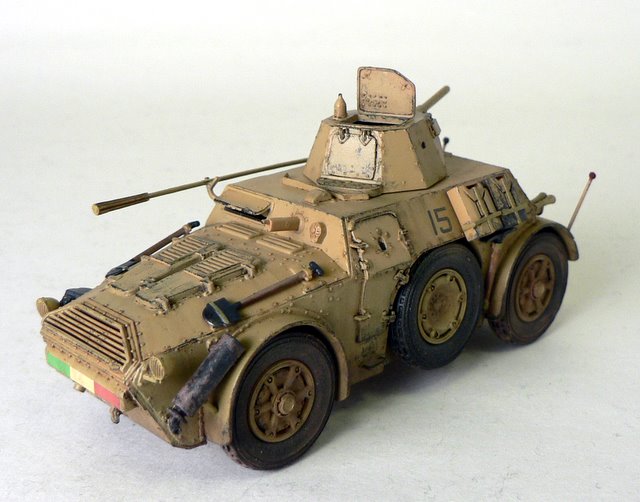
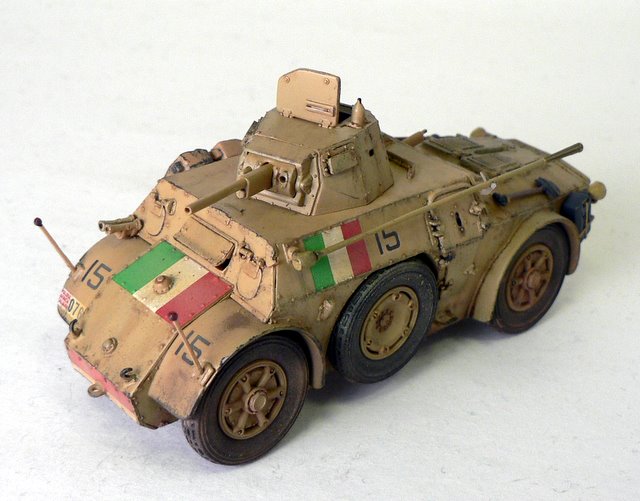
Afther the initial fit issues, the rest of the kit goes together quickly without any major issues. I decided to built mine serving the Italia Poliza Africa, so I gave the lower have and the deeper recesses a spray of Tamiya Dark Yellow. This was followed by a coat of Desert yellow in the top vertical parts, and finally with a lightened version of the desert yellow on the horizontal areas..

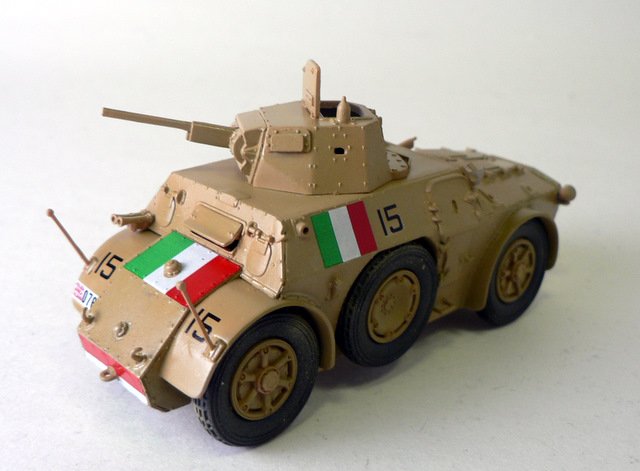
A quick gloss coat and the decals were applied with out any problems. I did decide to punch out the two holes where the Italian colors would go over protrusions in the front – as no amount of decal solvent was going settle that down. The decals were very, very colorful, and way to bright of course, so I toned it down with a very light mist of desert yellow.
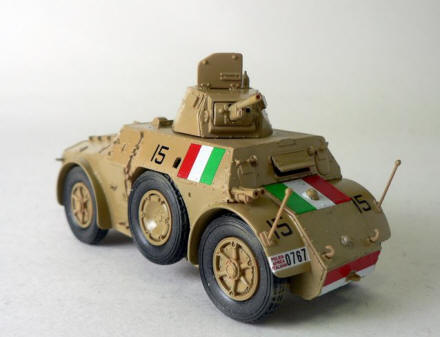
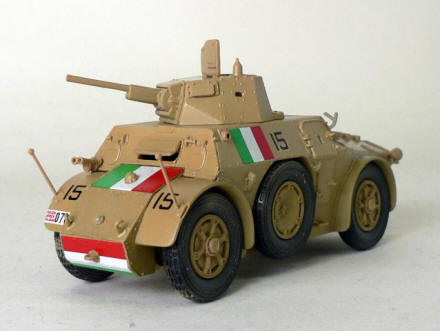
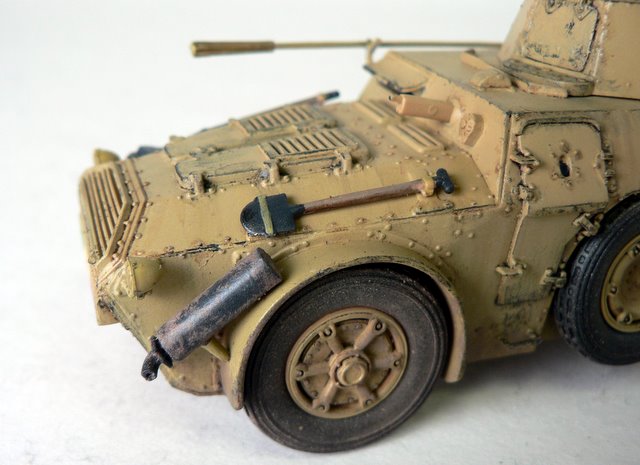
I then streaked different shades of the basic dark yellow on the vertical surfaces and followed with a pin wash of umber oil paint – paying special attention to pop out all the bolts. I loaded a brush up with more of the wash and created vertical streaks. I then used panzer gray and proceeded to add scratches and severely worn areas, paying special attention the the logical areas like the access hatches and engine compartments. I added all the final small items – jerry cans, antennas, and tools. Everything was then given a coat of Pollyscale flat to tone it all down and get a even sheen. Weather powders (dark earth) were then used the wheels and tires and lower body. A lighter color powder were use on the top surfaces and Tamiya rust powder on the fender area. Finally a lead pencil was used to add a metallic sheen to certain edges and the hand tools.