
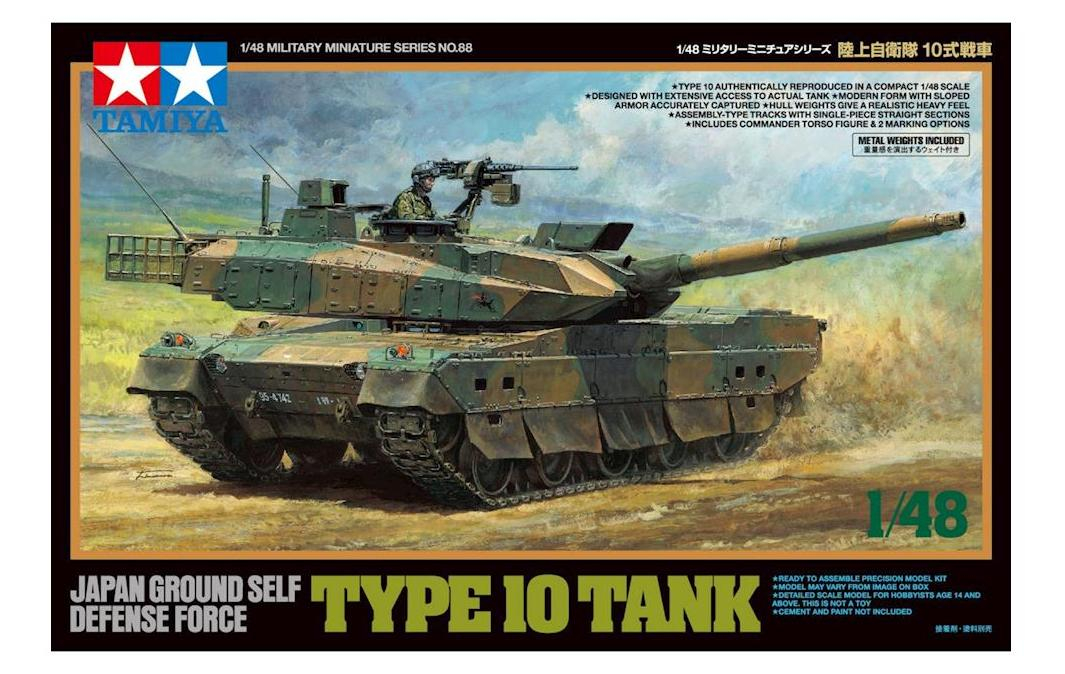
JGSDF Type 10 Main Battle Tank

Tamiya’s JGSDF Type 10 Tank – one of the still rare kits of modern armor in 1/48th scale if you discount full resin models. As of writing, there are already three kits featuring the JGSDF, which makes sense considering Tamiya’s home market.
This kit is somewhat simplified compared to the same model Tamiya has produced in 1/35 and 1/16 – obviously. The most noticeable will be lack of PE for the basket and head lights, the ‘bump’s used for grab handles, and a few missing larger handles. Now you can get at least 2 separate PE sheets to recreate the basket – or like me, simply use a generic PE sheet from Eduard. Replacing the handles with fine wire is beyond my skill or patience, so I left them as is.
There are good images on the web for reference, I suggest the following link – Walk Around on Facebook
So this was suppose to be a simple build, built couldn’t help but improve a few things – relatively simple fixes.
First up is the putting the major pieces together, which was not a problem at all. The newer Tamiya kits have abandoned the cast lower hulls and replaced it with weights. This solve the issue with soft details and the ability to add weight (which you either like or don’t really care). This whole bottom part of painted black to make sure nothing can be seen through the few openings available.
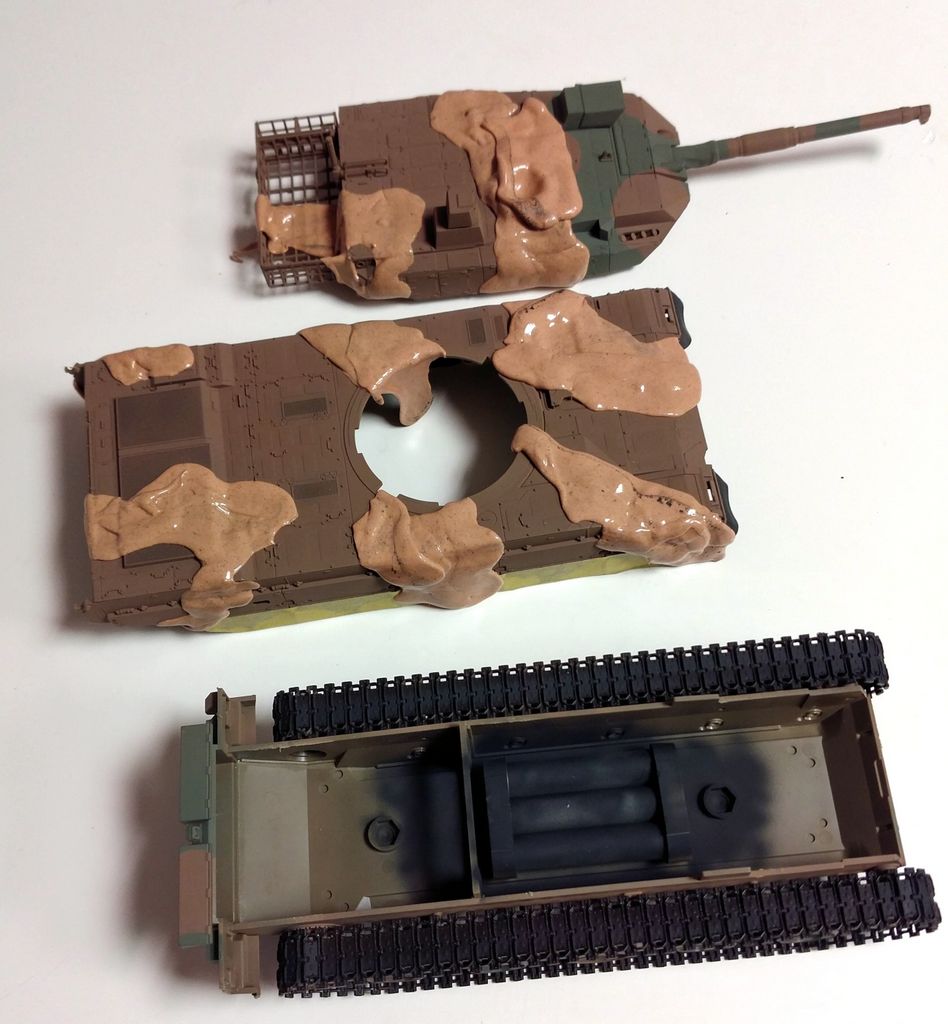
The model was then primed and first coat of Dark Green XF-73 was put on – Tamiya put this color along with XF-74 Brown specifically for their JGSDF kits. Using silly putty as masking agent, I masked the model and applied the brown. I kept the top and bottom seperate for ease of painting, as it was fairly simpole to join them later.

One feature that was missing in the kit was the wire mesh basket, so I a added this with generic wire mesh from Eduard. This was then spray to match the camo – making sure to use a light spray as not to clog up the fine holes.


Ths same mesh was added infront of the head lights and finally used some wiring to create raised dual attennas as the only other improvements.


At this point, it was time finsih up the small details, like painting the lilghts (silver layerd with clear orange on top) and various infred ‘lenses’ (sliver with clear smoke on top). Oil pin washes was applied with Taimya brown wash and f coat of flat was laid down. Various brown pigments created some dirt around the vehicle, but that’s as far as weatherrin went. Based on pictures, these were maintained very well not to show chips and rust, only dirt from exercises. To finsih up the kit, I reconfigured the commander to be saluting by borrowing an arm from a Tamiya ww2 German infrantry figure. My figure painting skills were again put to the test, better than last batch, but still a long way to go.


