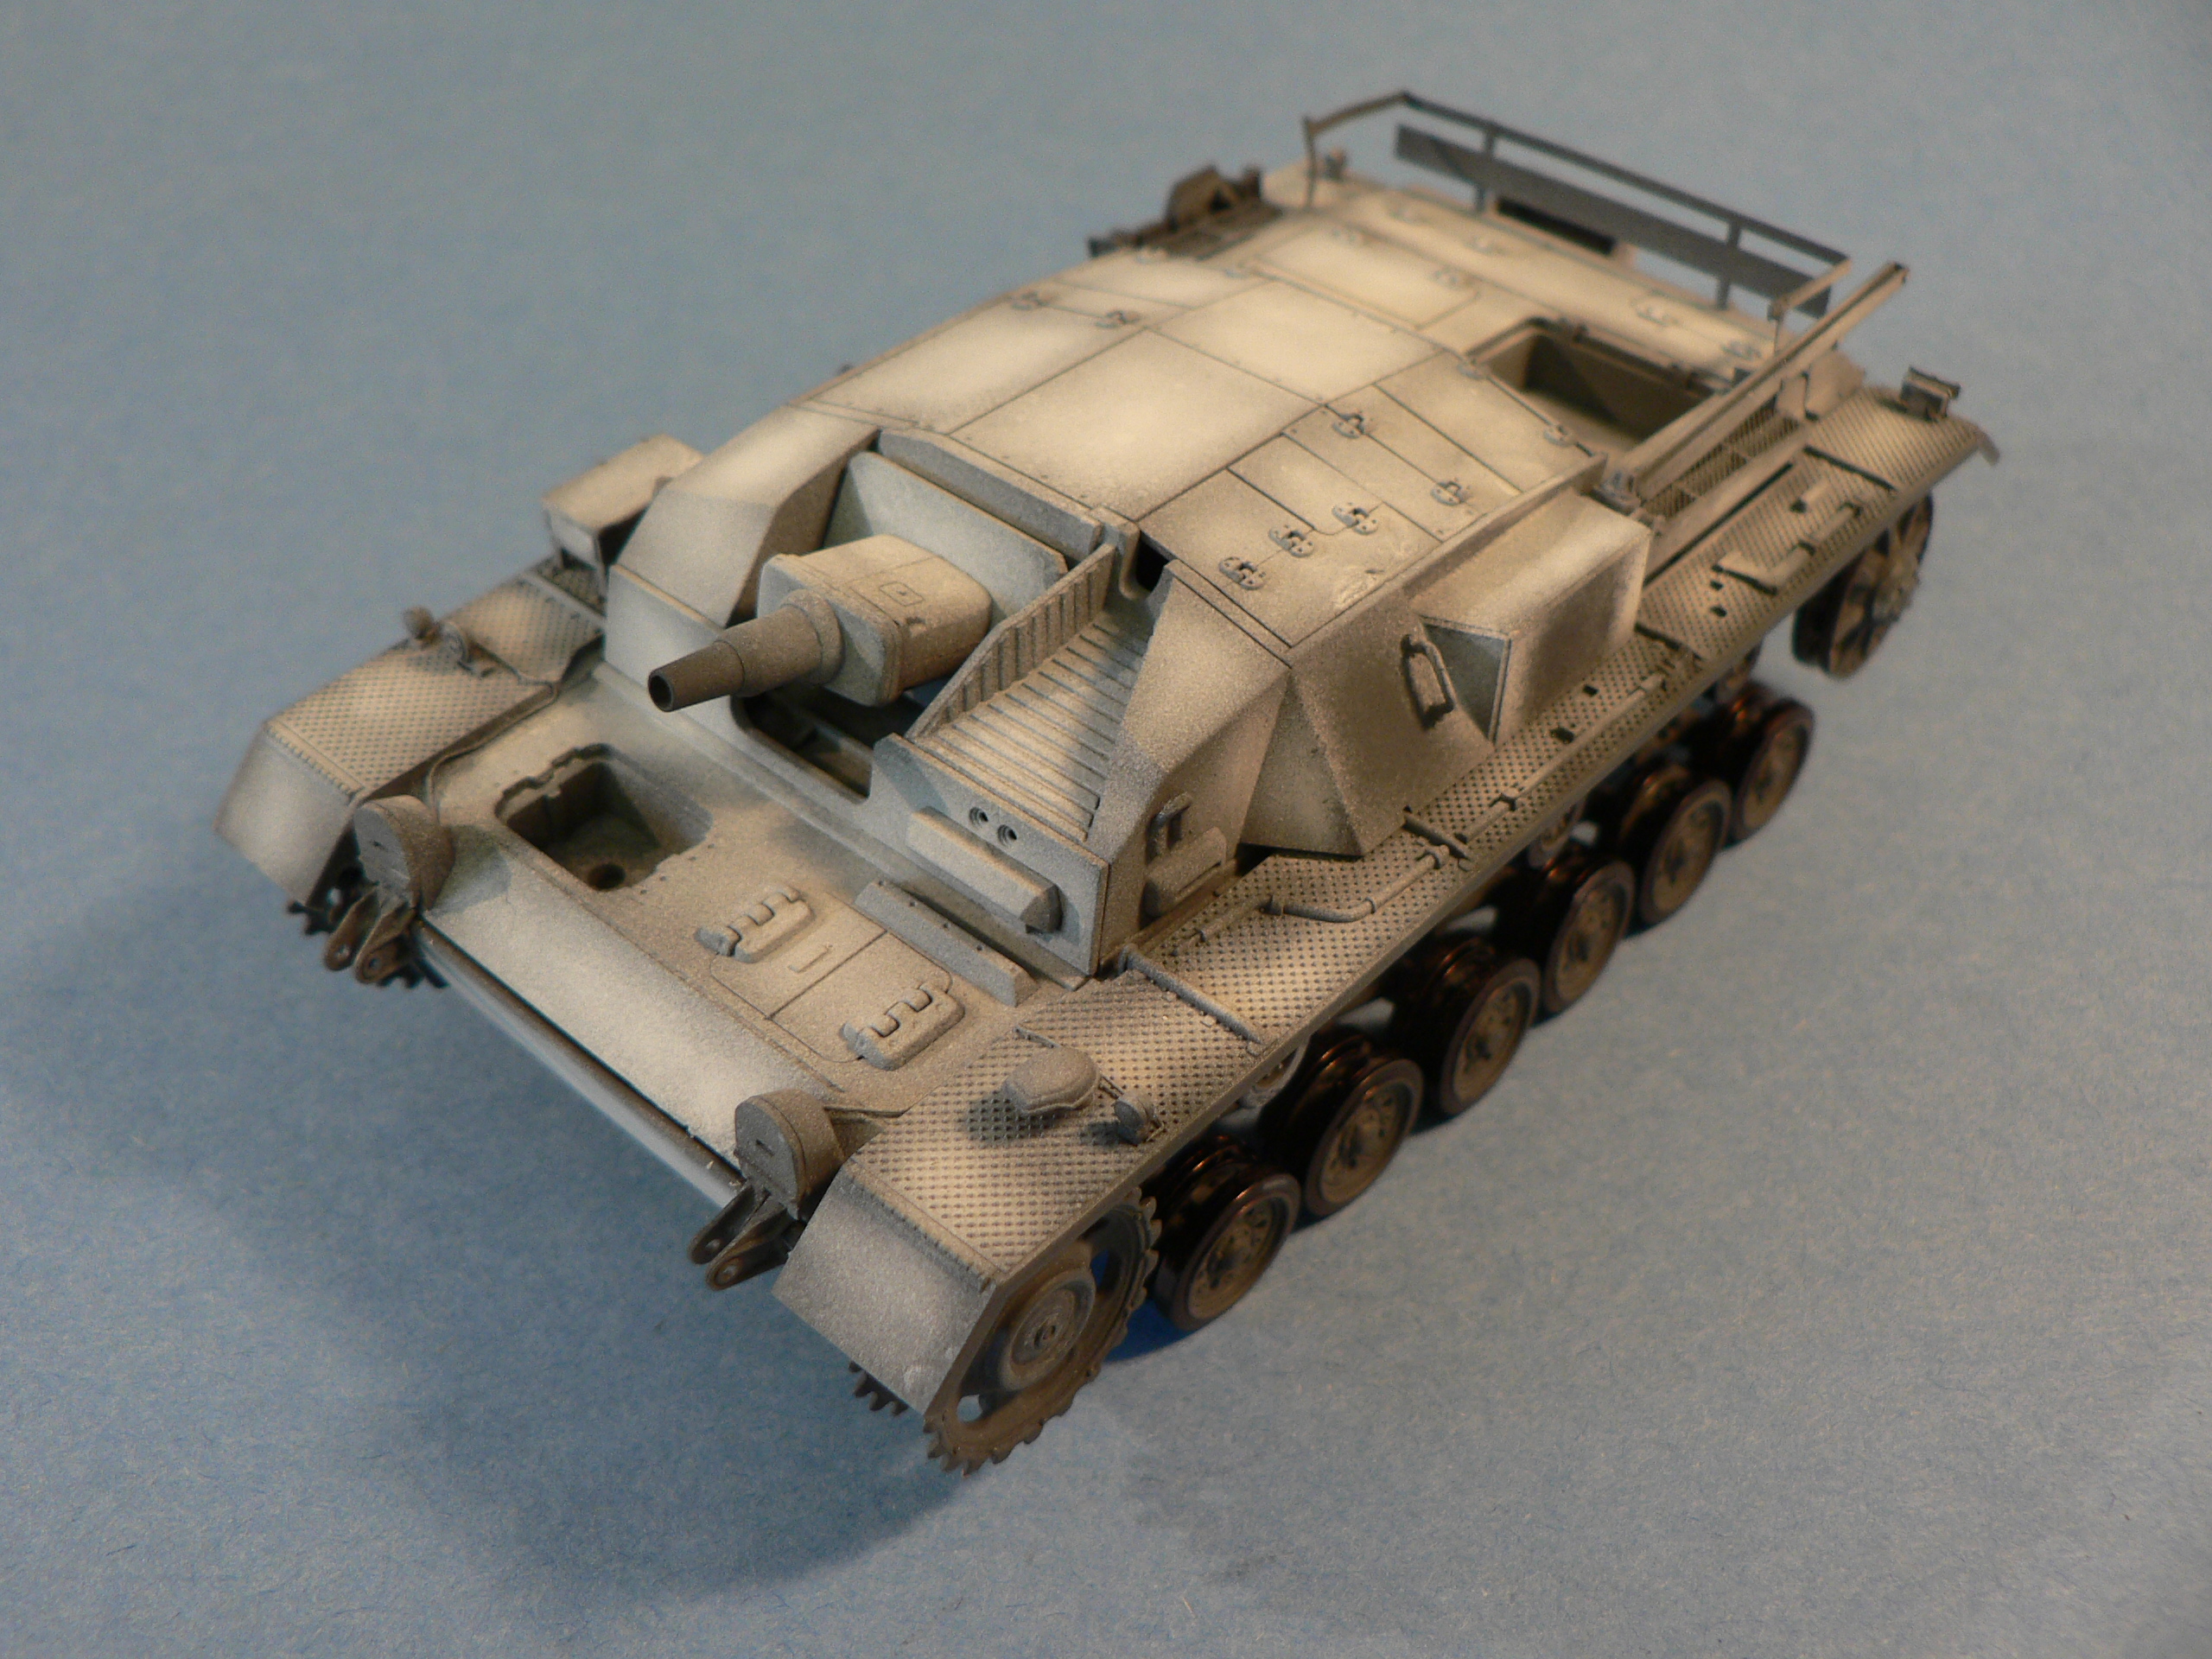
Sturmgeschütz III Ausf B – Tamiya
This is Tamiya’s 1/48 Sturmgeschütz III Ausf B, and marks my first armor kit in 25 some years.
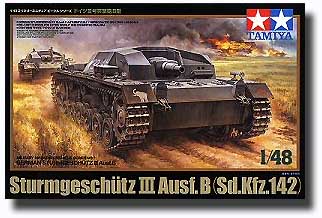
The kit comes nicely packaged with the now infamous (seems like you either love it or hate it) cast metal hull. Personally, I do like the added weight and have no problems with the lack of details underneath as I’ll never see it. If I were going to open some hatches and display the interior however, it will provided some obstacles. As you can see, the top is attached via 2 screws, one of each is hidden underneath a hatch. So these hatches obviously can’t simply be left open. You will have to use a dremel like tool to cut off the metal support for the screws if you decide to go that route.
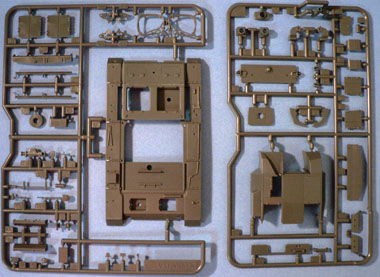
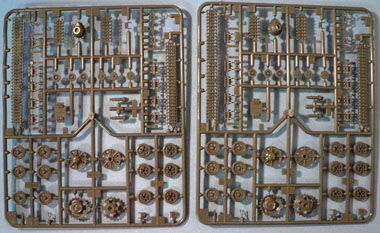
The rest of the kit is rather conventional but well thought out details throughout. I like the length and link track. This allowed the proper sagging of the tracks without resorted to any aftermarket single link tracks – which seems more tedious than fun to me. The drive sprocket is attached via a polycap, which allows it to rotate to fit the track. Sure have come a long way since vinyl tracks.
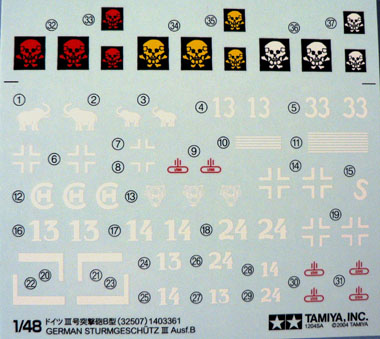
The decals sheet allow you to build vehicles that served in three different areas of the Eastern front.
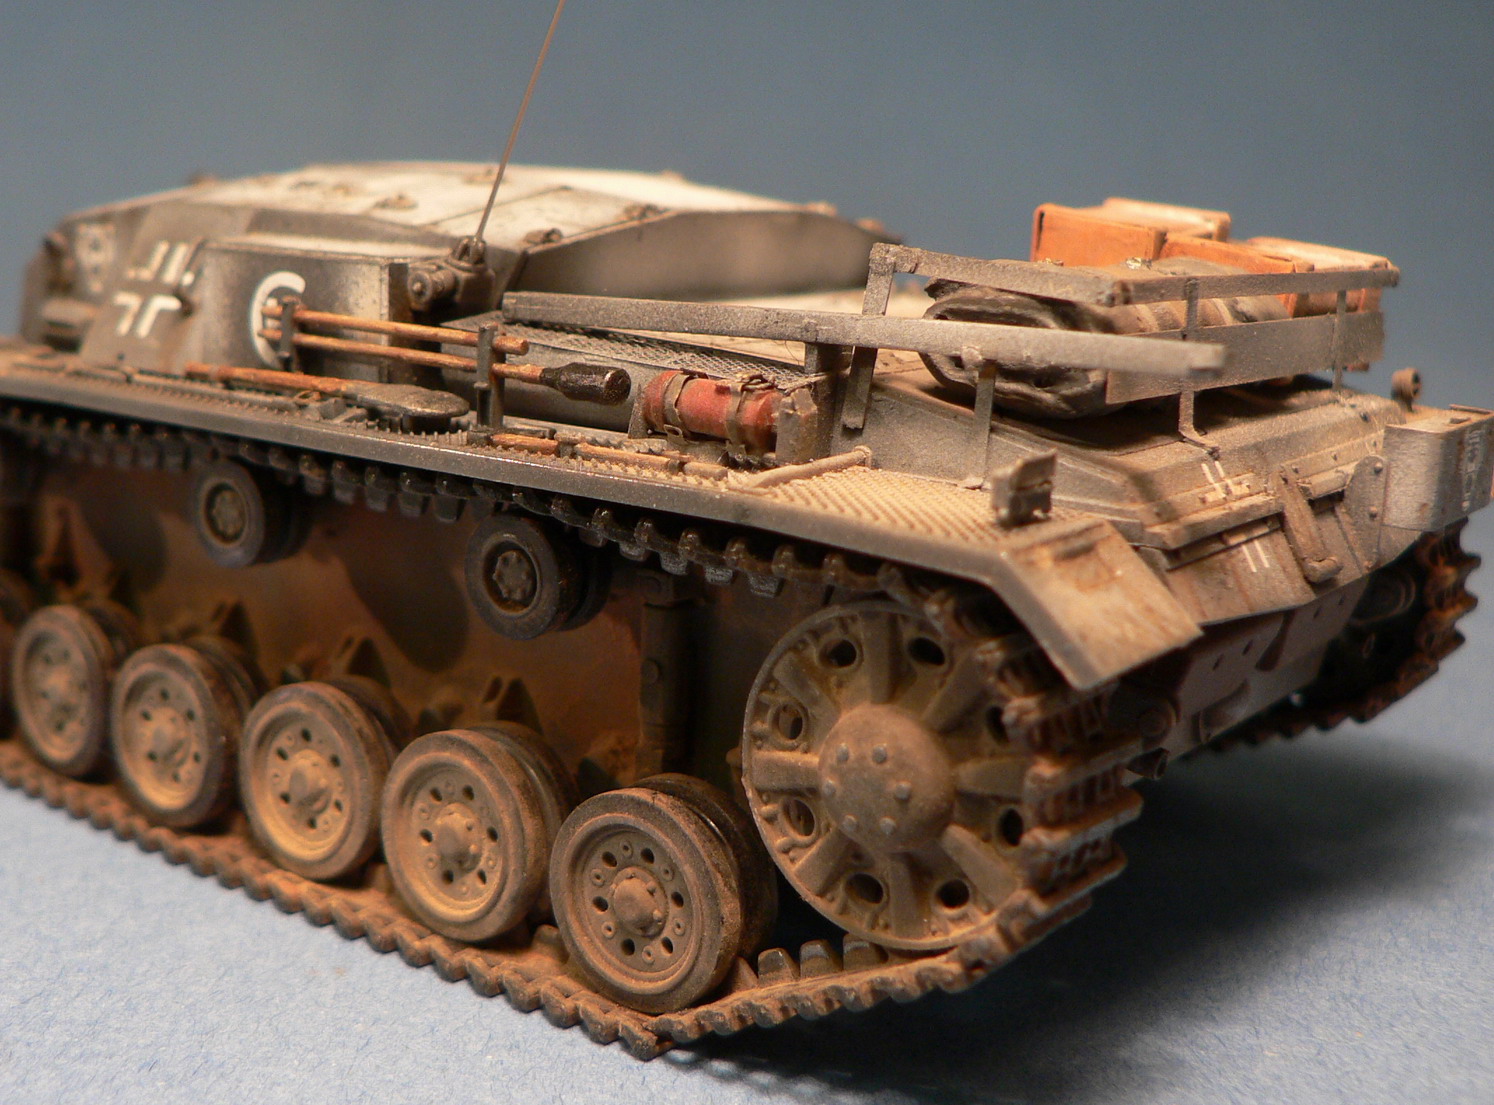
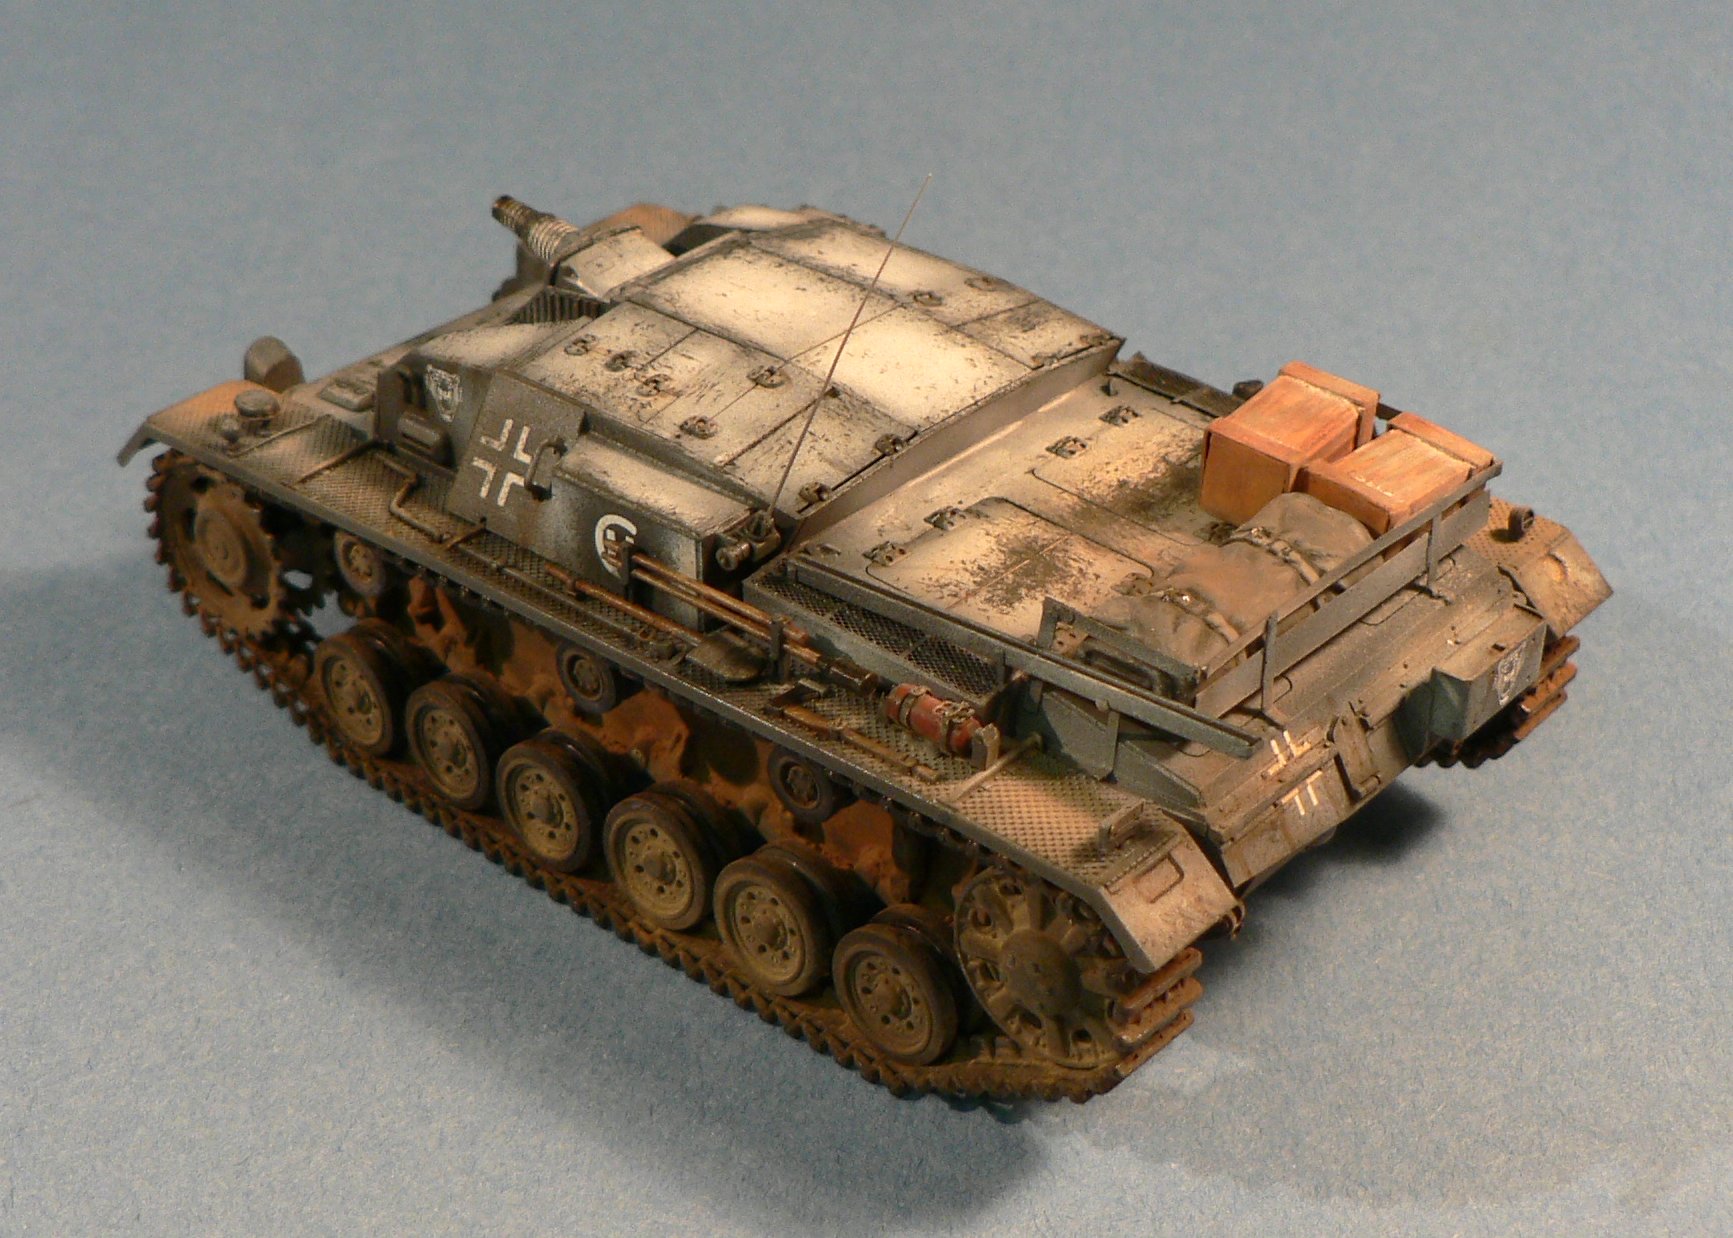
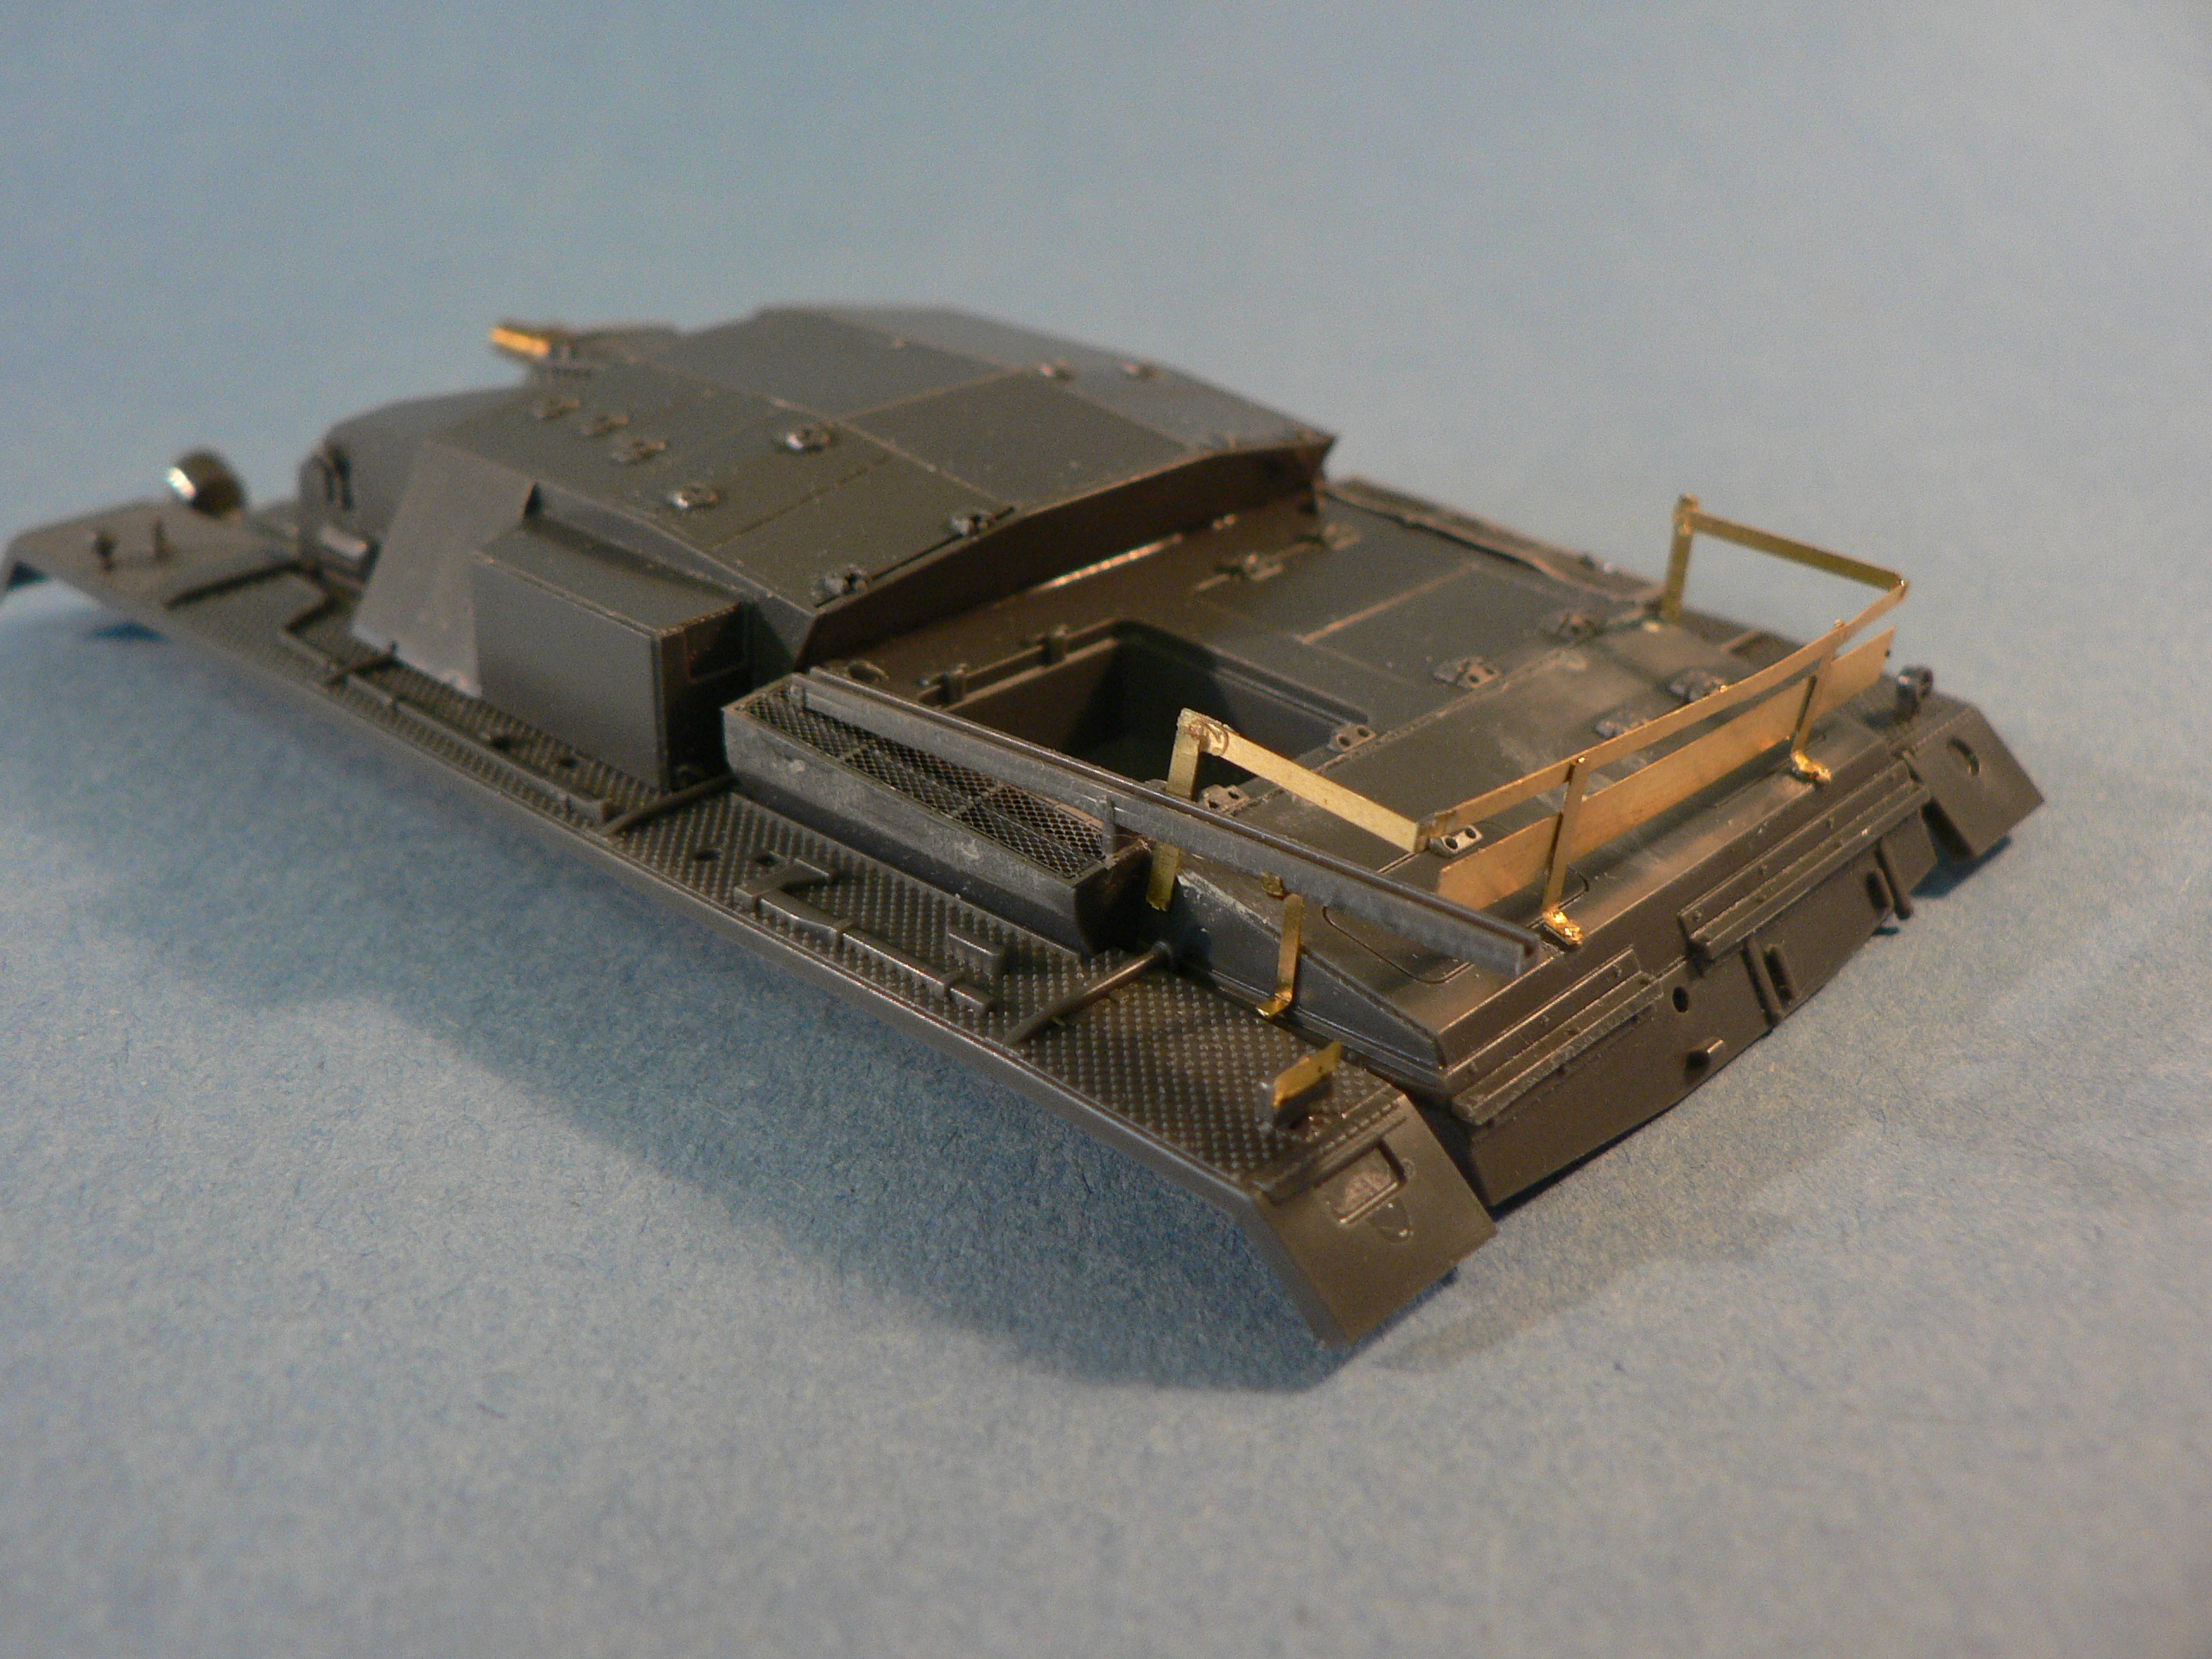
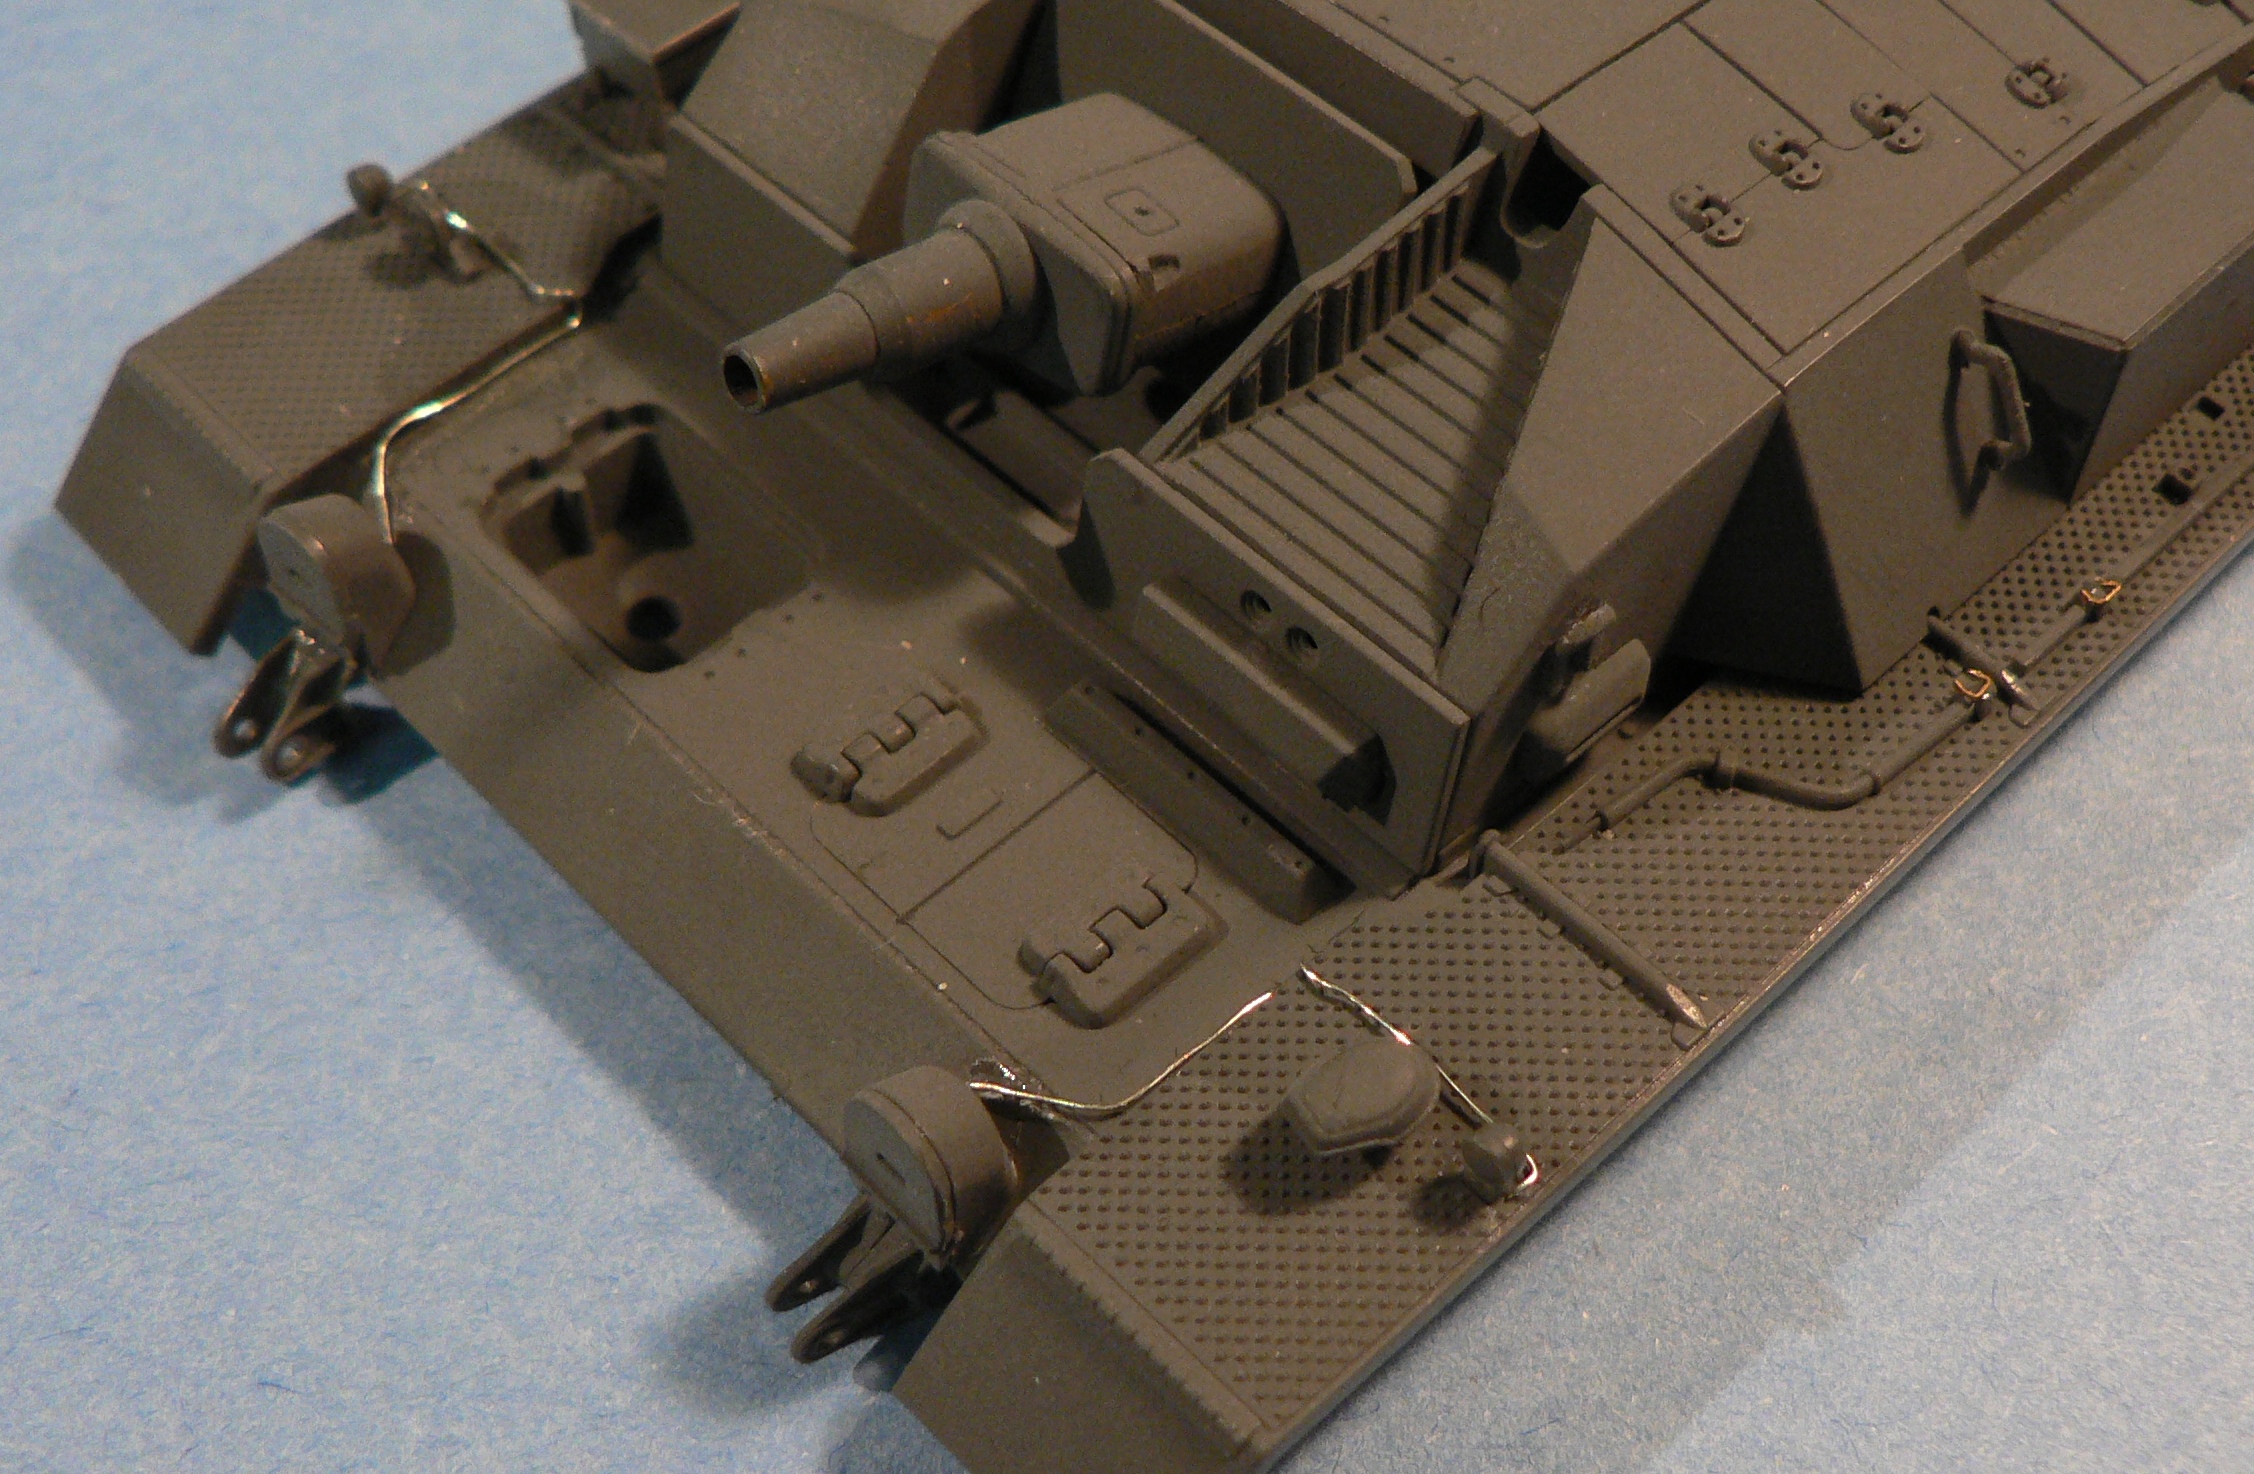
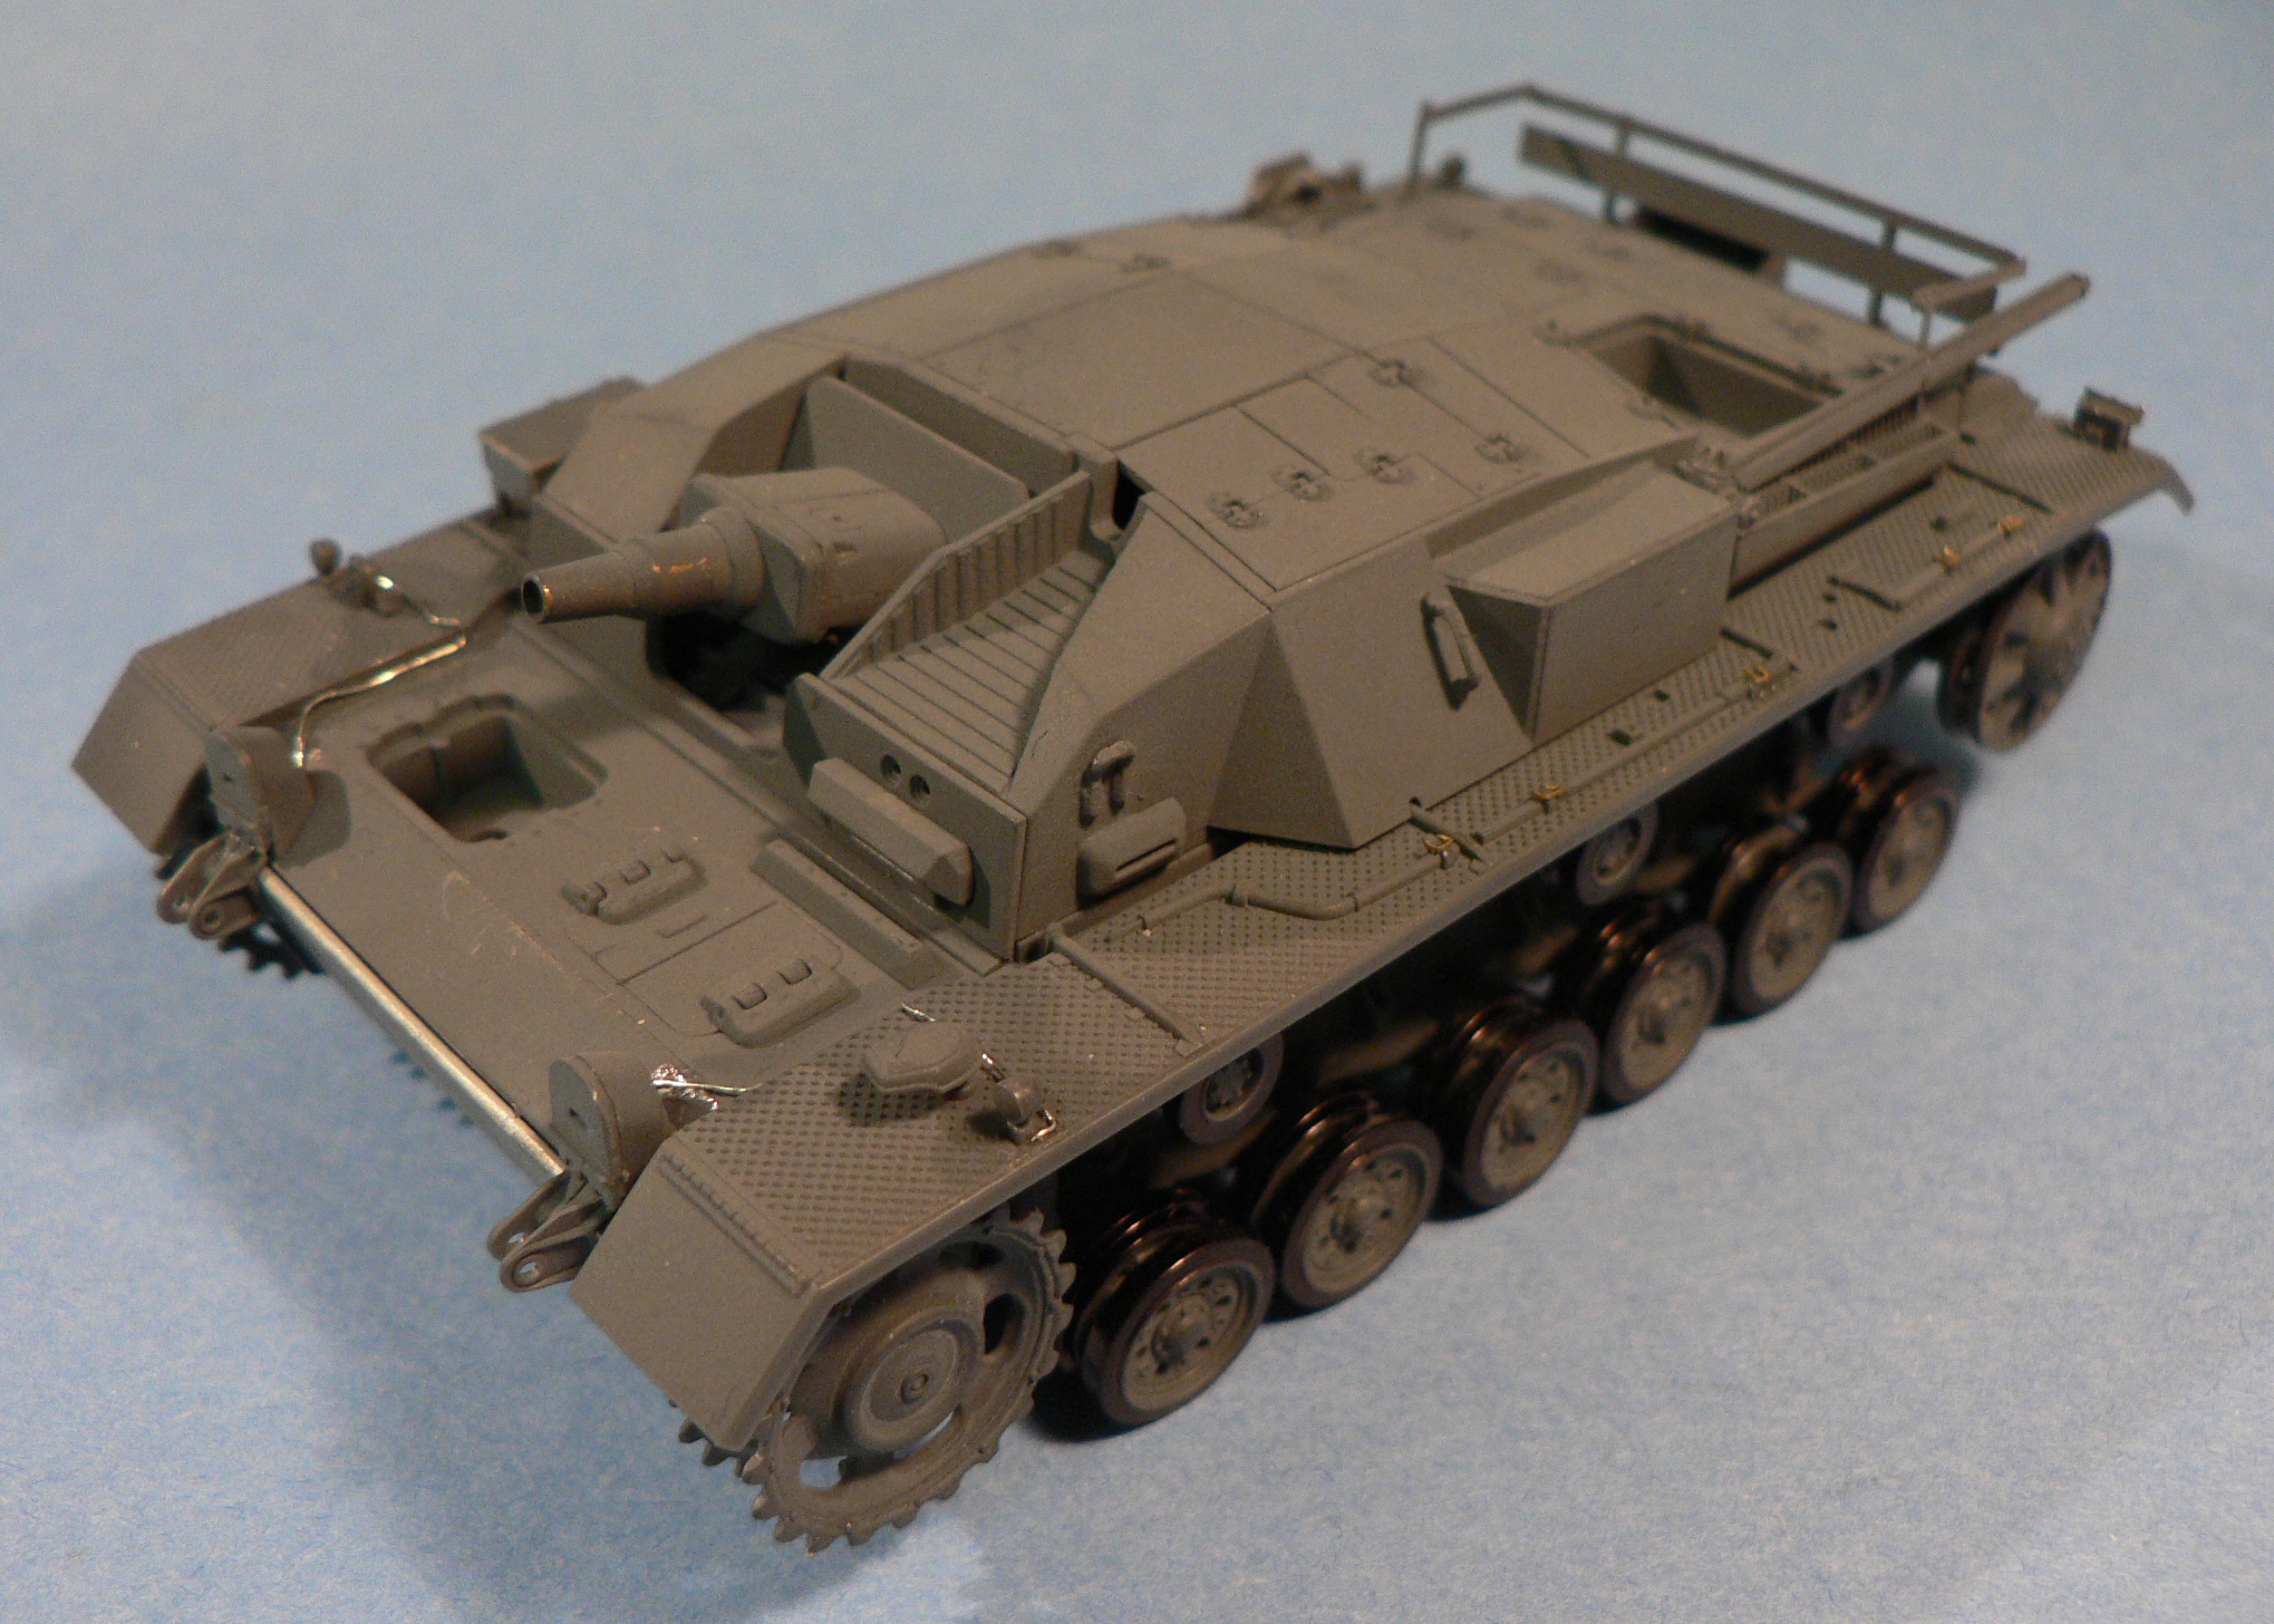
I’ve decided to use Lion’s Roar PE kit, which consists of the engine grills, a replacement 7.5 gun, a fire extinguisher holder, the metal ‘cage’ for the back, a replacement antenna stowage, and misc. clasps and chains. I used most of it except for the antenna stowage. Folding was accomplished with 2 #11 blades
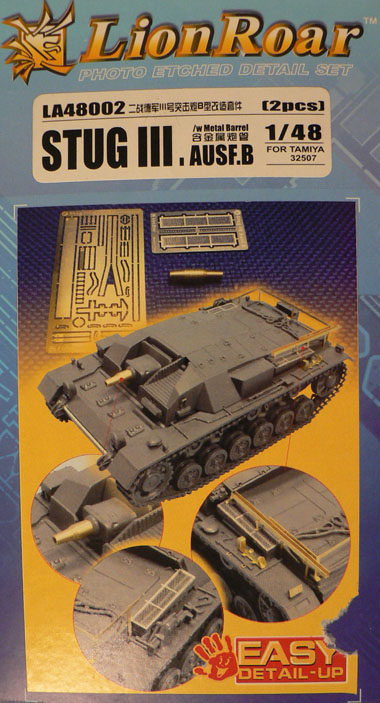
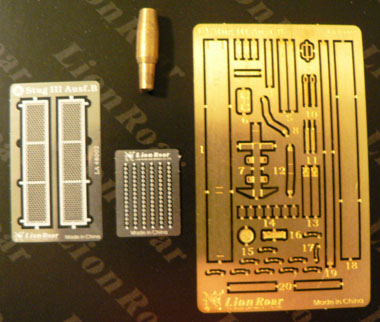
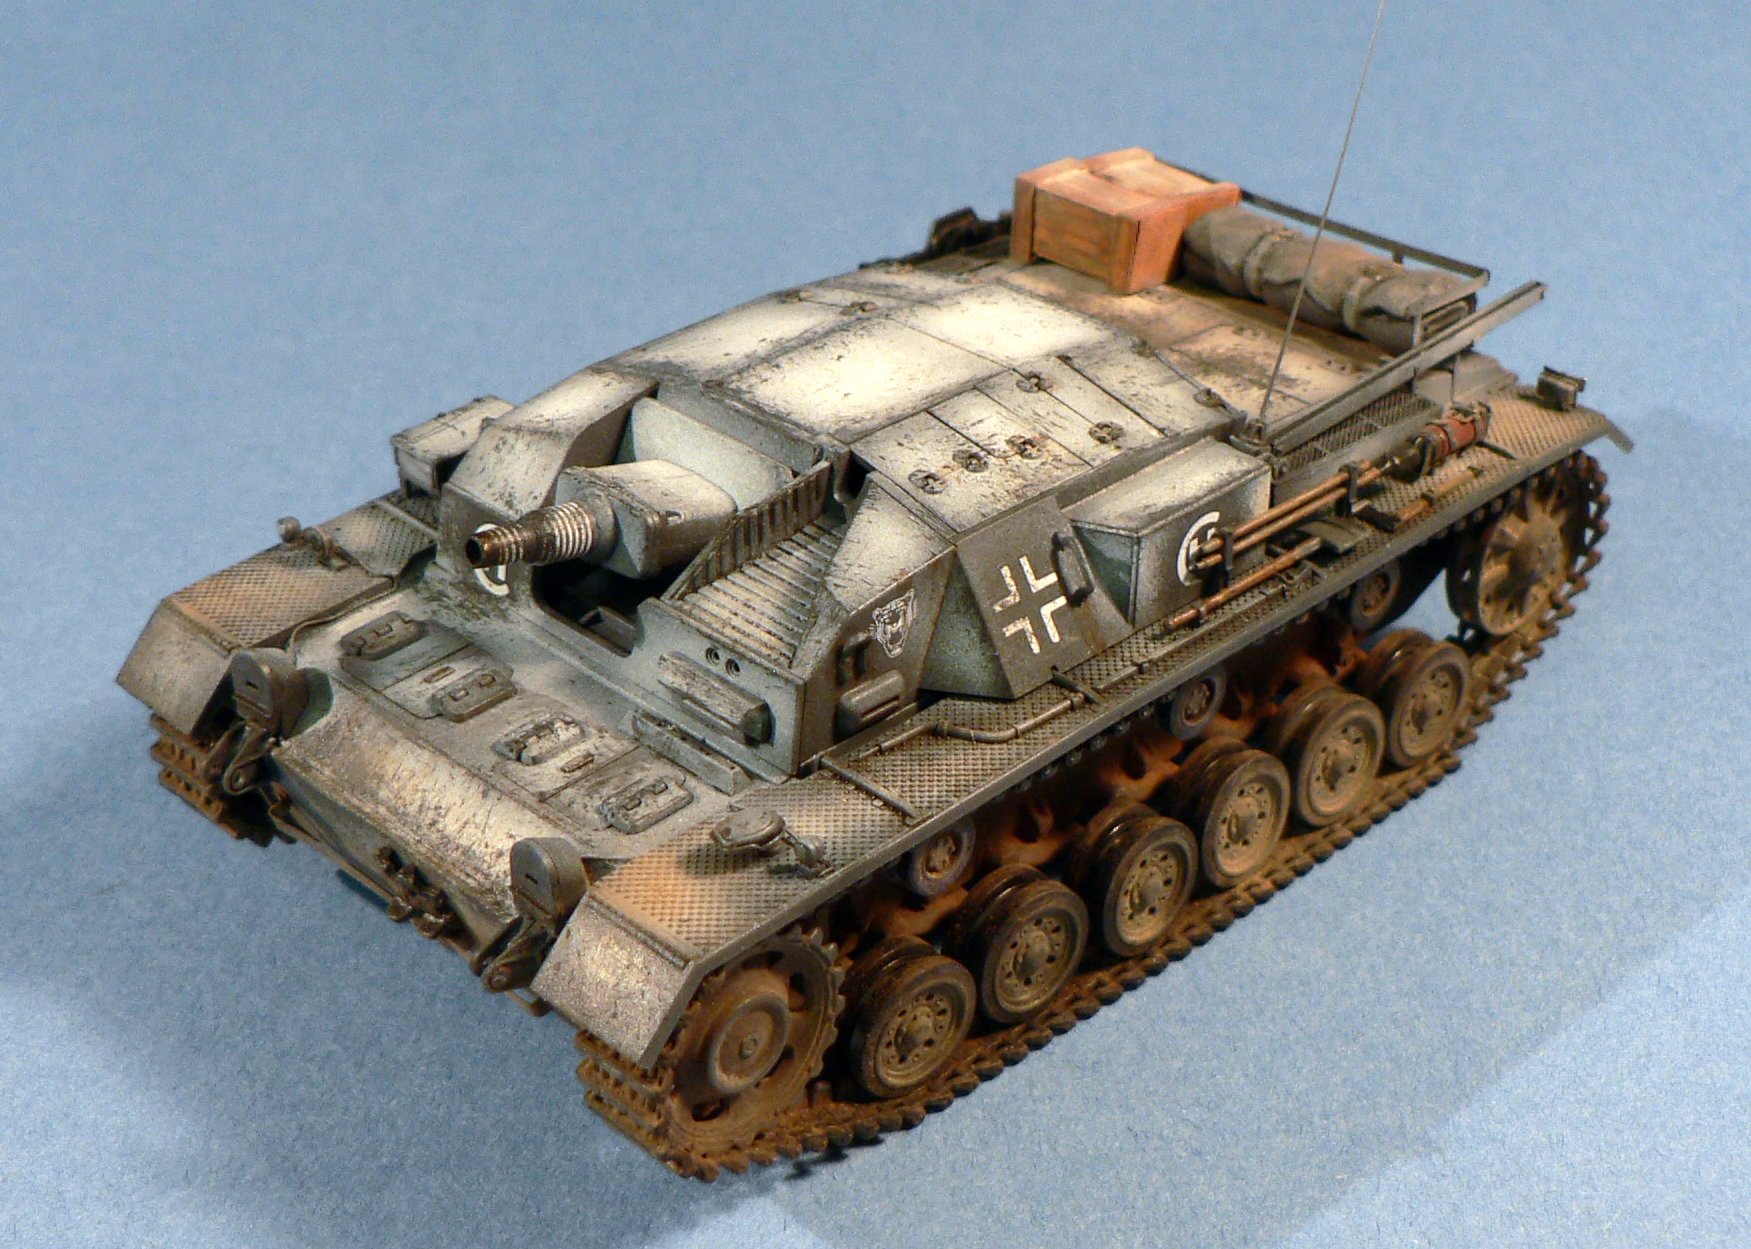
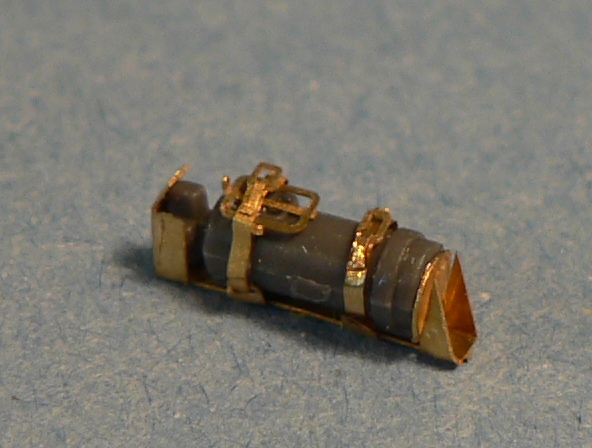
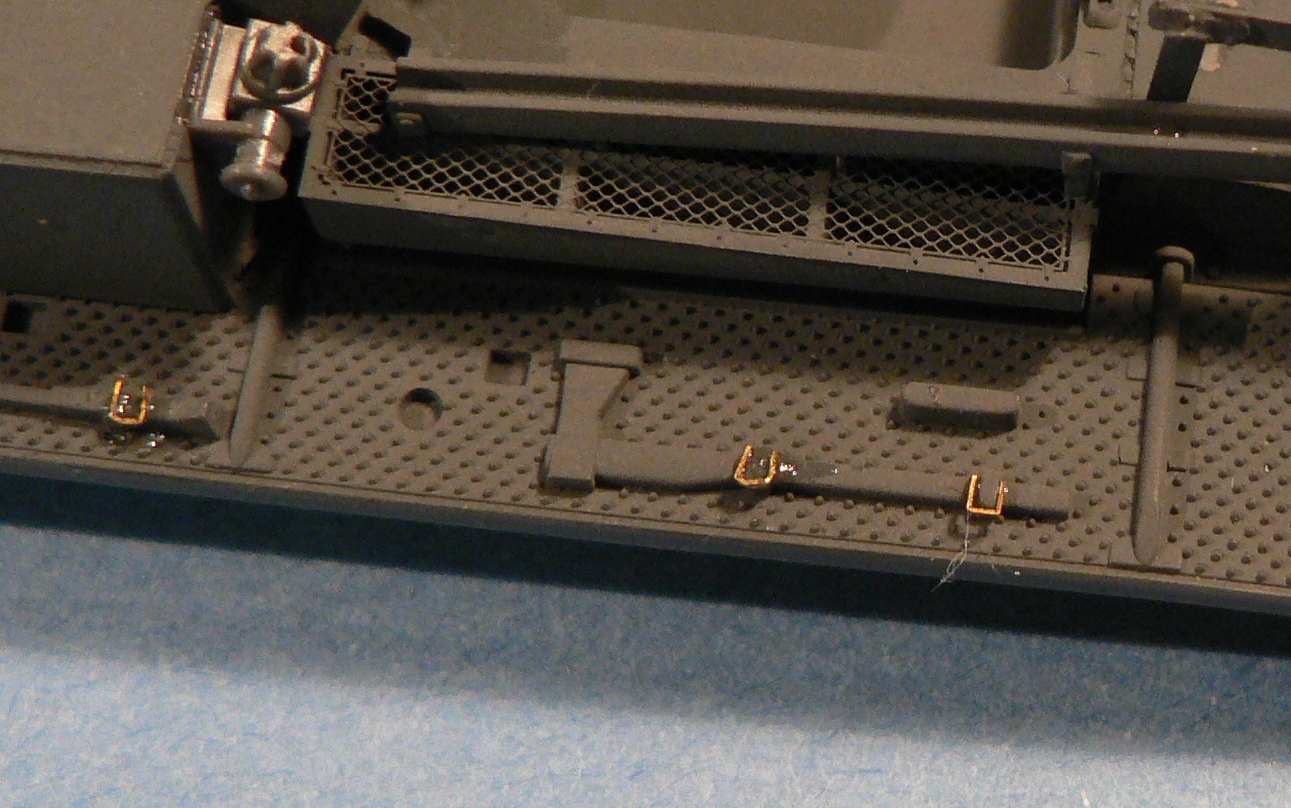
The gun barrel is nice, but after a coat of paint didnt make much of a difference. However, considering the set was under US $10, its a lot of value for the money. The highlight of the set I think is the engine grills, the stowage rails, and the fire extinquisher holder – which consists of 4 parts and requires steady hands and a magnifier to complete. The pictures below shows the different PE parts installed
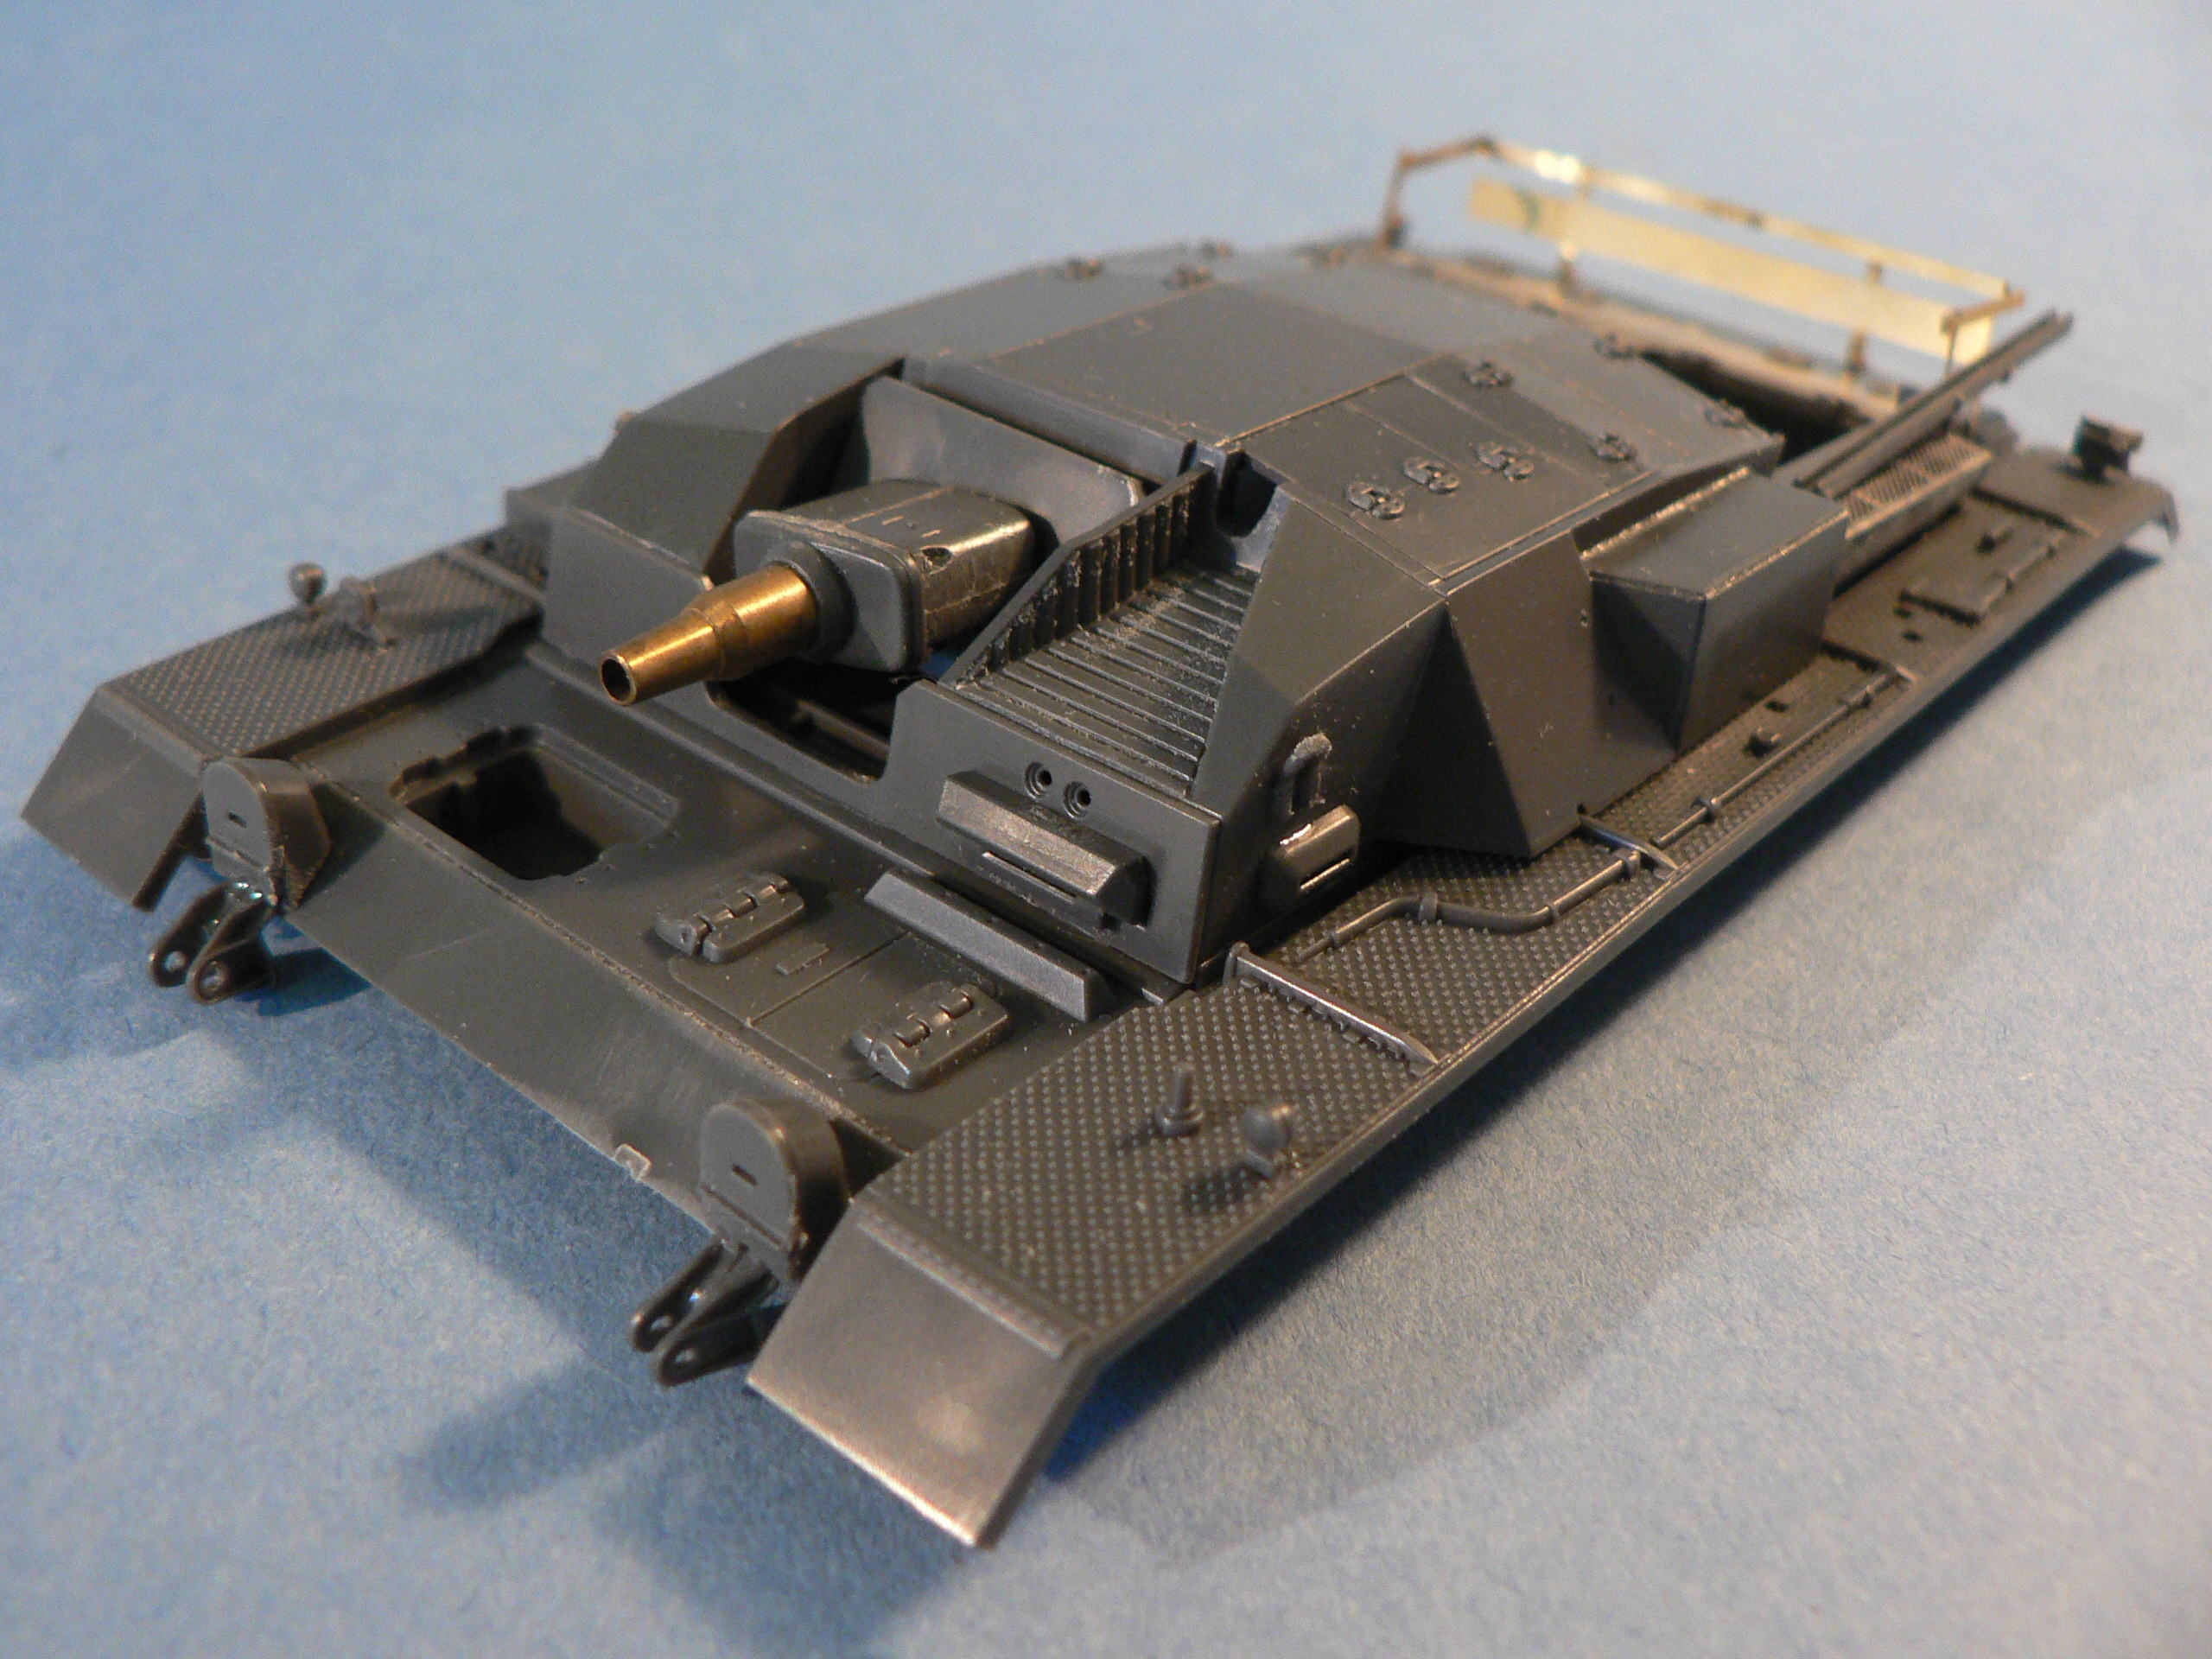
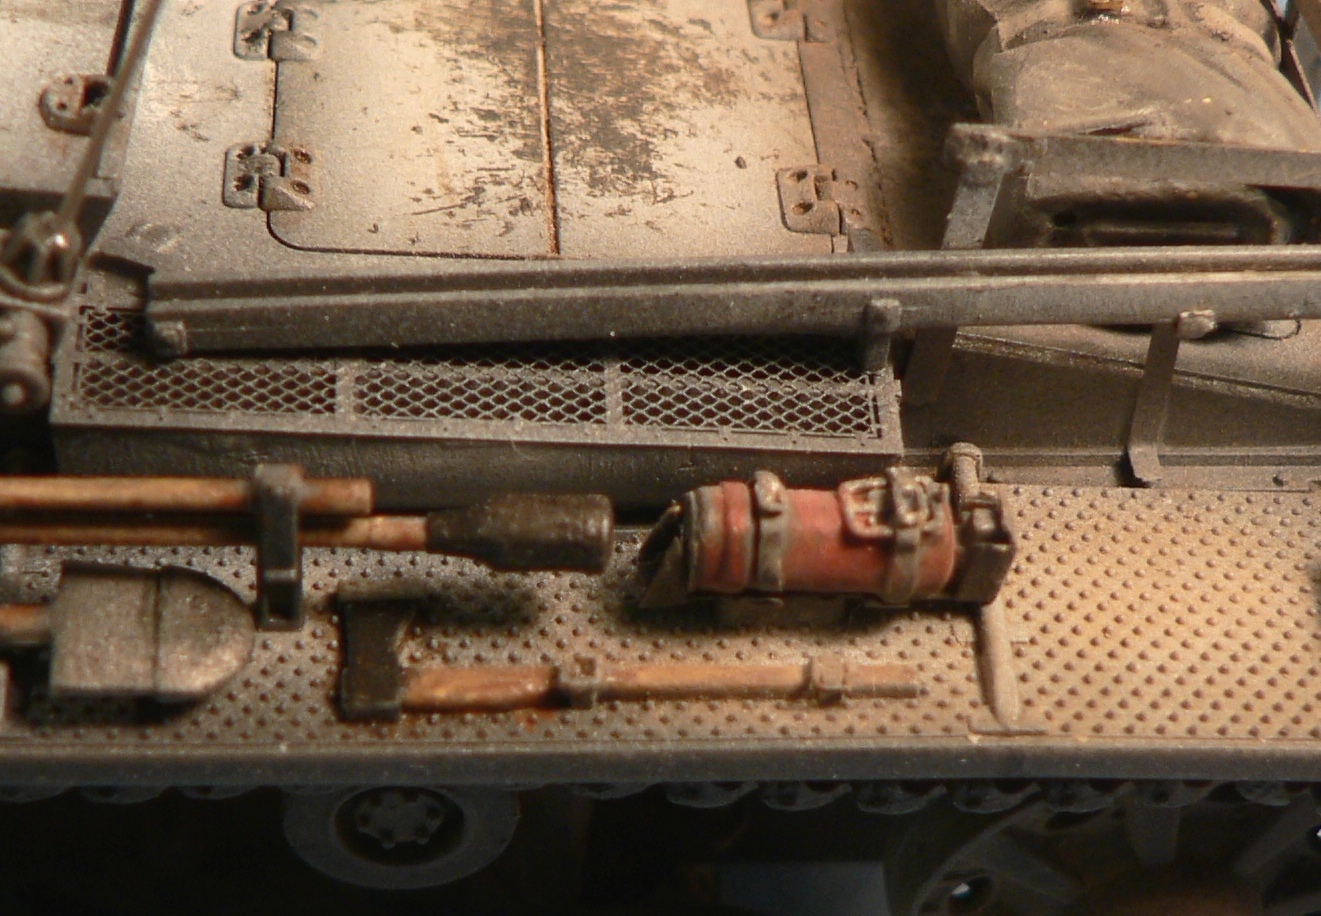
One nice aspect of the top to hull screw attachment is that it allows finishing the two areas separately until almost the end. Which made attaching the tracks much easier. The wheels & top half was fairly straightforward. Toward the end, I was ablt to add the PE buckles and added some additional wiring in the front using thin copper wires
PAINTING
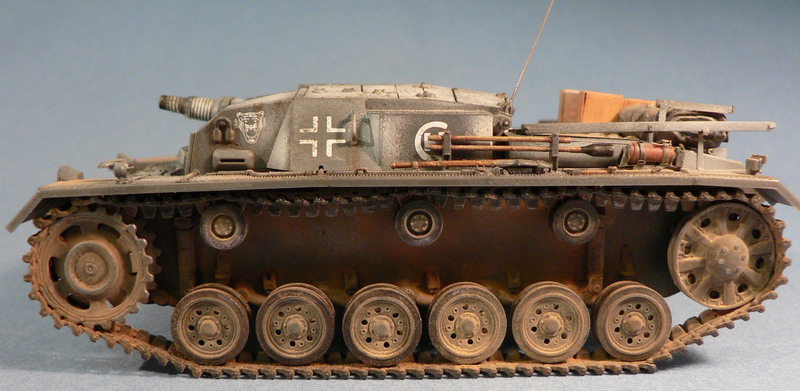
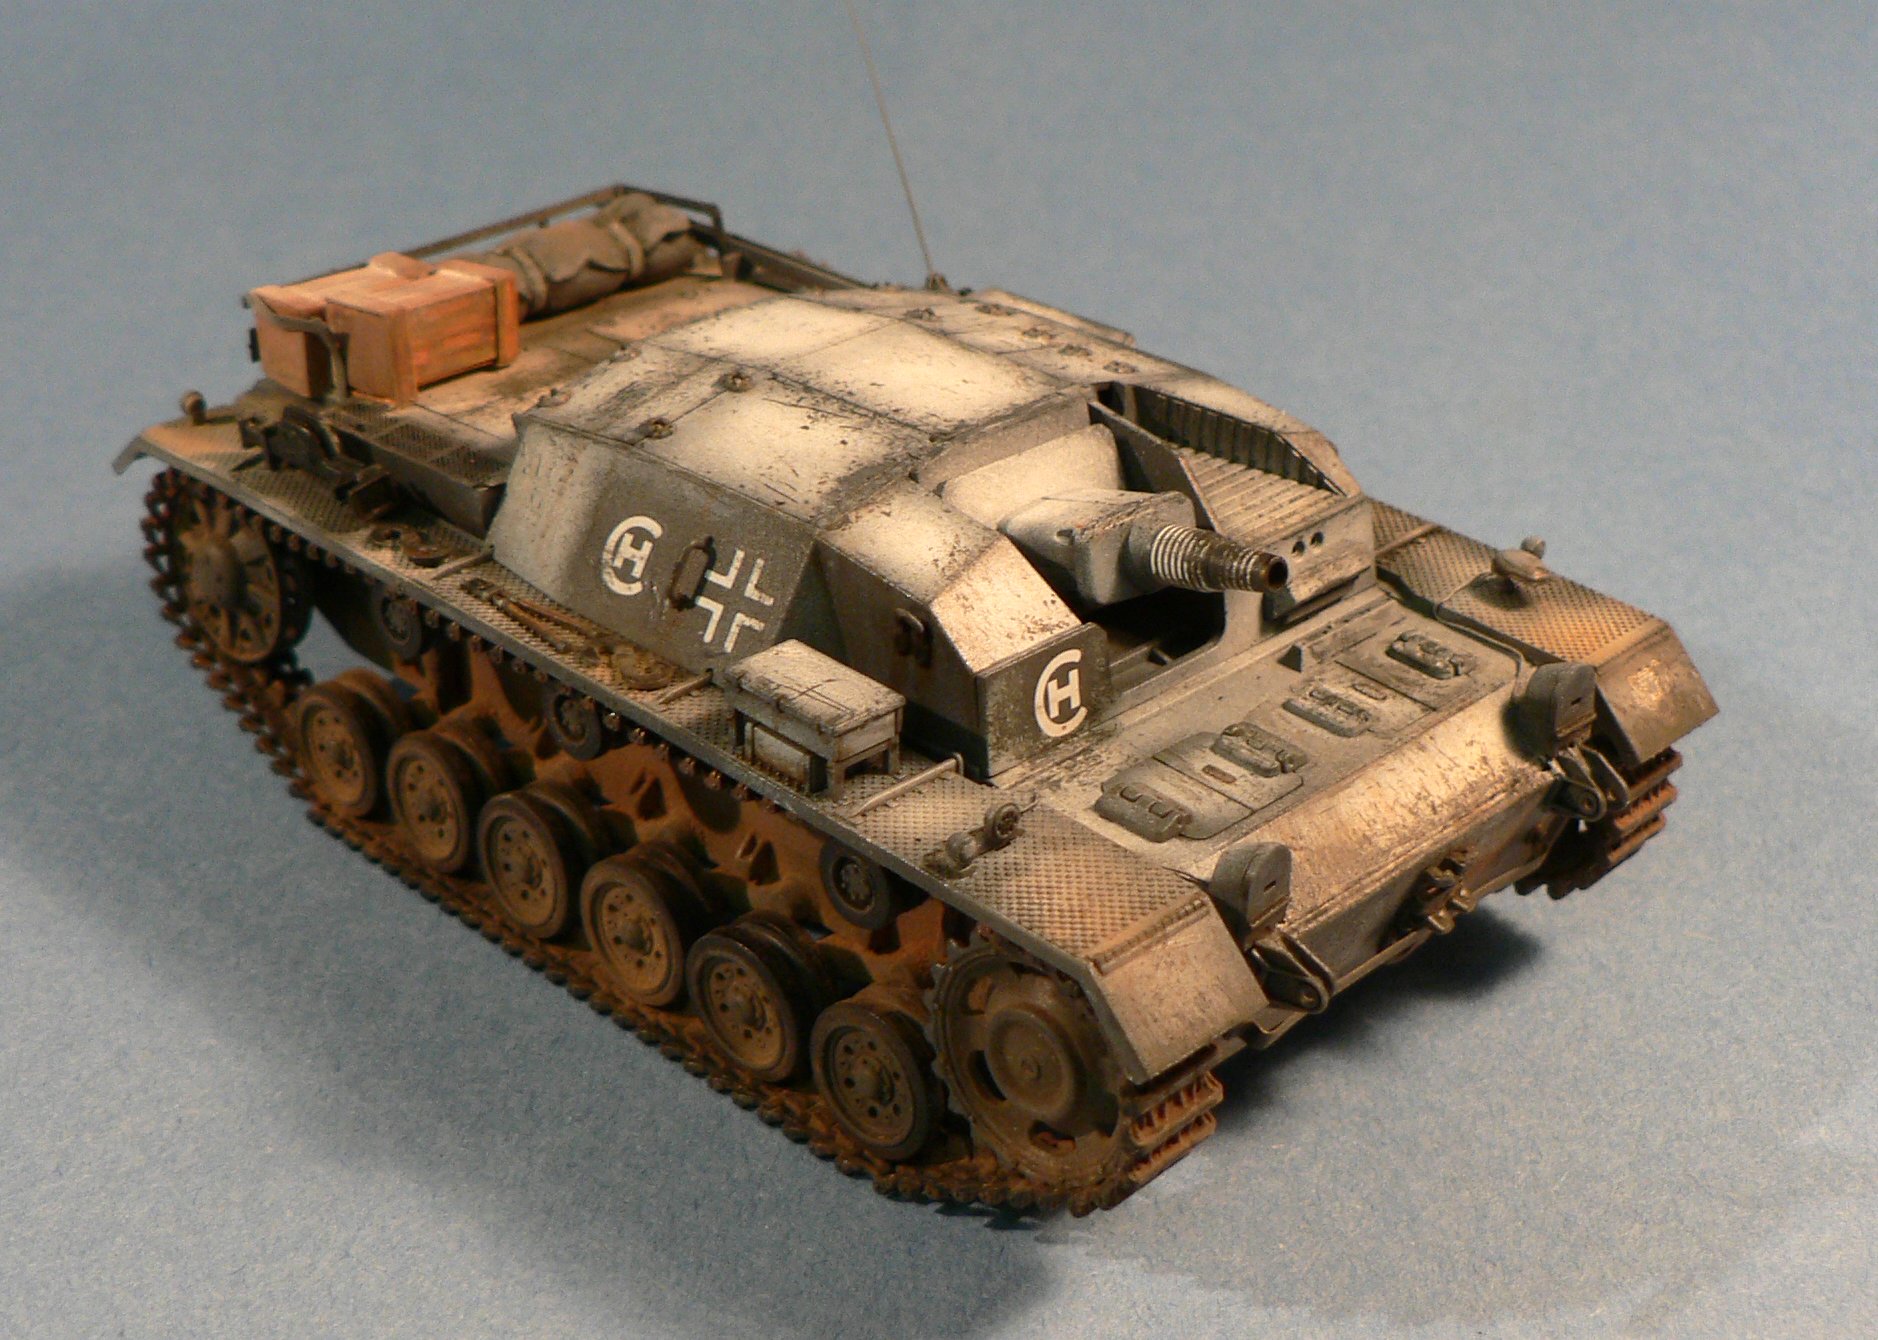
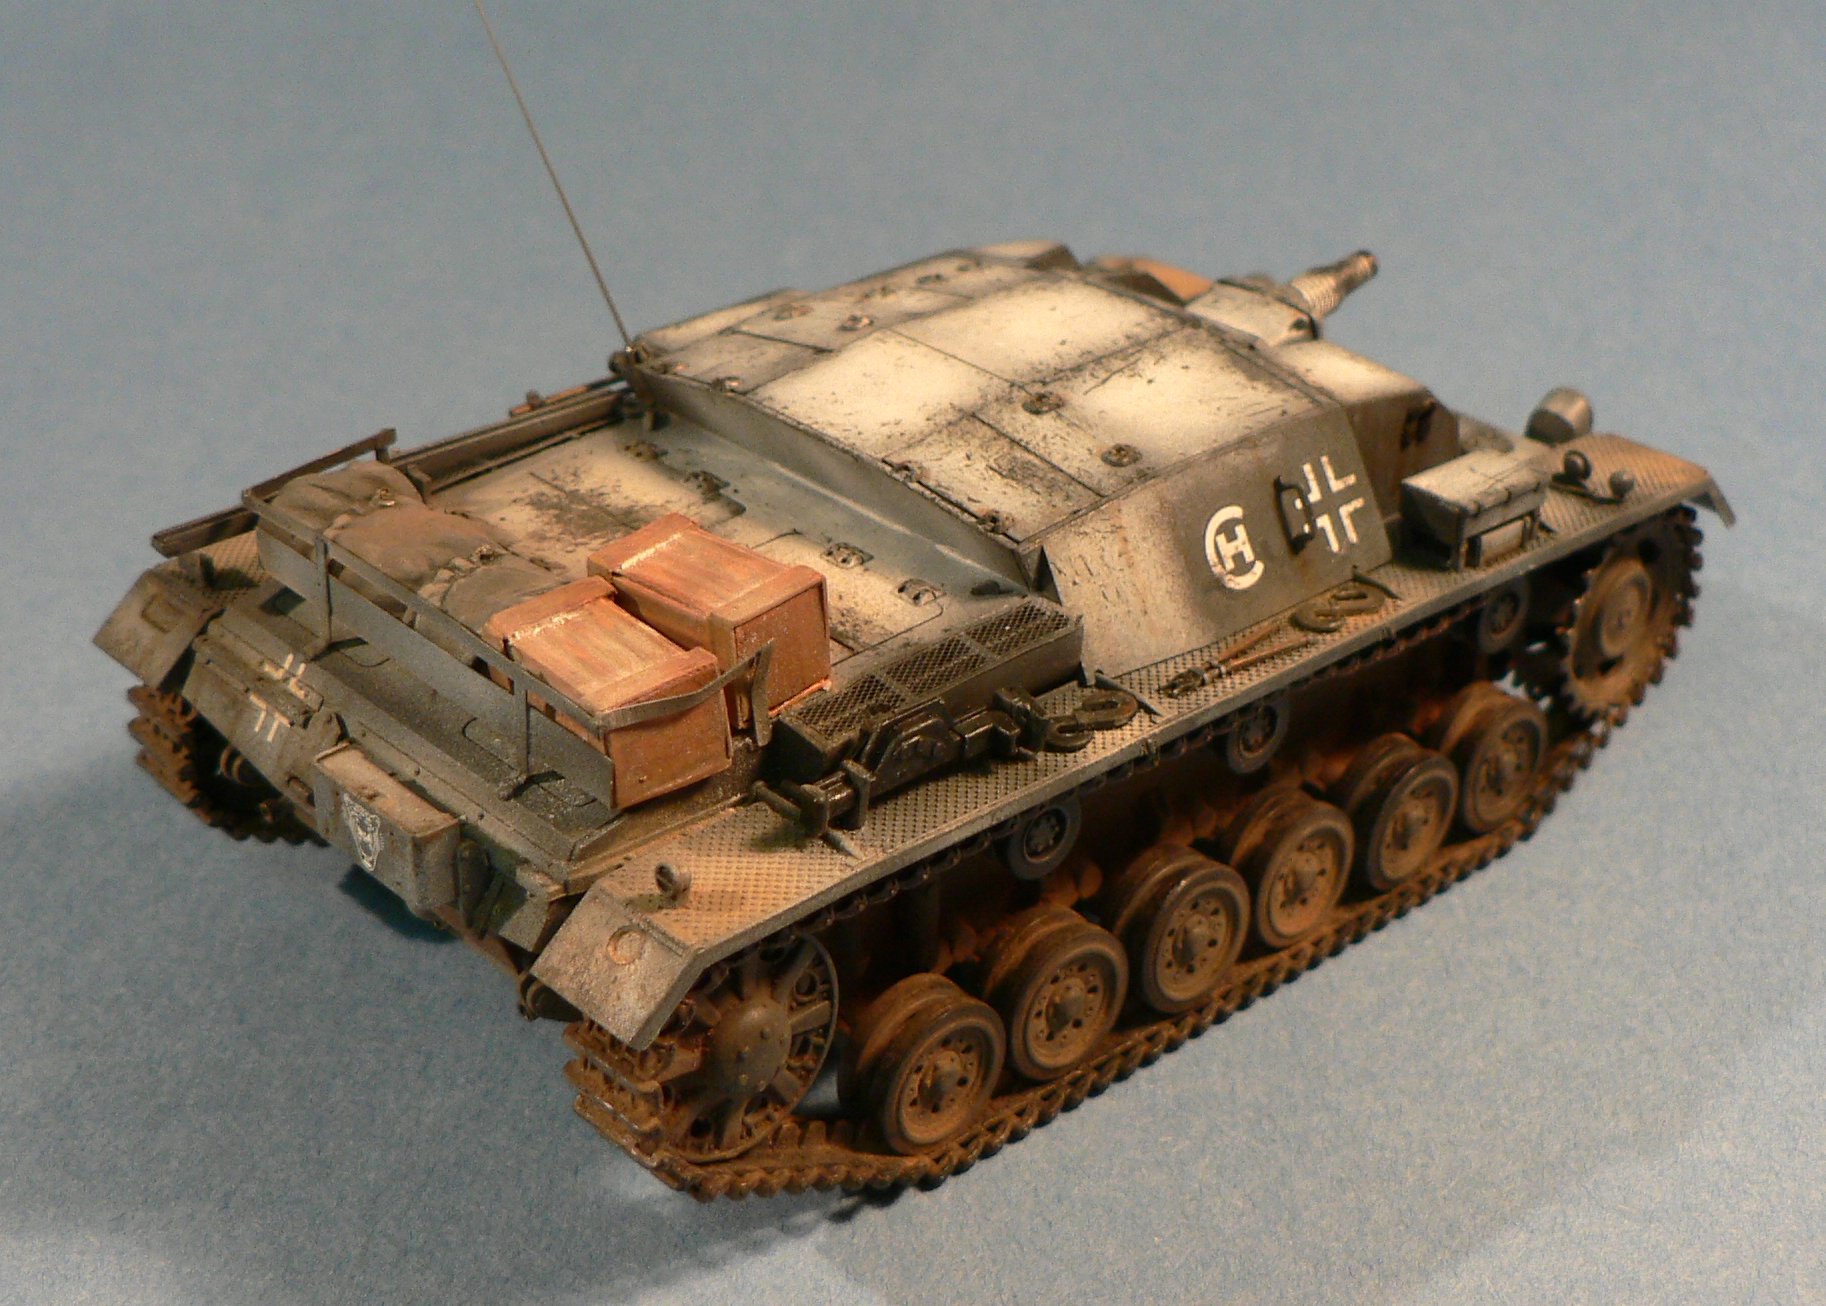
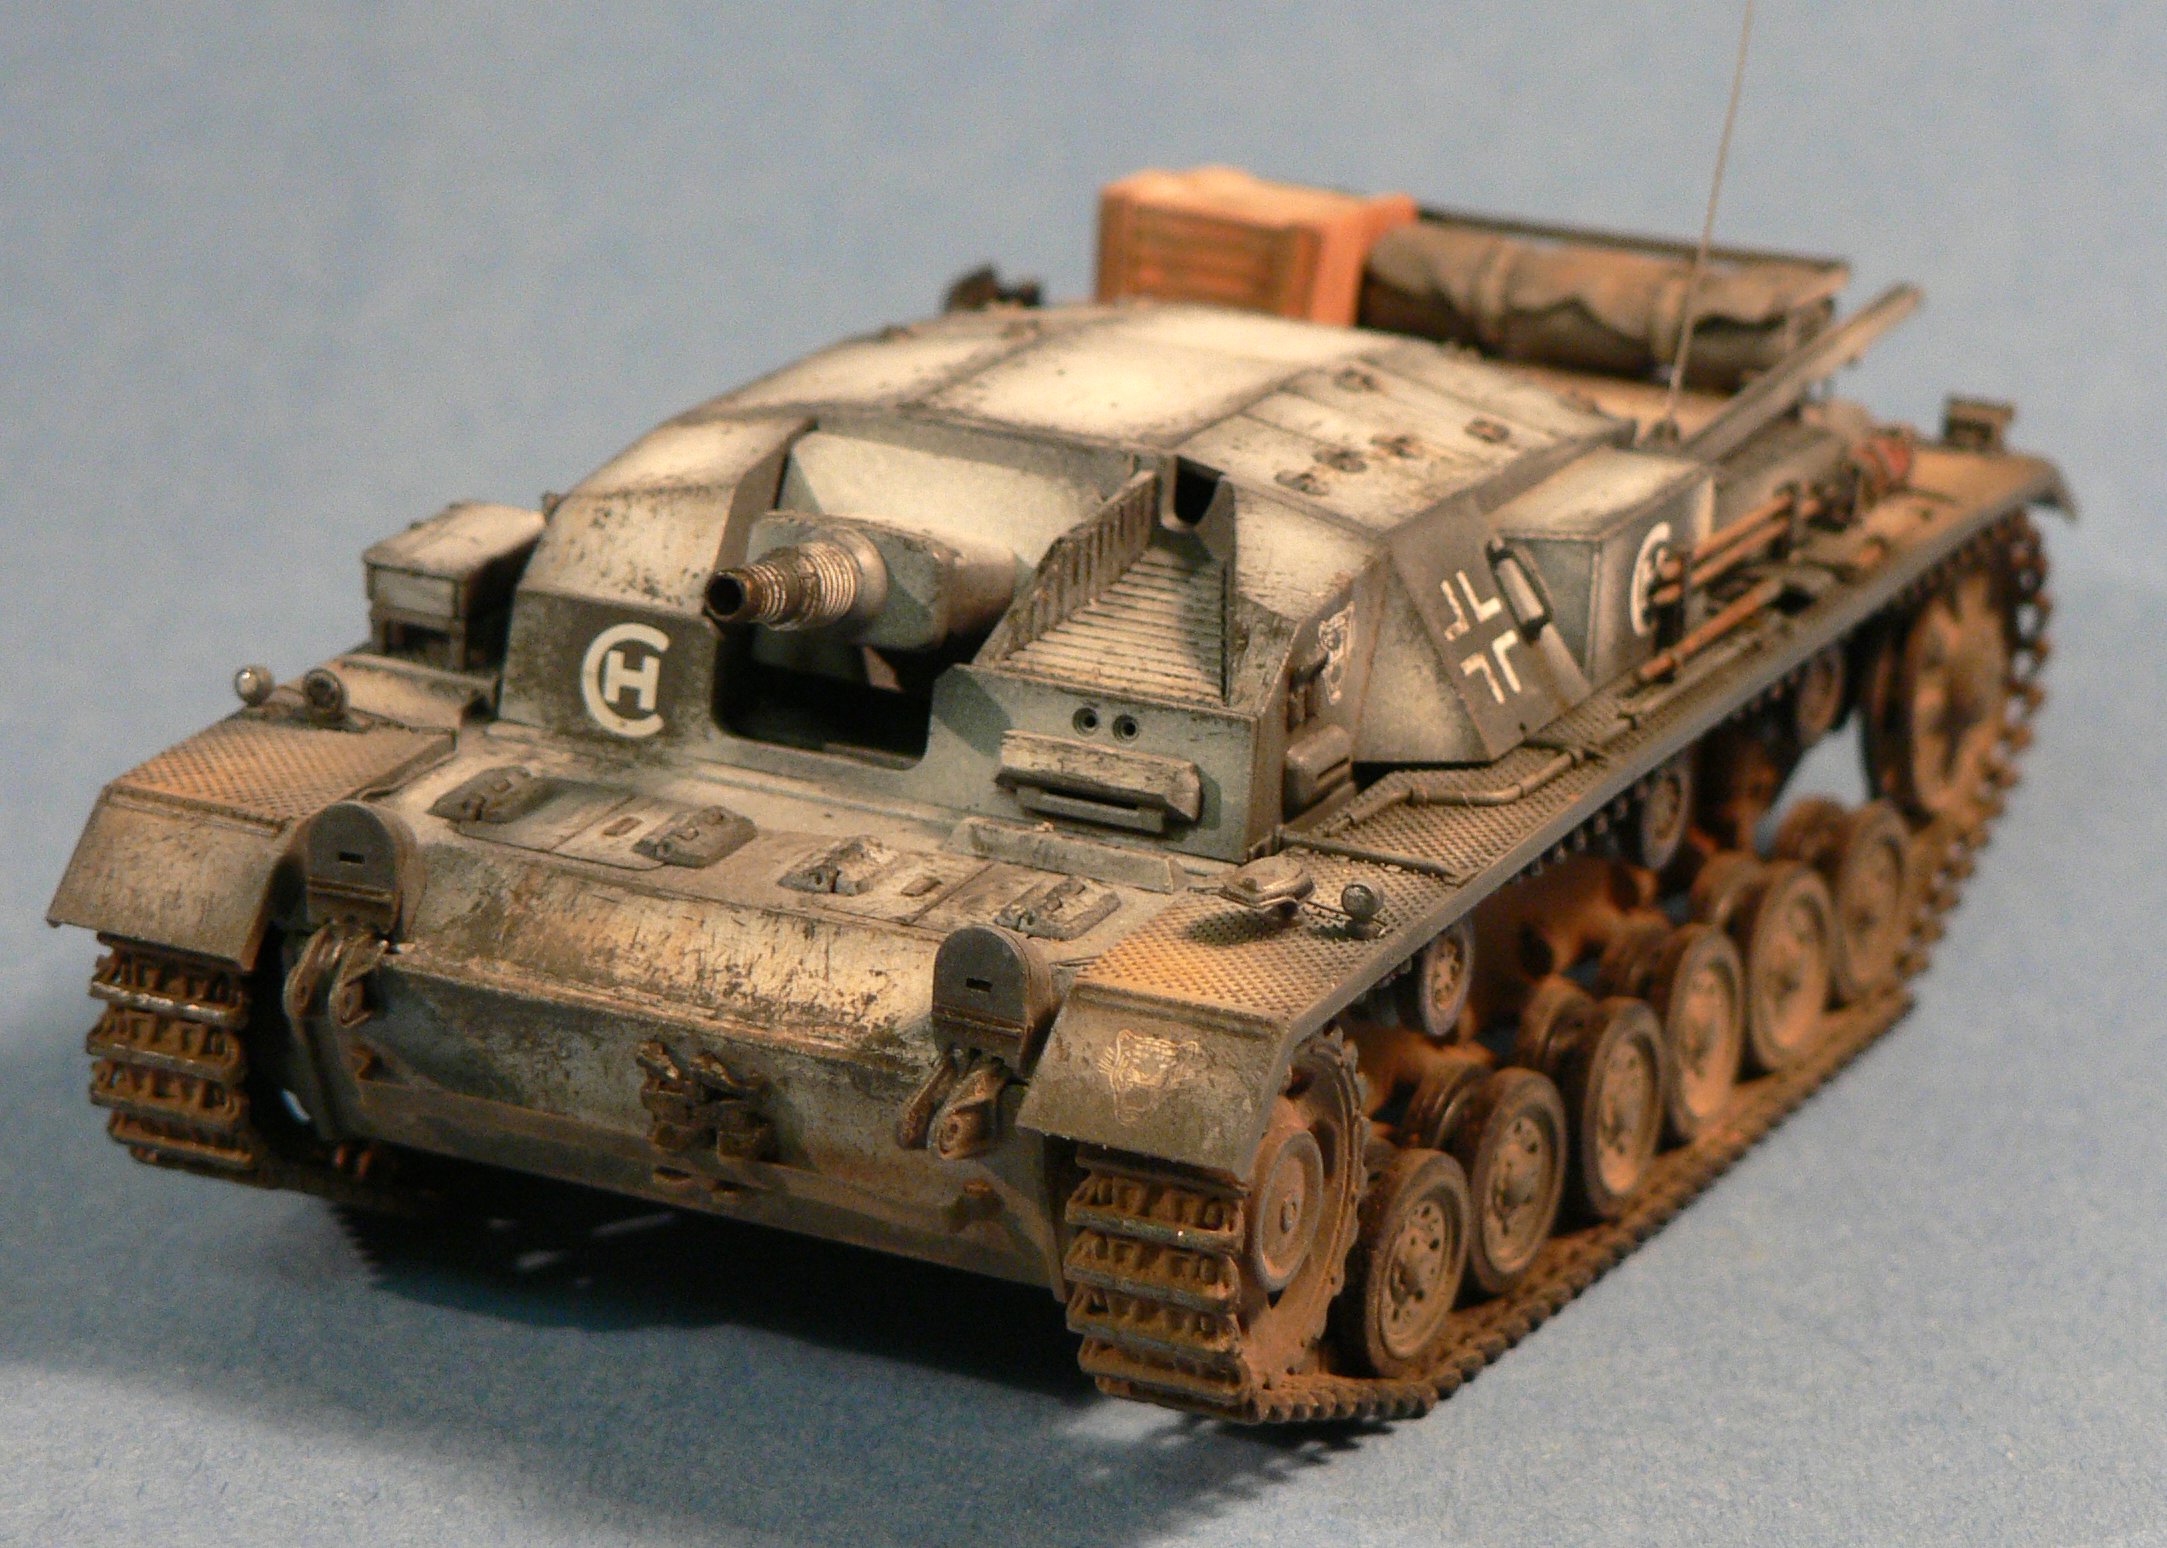
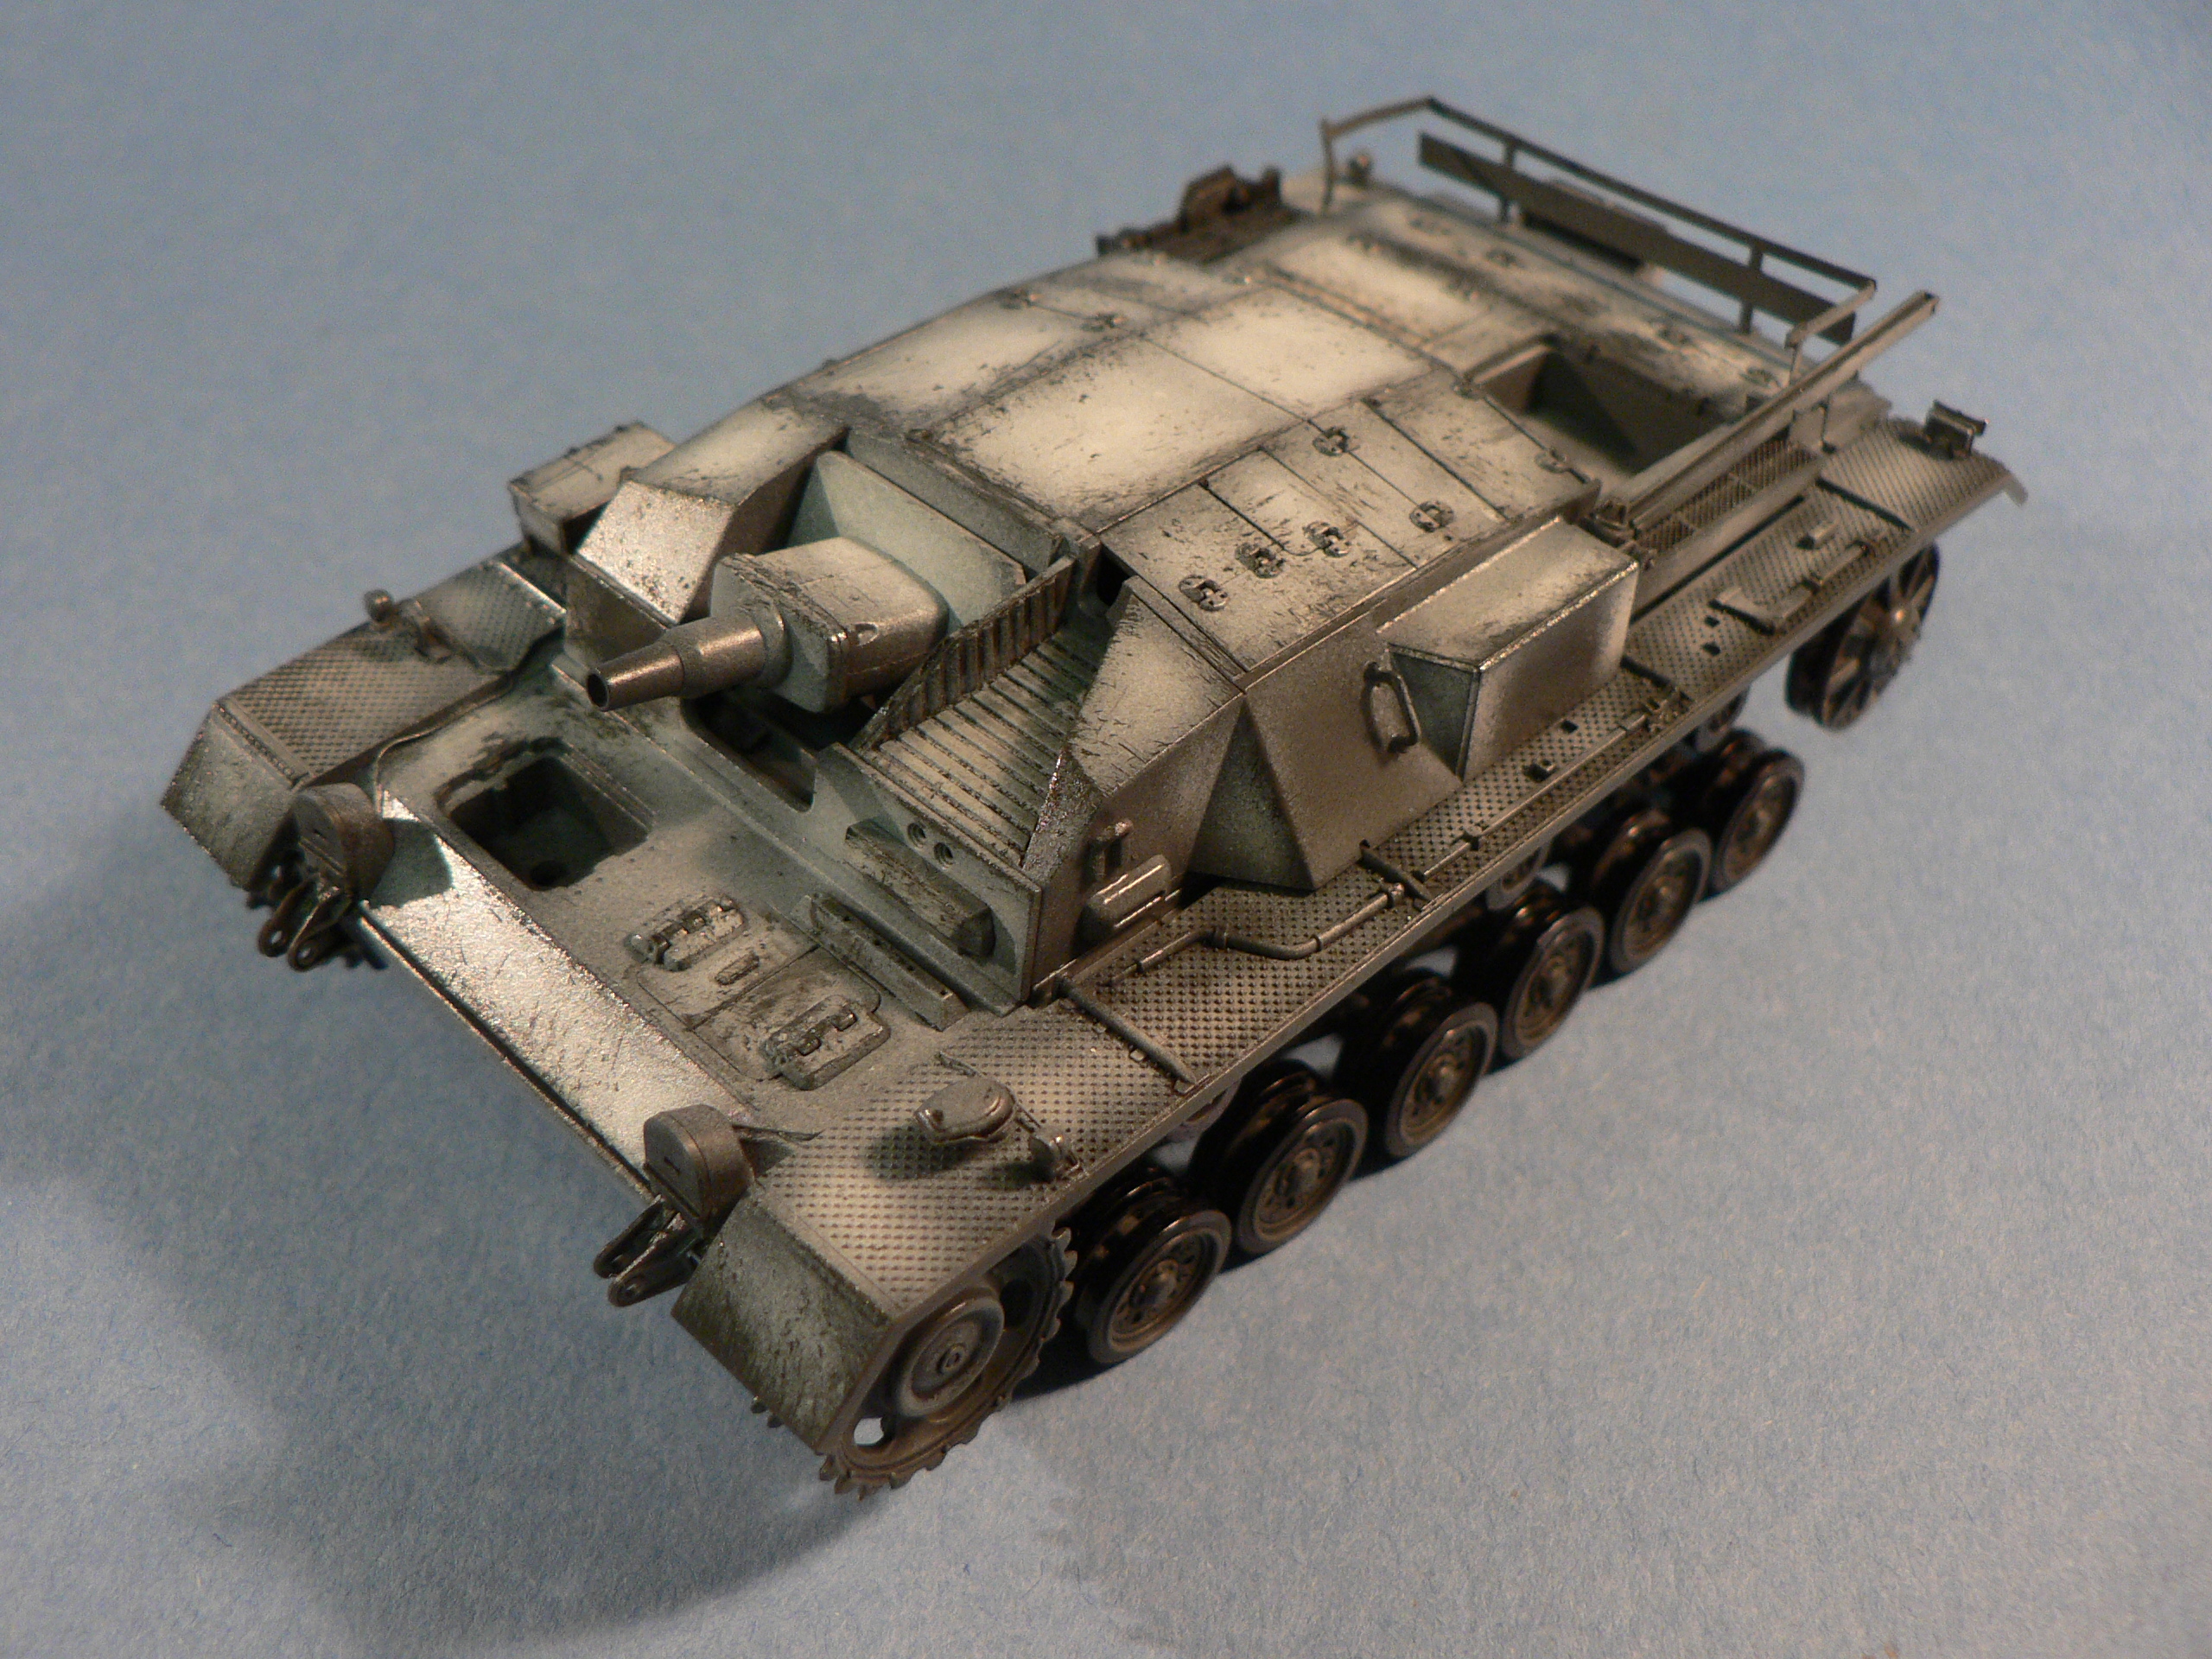
I was inspired by a wintered finished Stug and decided to replicate the look. After initial priming with Tamiya primer, I sprayed with Taimya panzer Gray. I then applied somewhat random thin white coats throughout, concentrating on panel centers. I left most of the hull & wheels alone, as later weathering would obscur any white paint.
I followed this with applying scratches via a kitchen sponge pad, the kind with scrubbing side. I dipped the corner of a cut up pad in the paint, and removed most of it as if dry brushing. I then applied the paint, concentrating on the corners and areas that experienced the most wear
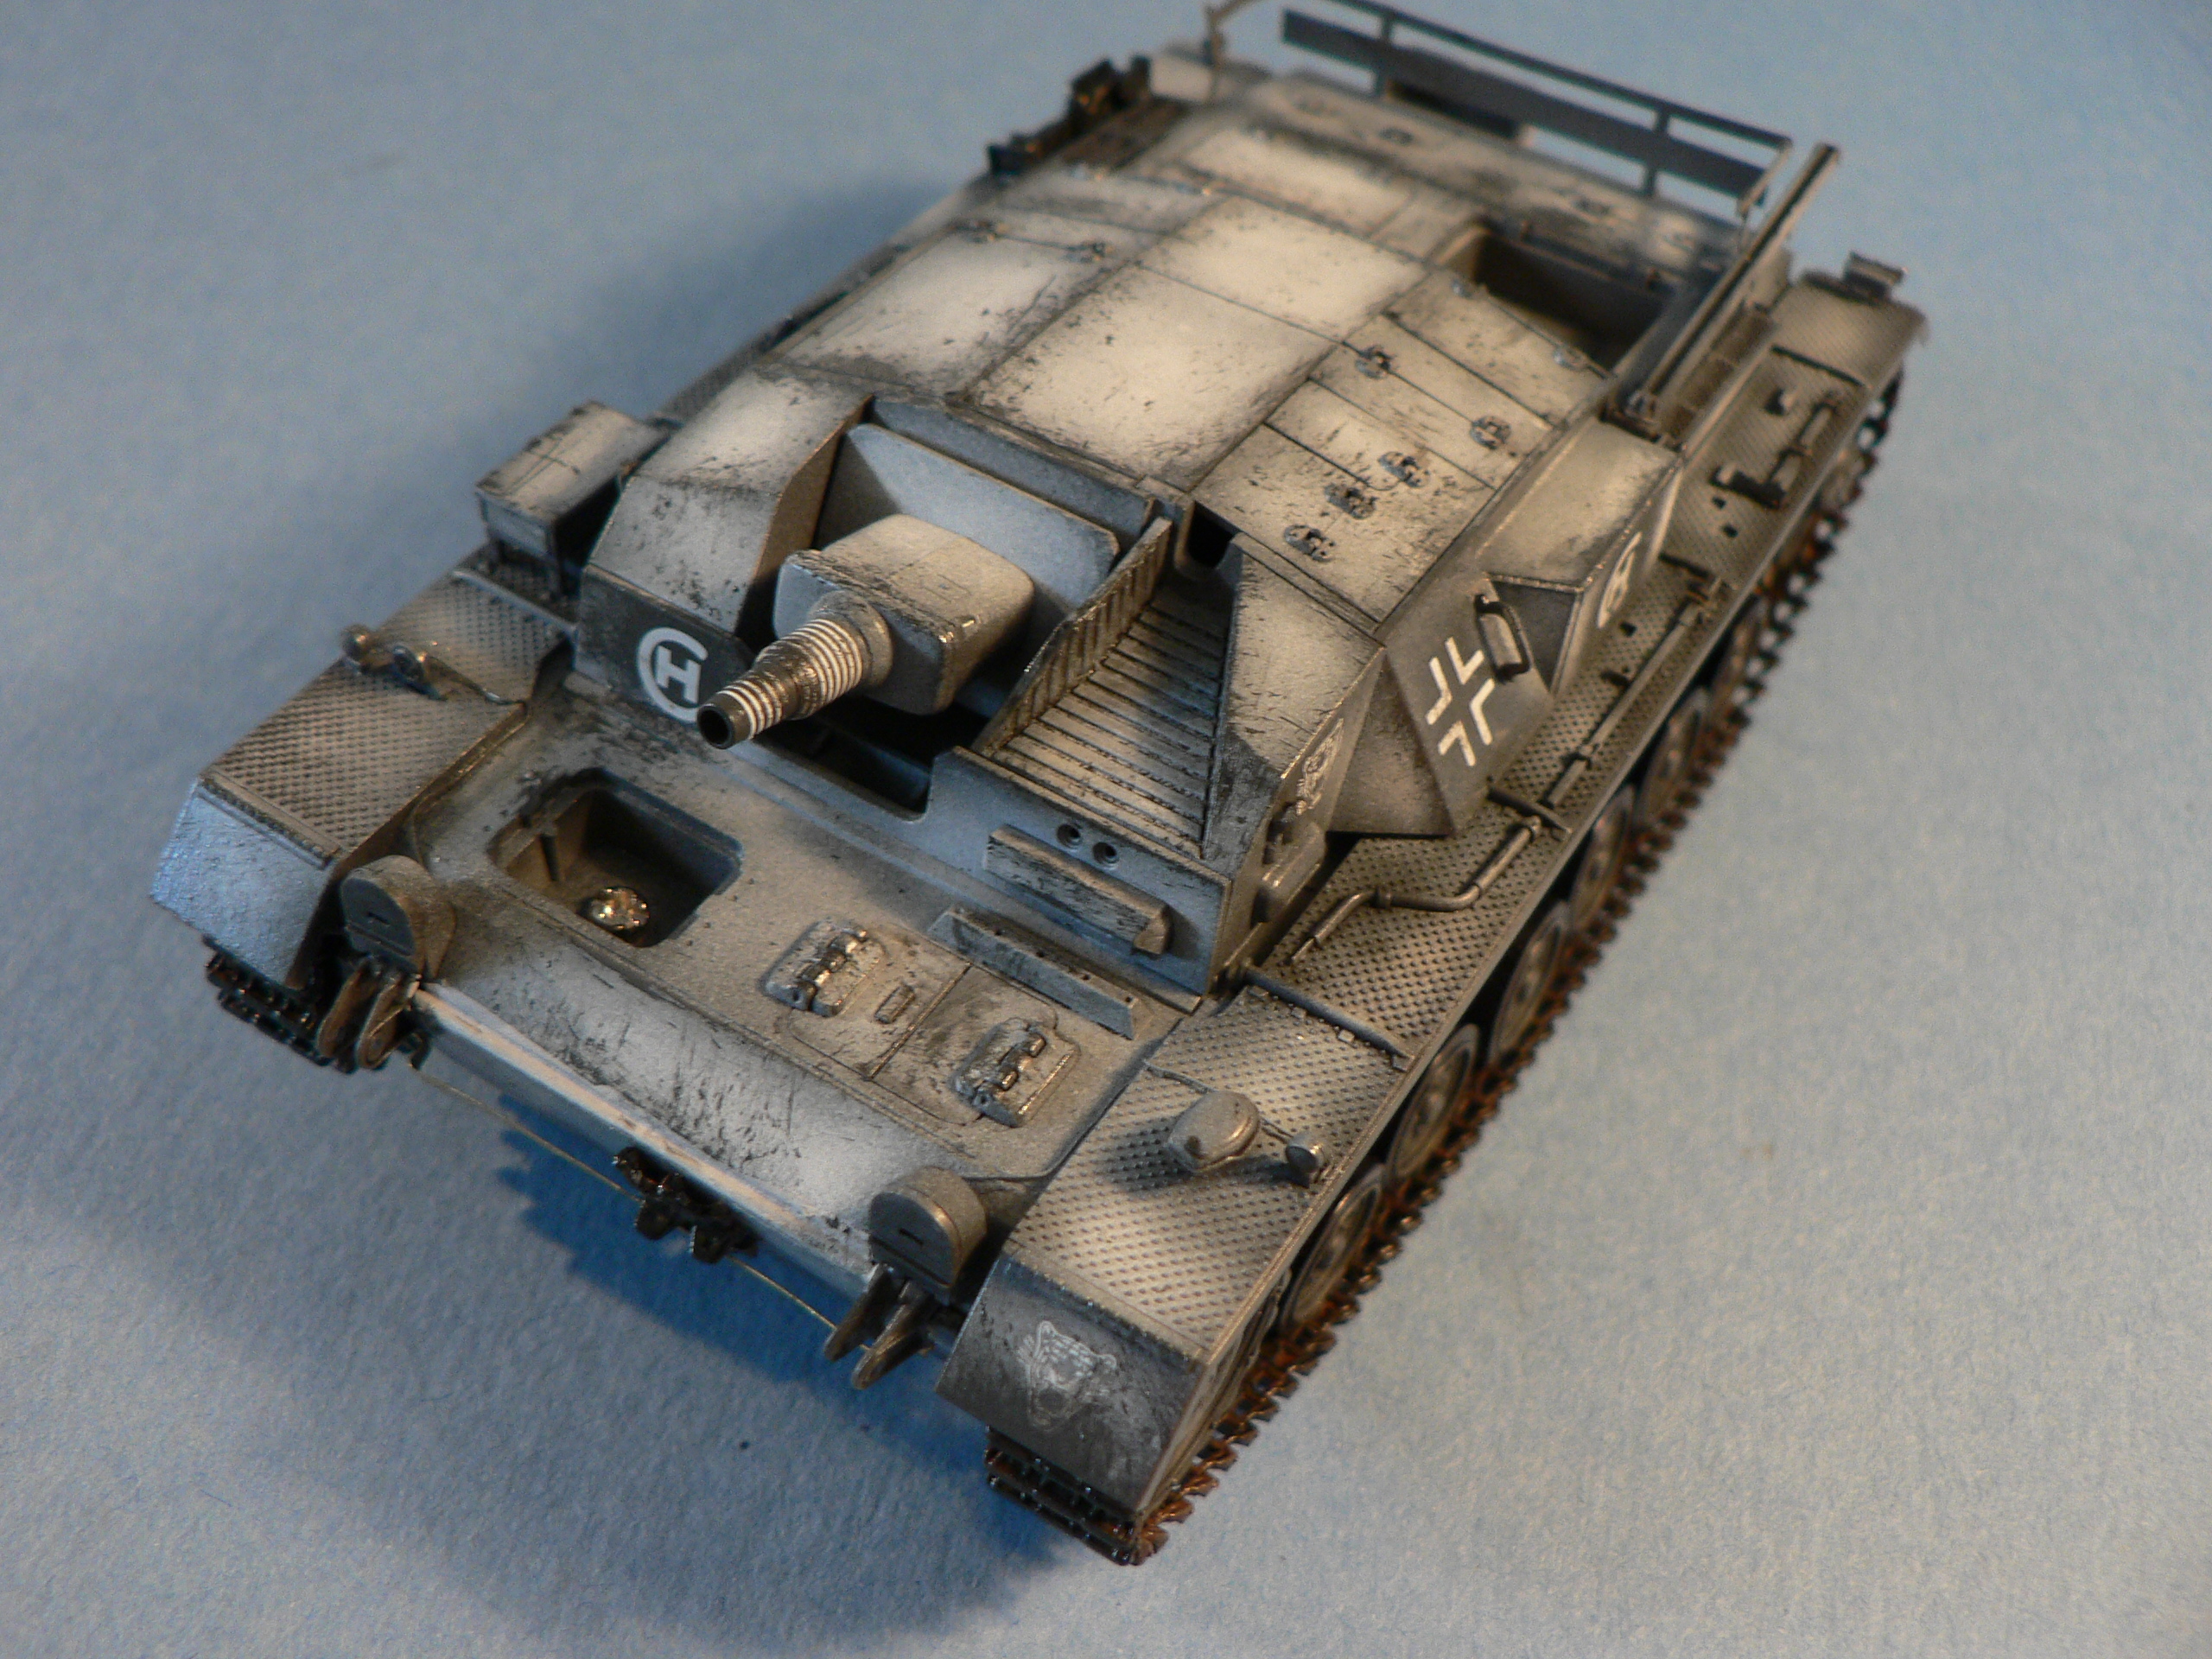
At this point, I gave it a protective coating of future. After that dried overnight, I applied decals and then on with a wash of black oil. After that initial wash I followed with a umber wash on the lower areas and added misc. rust & fuel stains. To seal the gap at the front hull with a simulated weld seam, I used some Mr Surfacer 500 applied with a microbrush.
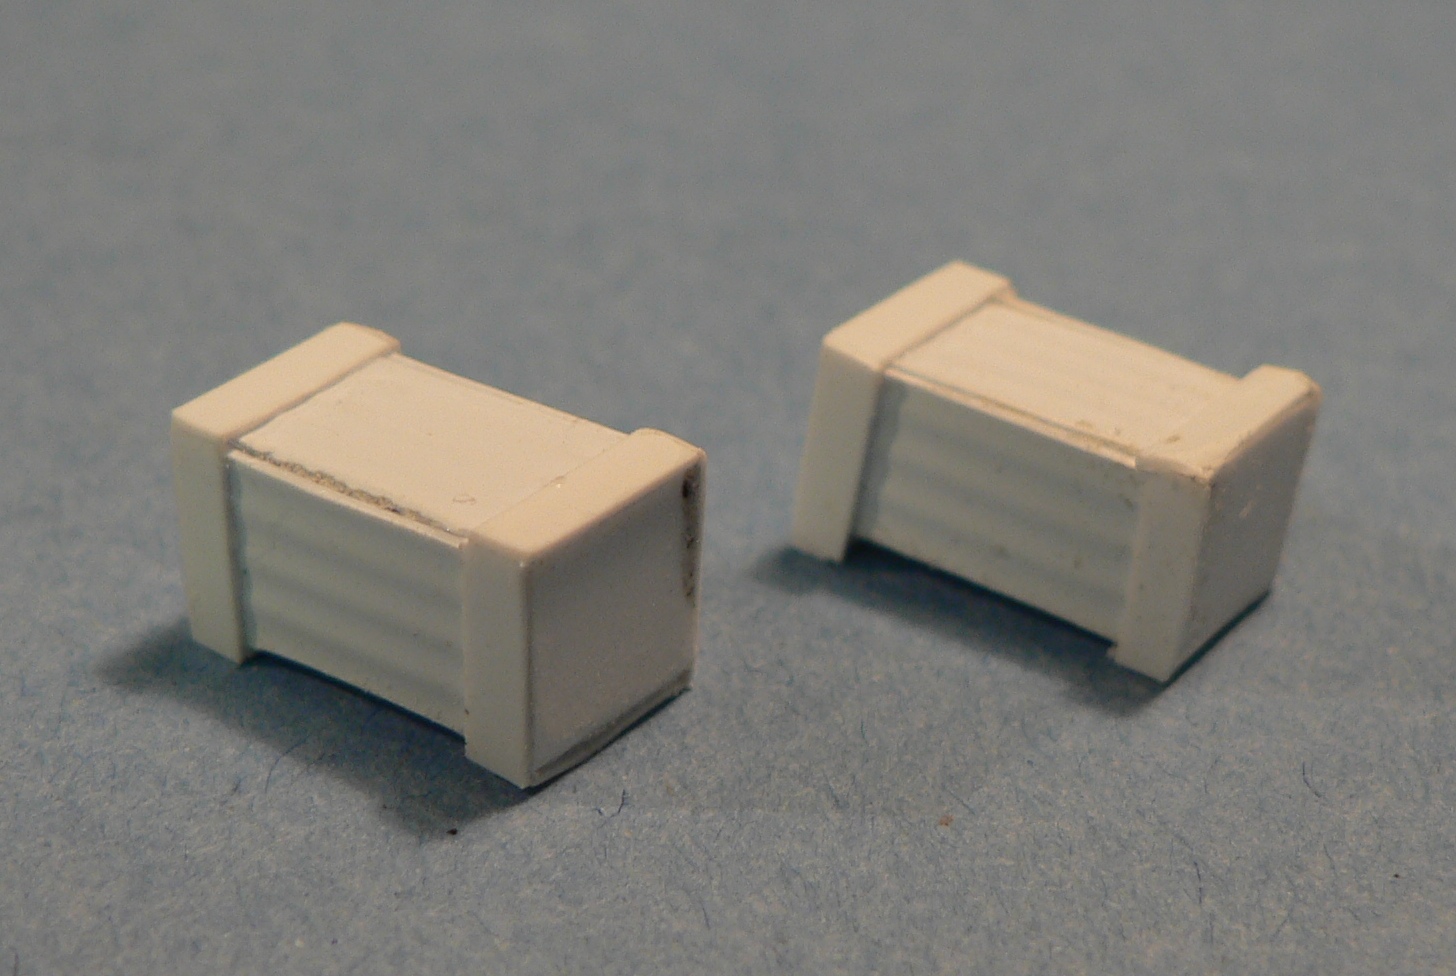
For stowage, I borrowed a tarp from my spare box, and made wooden boxes from sheet styrene. These were simply 6 sides cut and glued together with Cyano. The edged were made with styrene strips cut to length. Finished with Taimya Buff and Brown, followed by MMP Earth and White powder.
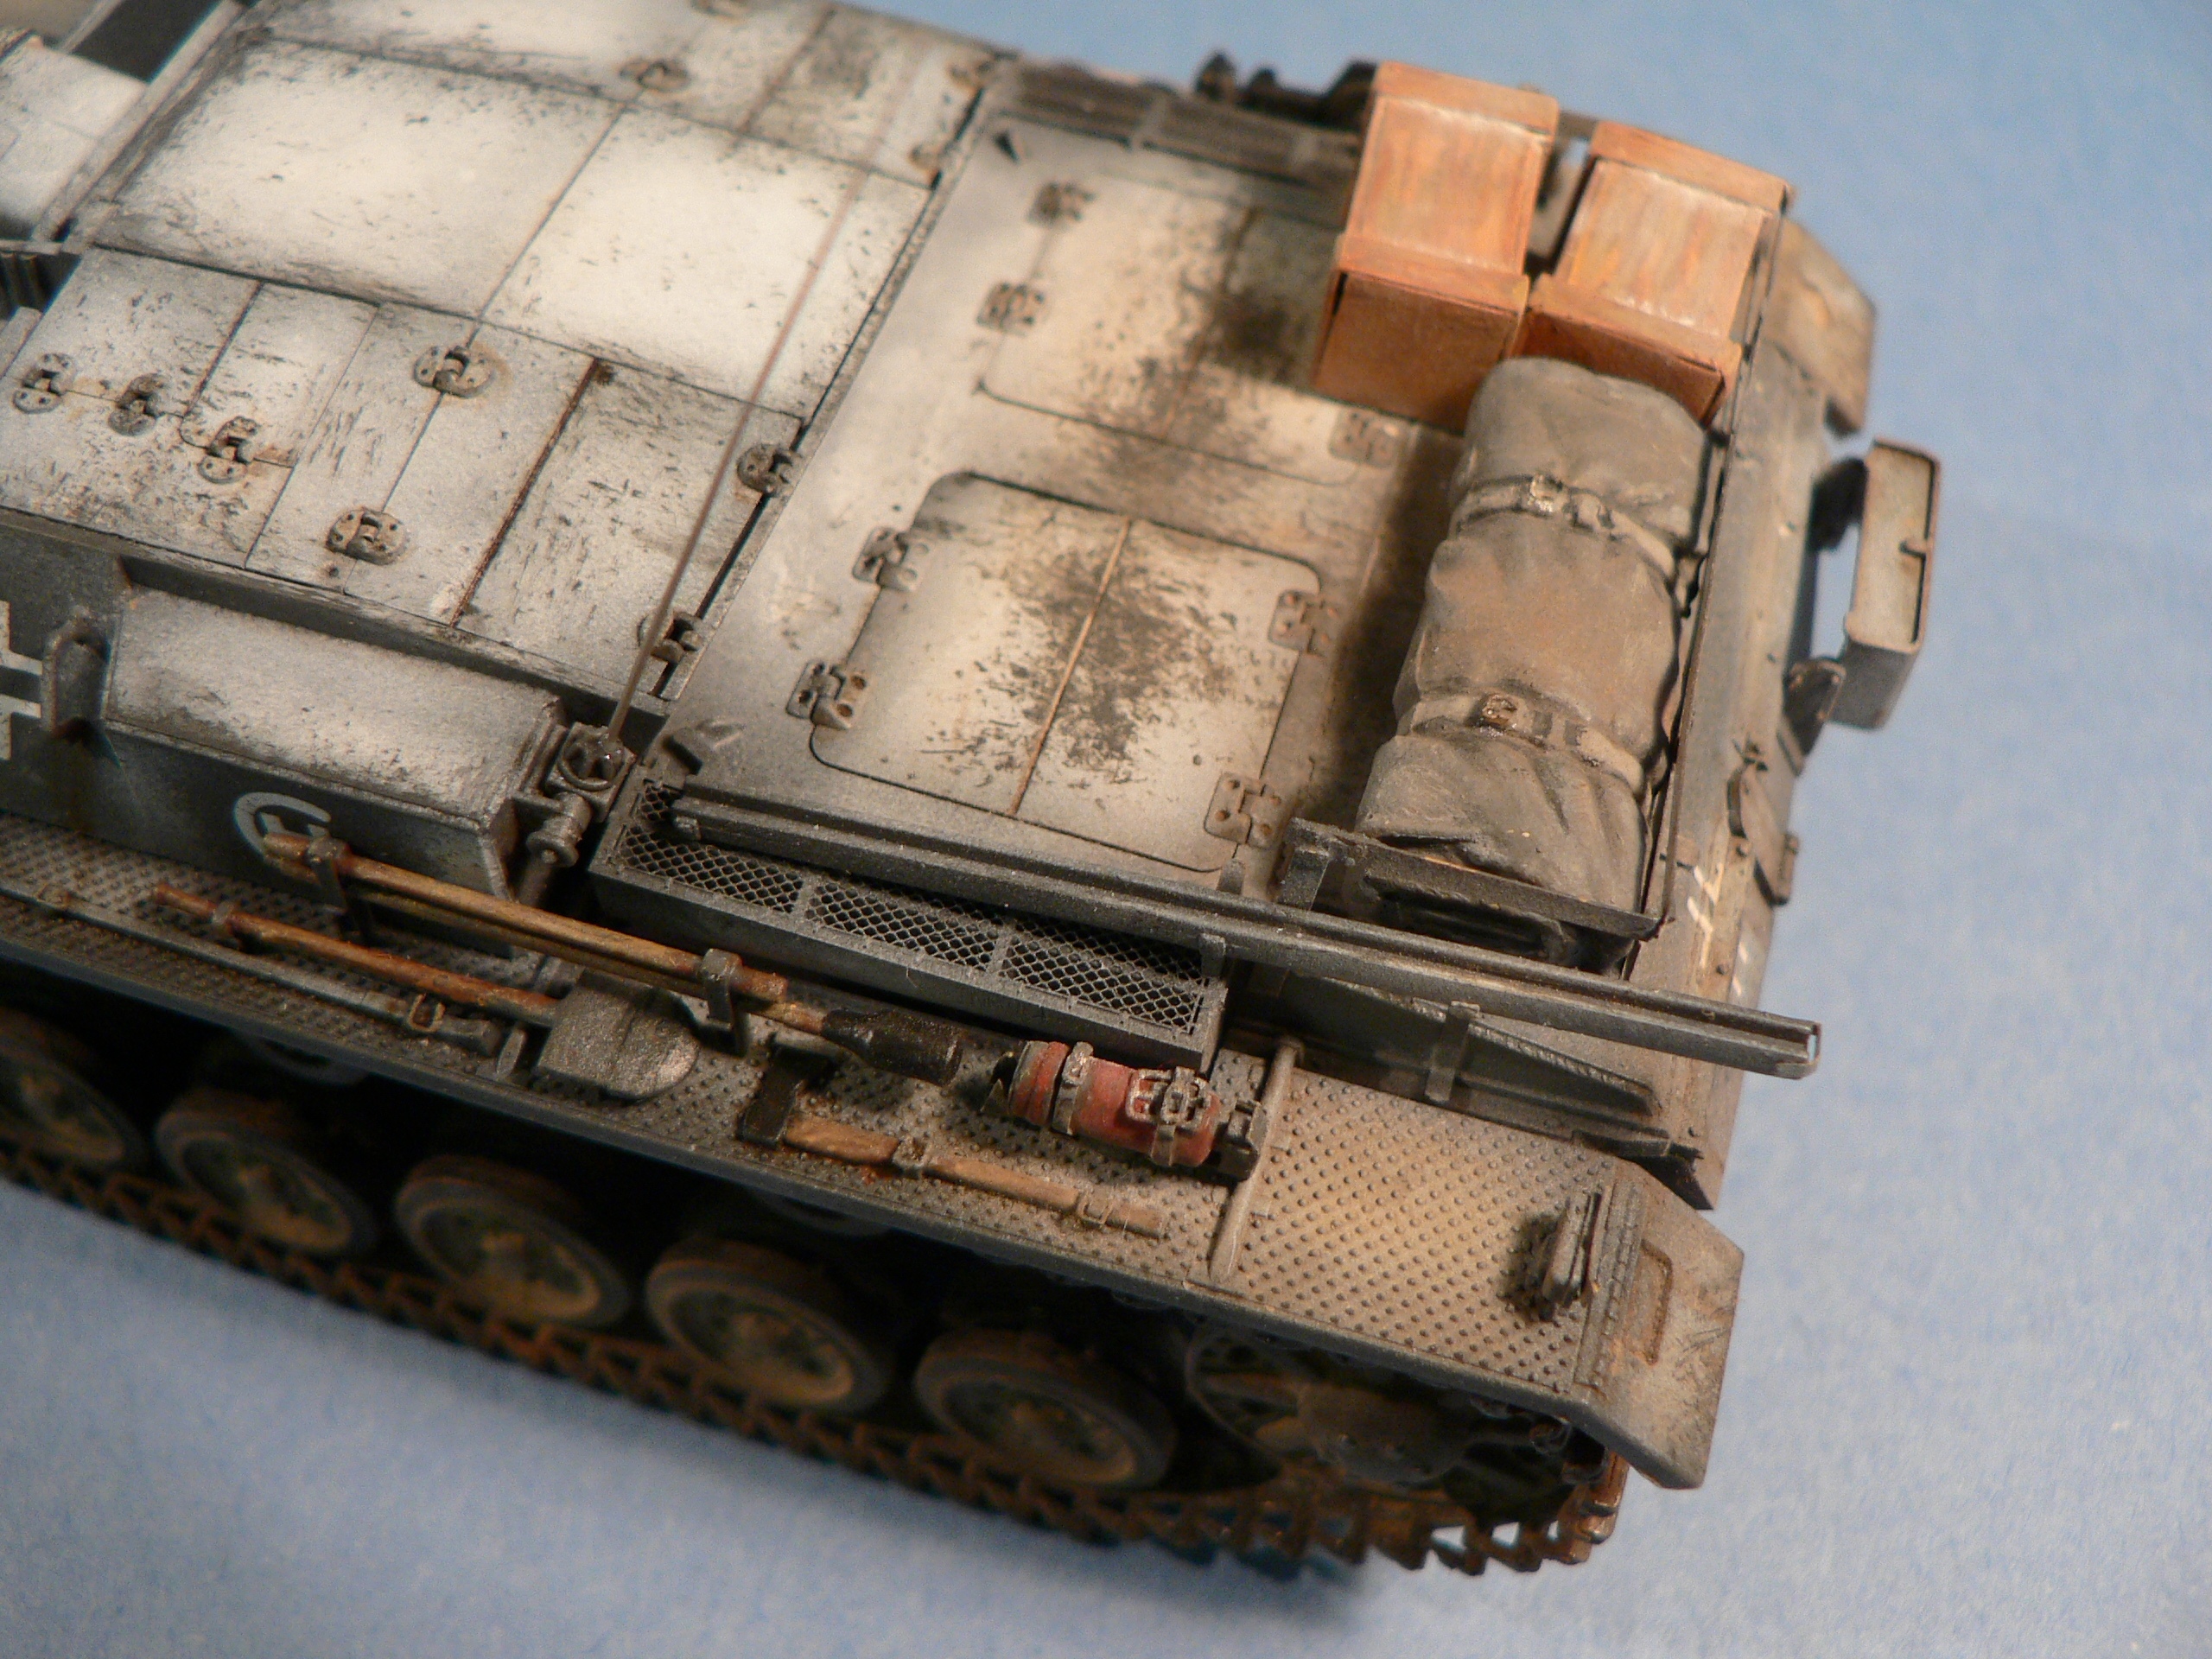
Based on some reference photos, I built a track storage bar on the lower hull using some spare PE ‘waste’ and the two leftover links in the kit
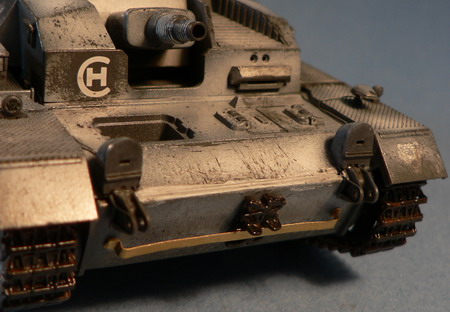
finally, some silver paint followed by Testors clear cement for the lights and a stretched sprue antenna finished the model.
This was quite a fun and relatively fast build. Most of the time was spent on the PE and painting/weathering. I already have 5 more 1/48 ‘non-aircraft’ kits waiting in my stash as a welcome back to armror building.