
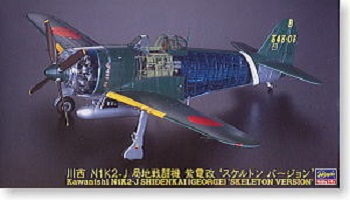
Kawanishi N1K2-J Shiden Kai Cutaway – Hasegawa
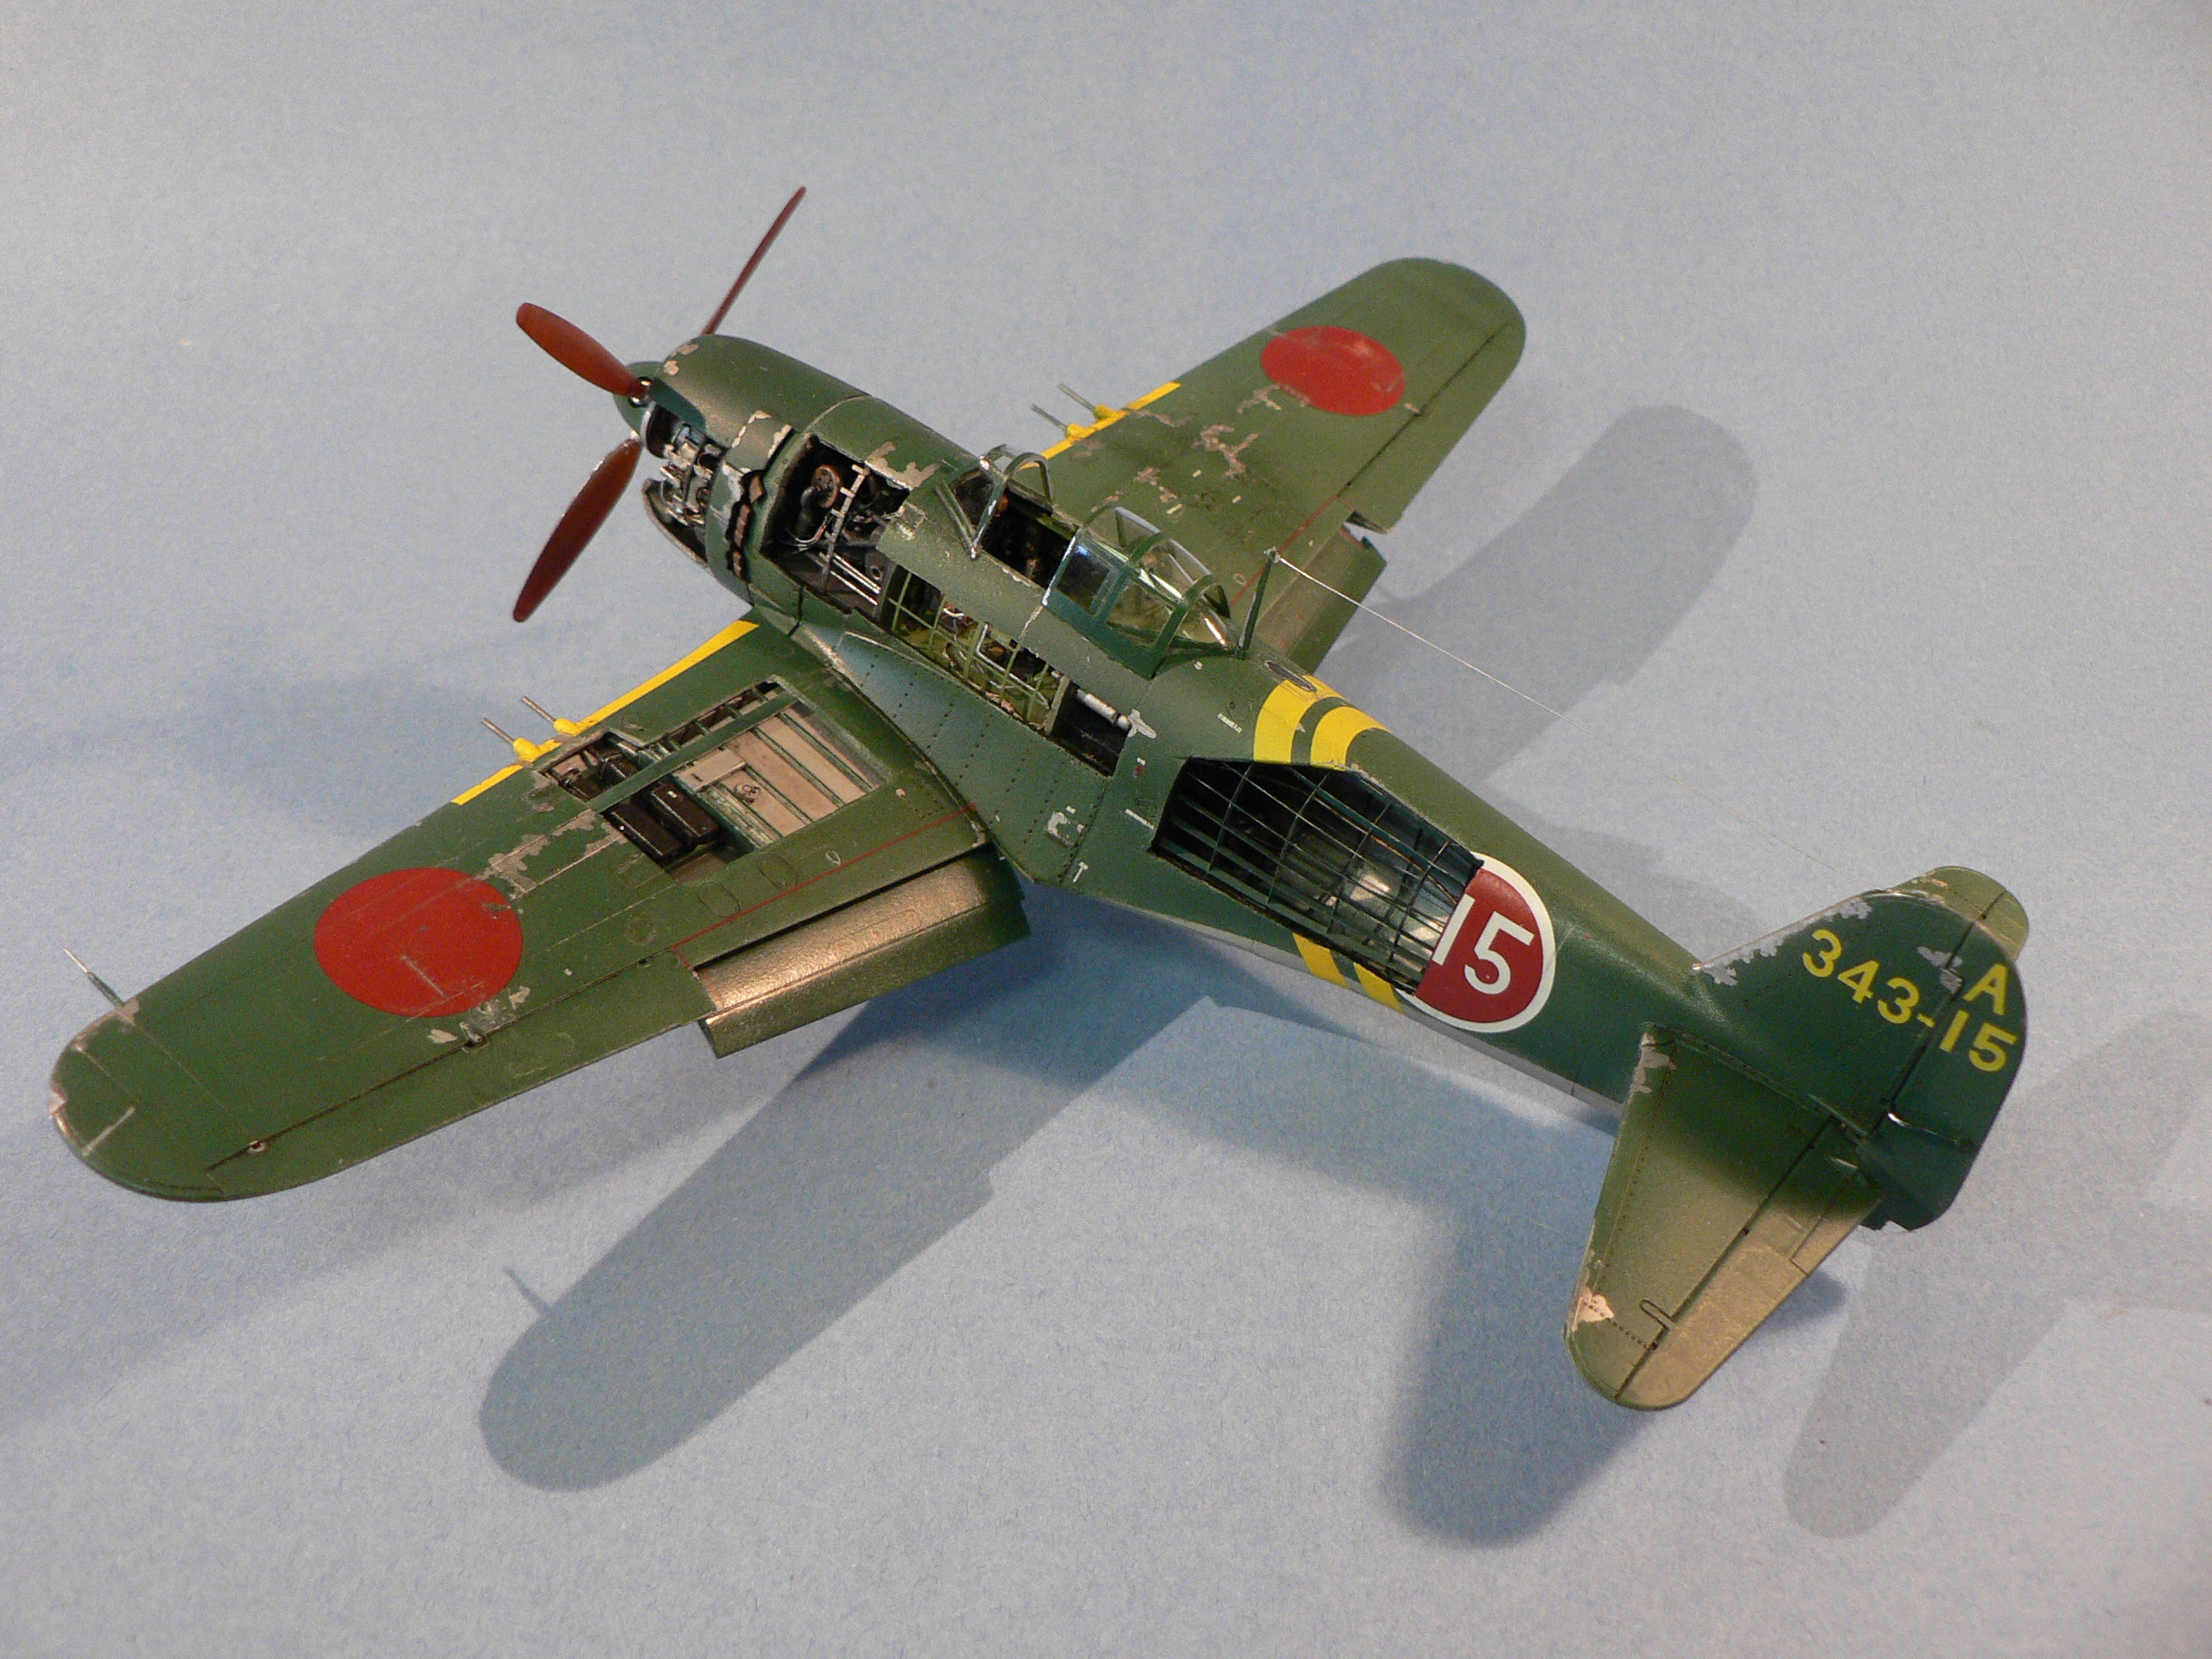
‘Skeleton’ edition built as a cutaway – appeared in Finescale Modeler Cover Jan 2010

This model was featured in FineScale Modeler, Jan 2010 Issue
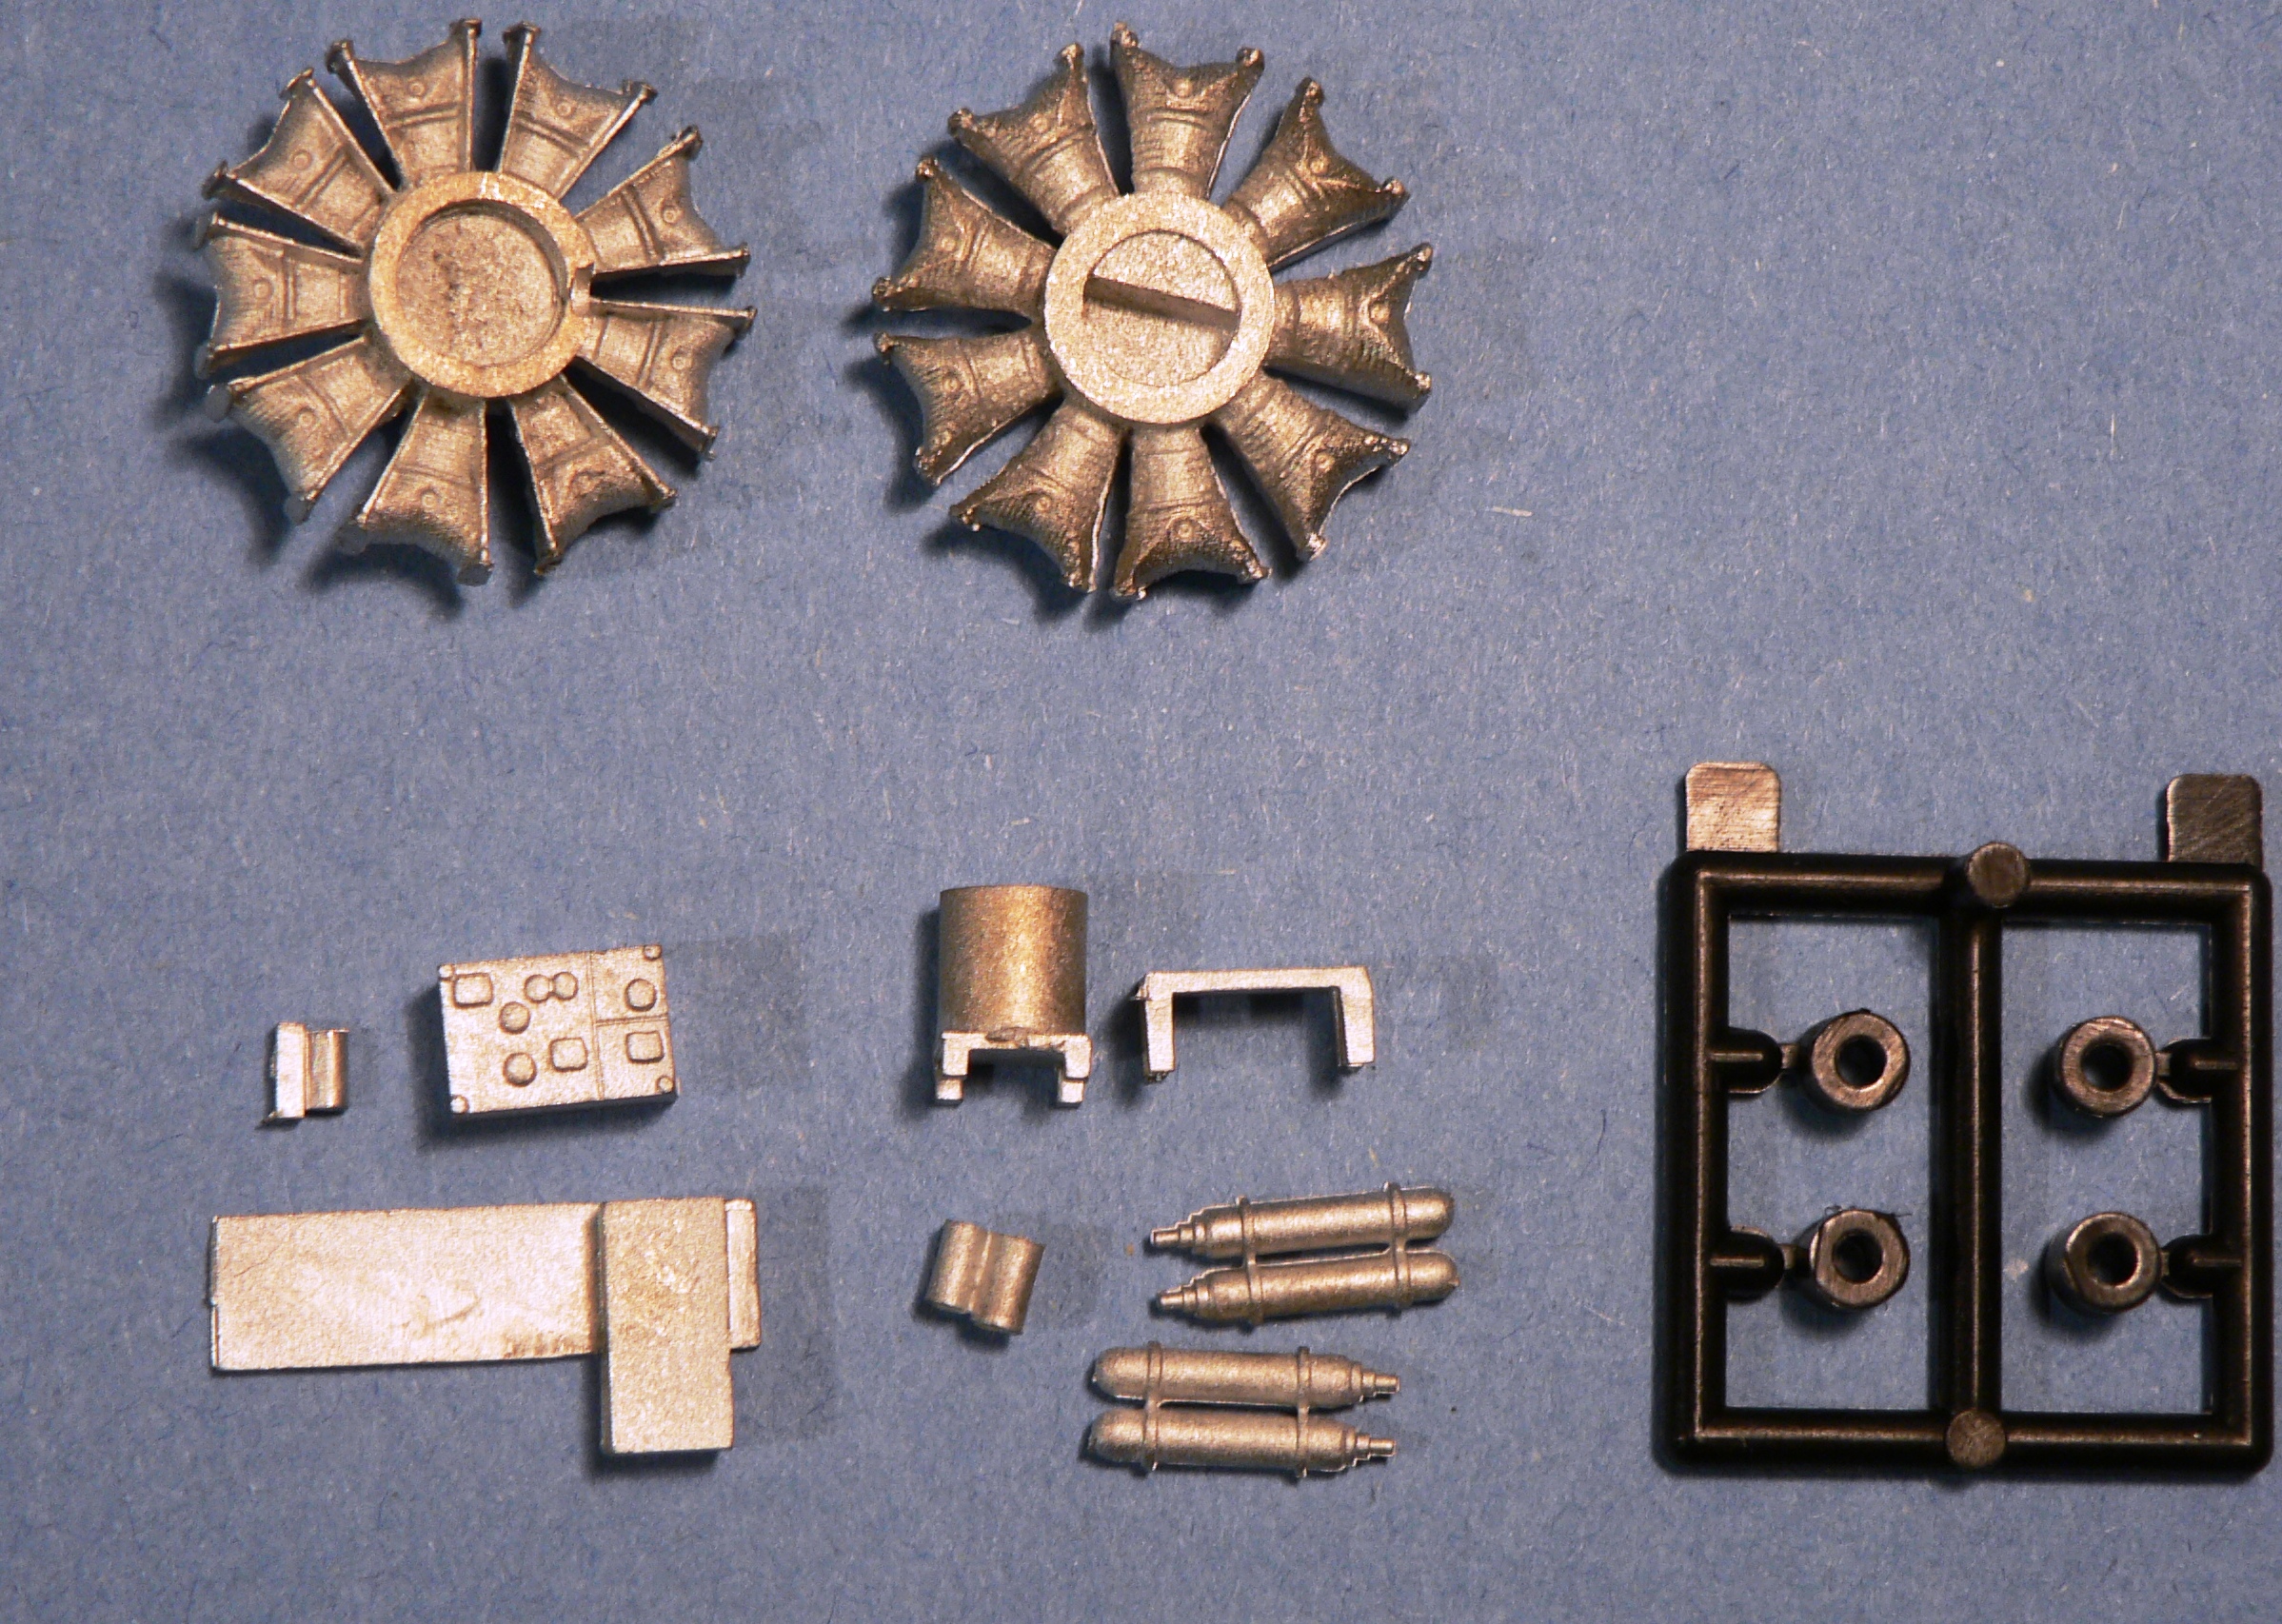
This is Hasegawa’s ShindenKai (violet Lightning) – Kawashina N1K2. Developed from the N1K1 REX floatplane, the fighter was converted to a land base plane once Japan’s ware became a defensive one. This kit is another of Hasegawa’s ‘skeleton’ kit where extra internal details are provided and the main sprues are molded in clear plastic. Instead of the doing another clear version, I thought this kit would give a quick start toward a cutaway model. Having the photoetch frames, engine, and extra white metal parts would minimize the scratch building I ‘ll have to do.
The photoetch sheet includes seatbelts, the framing of the fuselage, and the framing of the left side of the cockpit. There’s another 2 bags of white metal parts to add details normally hidden. These are the engines, the radio stack & oxygen bottles behind the cockpit. The deal sheet provides 3 markings, but it provides all full set of numbers so you can really model any of the outfits that flew the Shinenkai.
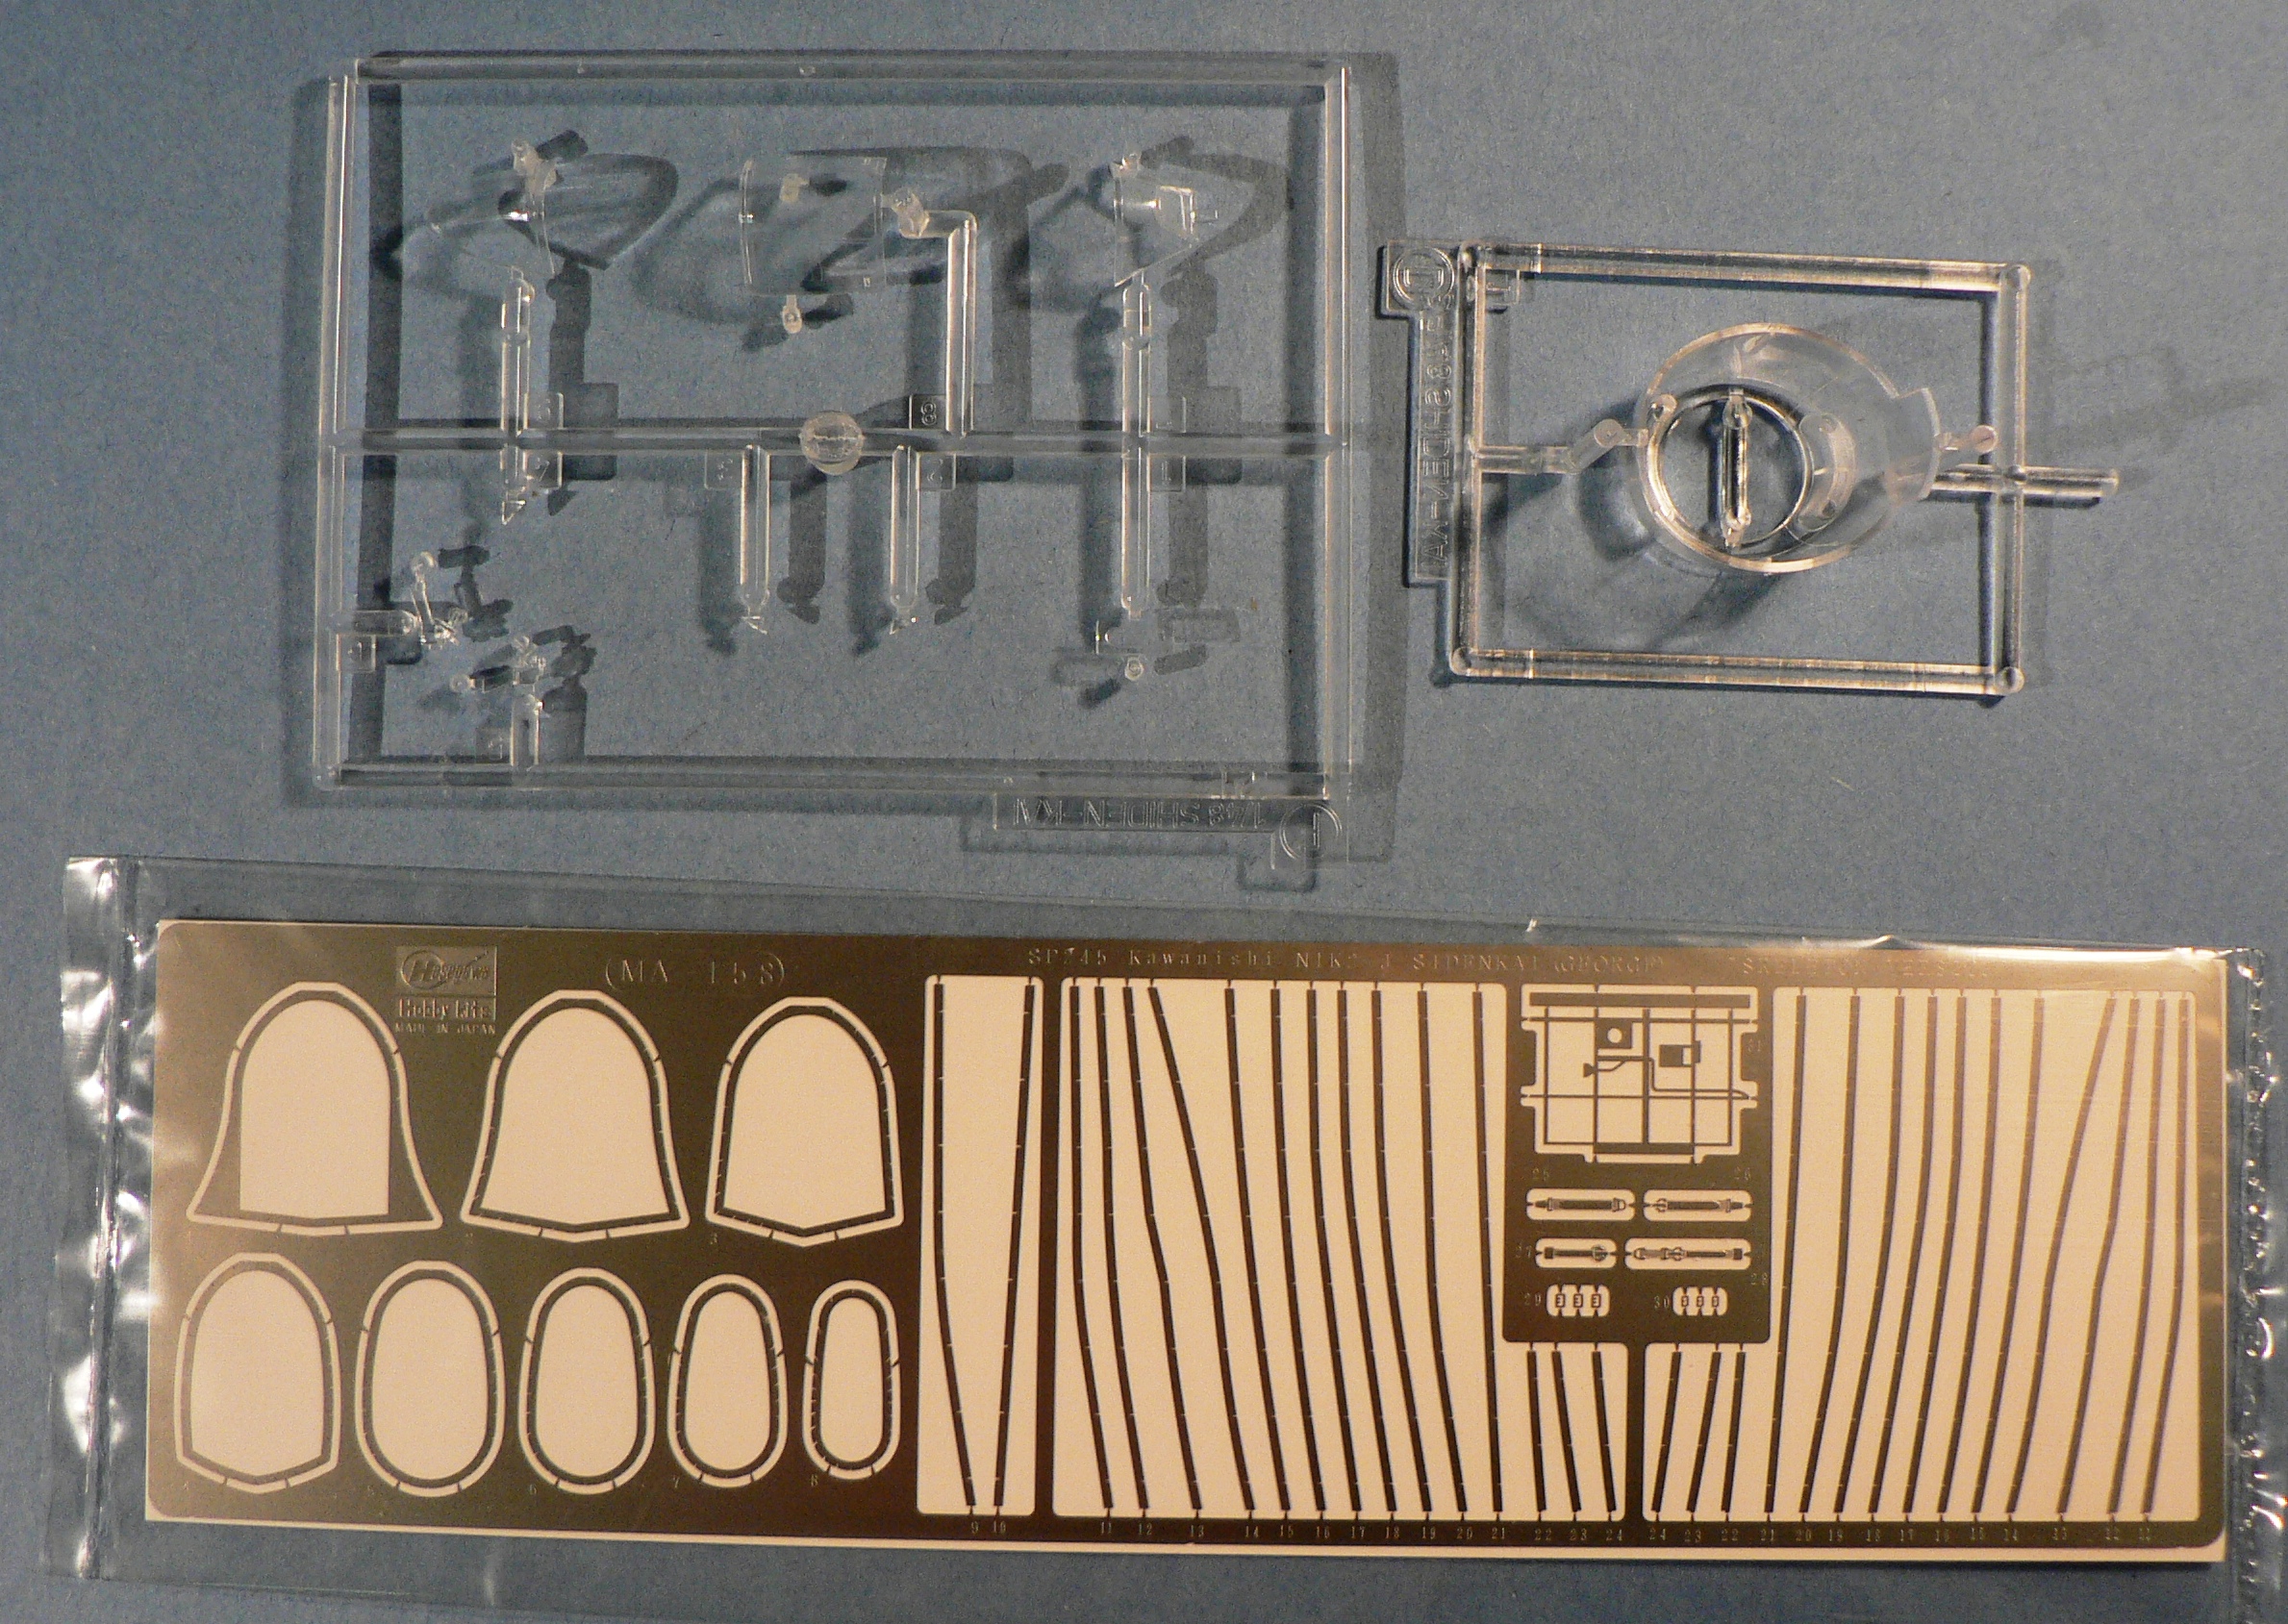
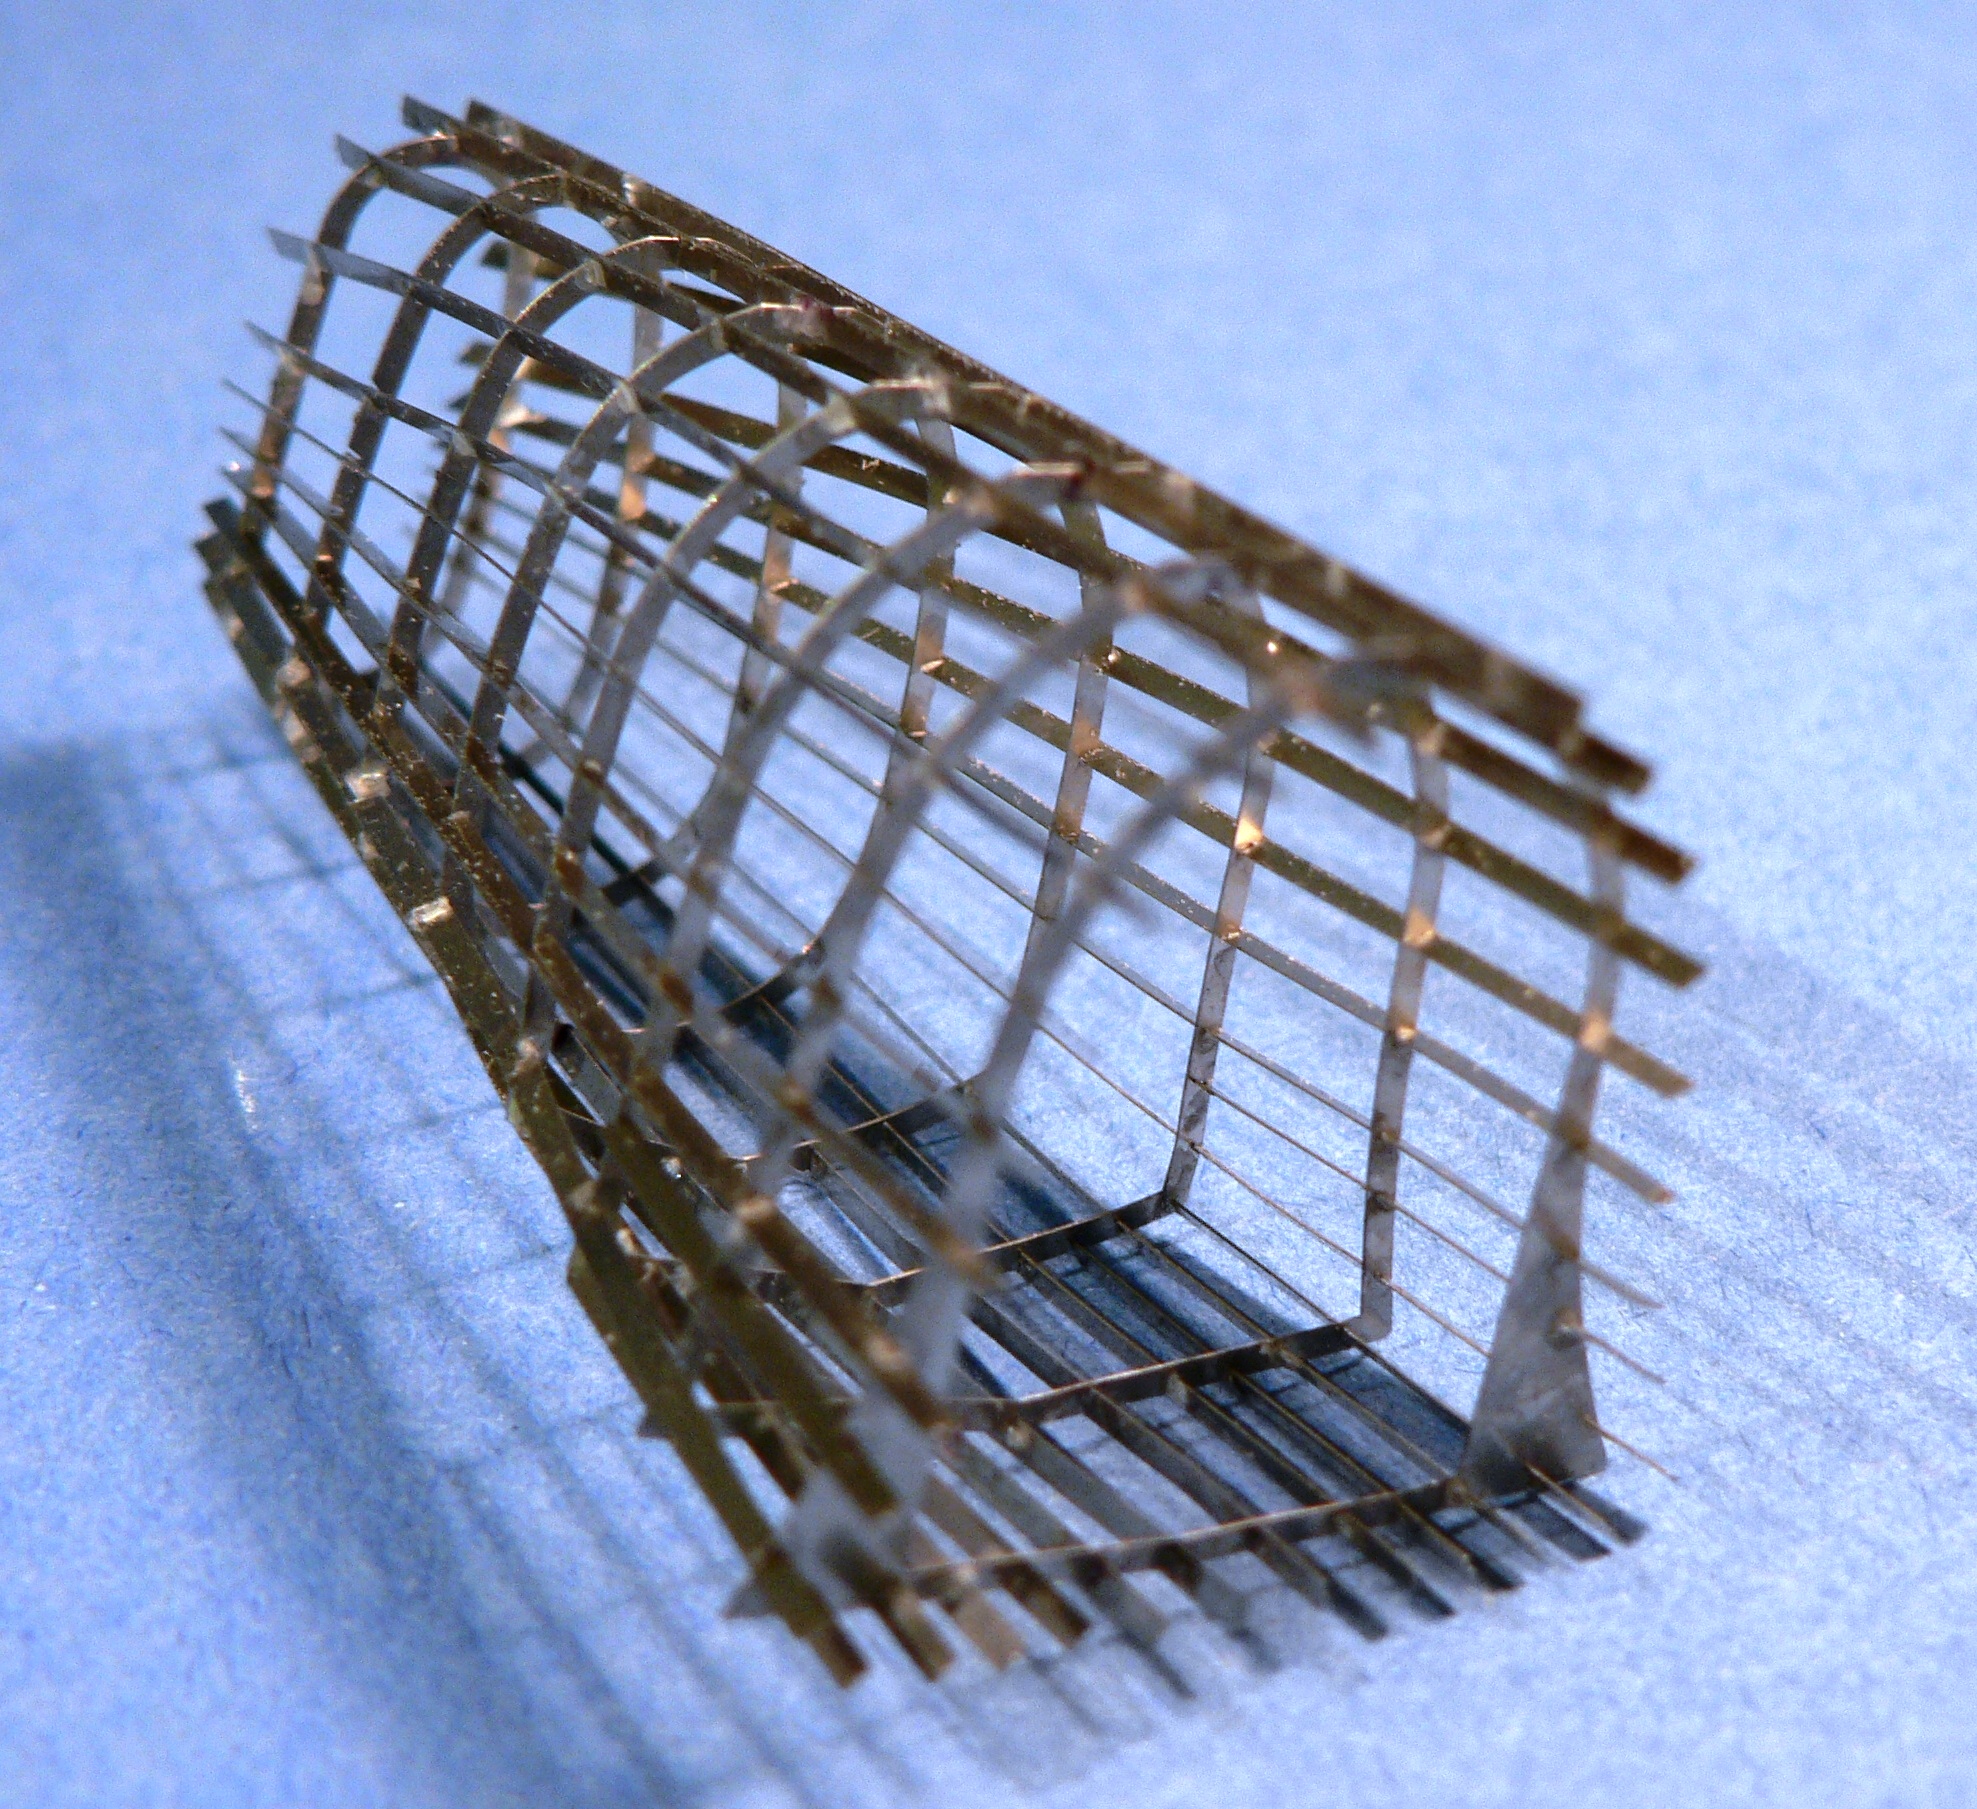
The build starts not with the cockpit, but with the PE framing. Since I completely messed up this the last time I tried it with the Zero kit, I went real slow here. Using a minimum of Cyano glue and acclerator, it was accomplished with a minimum of frustration. The key is to make sure the slots between each pieces is fitted in properly, a magnifying glass definitely helps here.
Cockpit
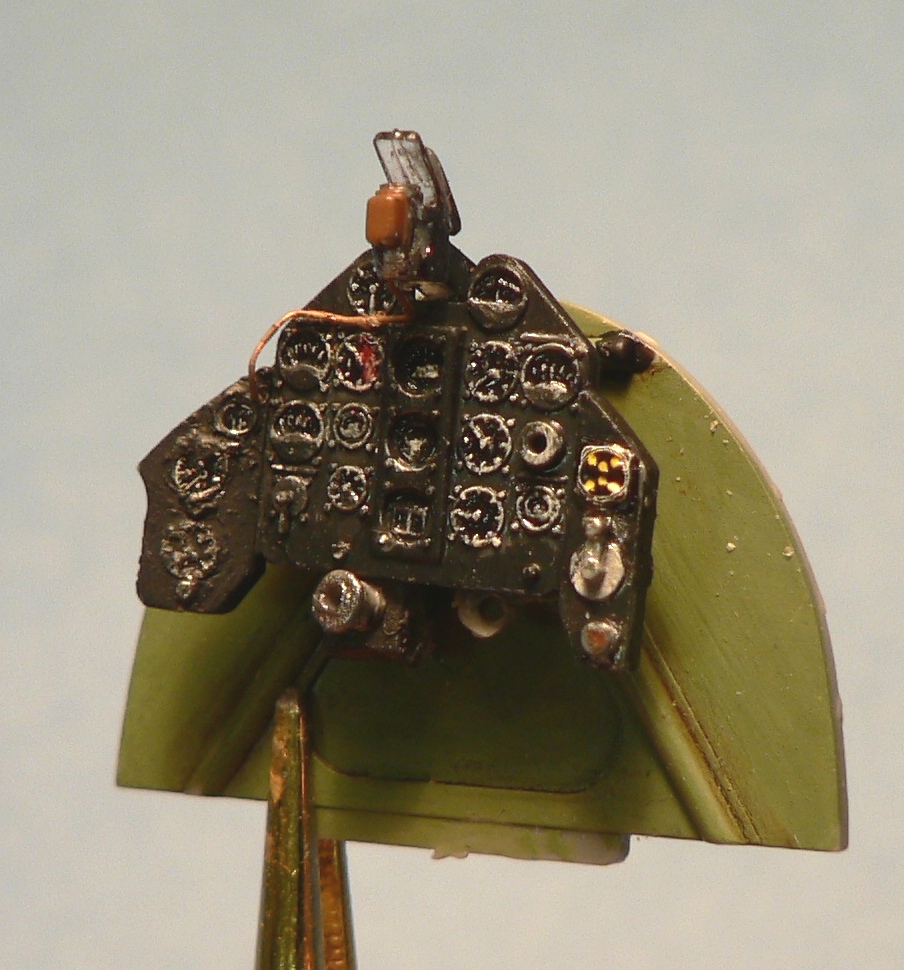
The build now returns to the cockpit with the instrument panel. The kit provides both decals and a raised instrument panel. Orginally I tried pasting the decals directly over the raised detailing, which was disasterous. So plan B was simply to cut out a few decals individually and the 90% of the guages were paintied using the old standby of black dials followed by drybrushing with white & silver. I added wiring to the gun site and a fresh air tube below the panel. Some minor wiring was also added to the back as some of it was visible after the panel was glued in place.
For details for the rest of the build, please refer to the FineScale Modeler website