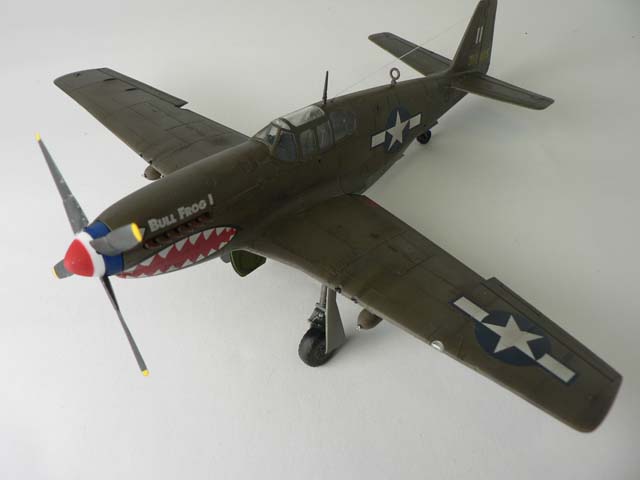
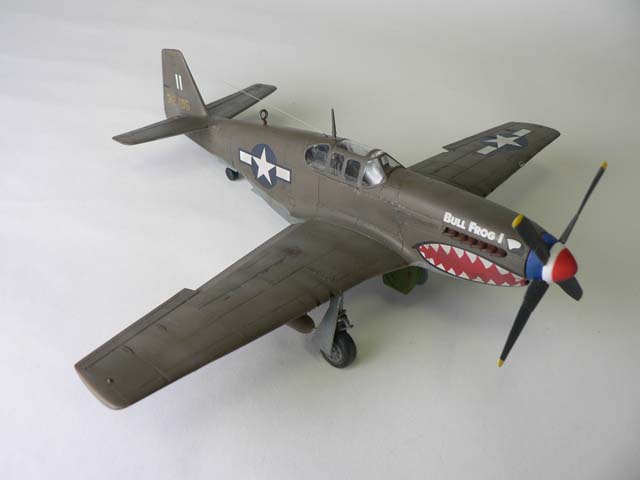
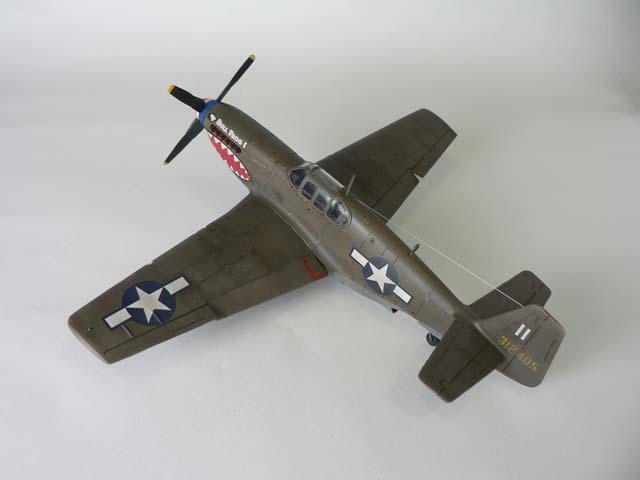
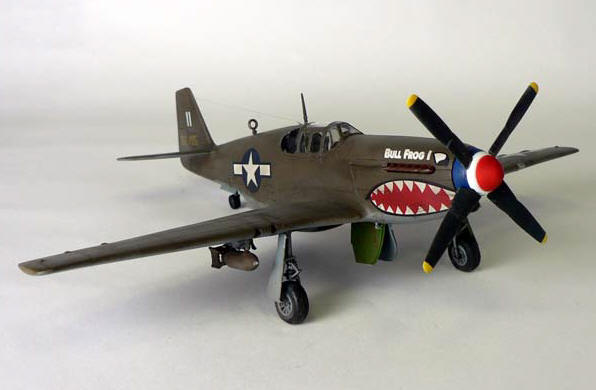
P-51B – 5th in the “Tex” Hill Series – ICM
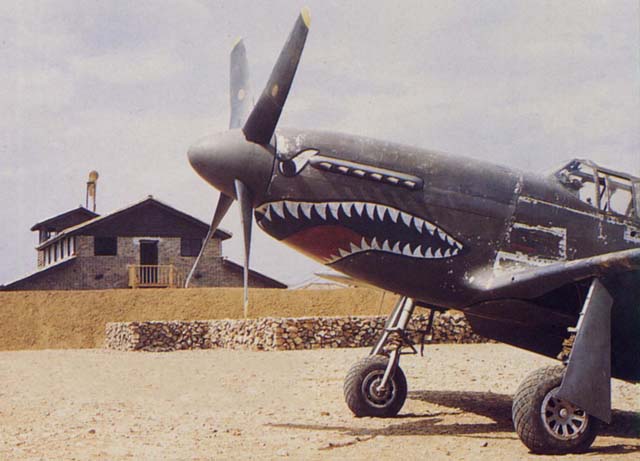
This is ICM’s P-51B in my continuing series on Tex Hill’s aircrafts.
P-51B the Model – ICM
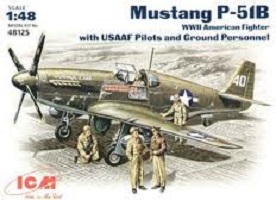 If you wanted to build the P-51B in 1/48, choices abound including the Tamiya and Accurate Miniatures version. I already had ICM’s version of the Mustang, so while the details are a bit softer and the details are lacking or just incorrect in some areas, I decided to use this kit as the basis for Tex Hill’s Bullfrog. As it seems that I’ve been alternating between after-market and scratching building between planes for this series, this one will be almost straight out of the box.
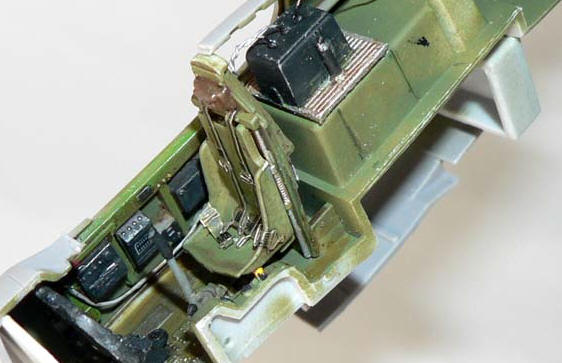

As usual, the build starts with the cockpit. ICM’s cockpit while not extremely detailed, are more than serviceable as long as you don’t mind some inaccuracies. This is more the case in that I decided to have the cockpit closed. The kit does not offer a choice an open or close cockpit and while I’ve sliced open my share of clear parts, the P-51B would have required me to make at least 3 cuts to the one piece canopy. A bit more than I was willing to chance, so in keeping the theme of no aftermarkets, the cockpit stays closed.
The instrument panel was finished with Tamiya Dark Gray followed by the flat black for the dials. A silver artist pencil was used to bring out the details – while some may object to this old school technique as real panels do not have silver bezels, artistic license is claimed here for this scale. The odd yellow or red paint were used to pick out details. The cockpit was then sprayed with Model Master Aircraft Interior green and the side radios and switches were finished in the same manner as the instrument panel. Some additional wiring was added with solder. Cockpit placards were added with an old Reheat decal sheet, a detail that I think adds much to look of aircraft cockpits even if you were already using the best resin interiors.
Eduard PE belts were then added from my stash. Keeping in mind that the P-51Bs delivered to the 23rd FG were already well worn, I used silver pencil to add scratches to the metal floor plate. The Mustang’s floor was made from plywood, so make sure you add scratches only very appropriate. My sources deferred as to whether the floor was left natural or painted, so I went ahead with more aircraft interior green as that was certainly easier than replicating a wood surface. A generous wash of mineral spirit diluted brown oil paint was applied to ‘age’ this area. This is especially important for the PE seatbelts, as I often see models of otherwise well worn aircraft with immaculate seatbelts installed. The final bit of detail was adding wiring to the radio stack behind the seat. At this point, I felt there were enough details added for a closed cockpit and the cockpit was ready to be closed up.
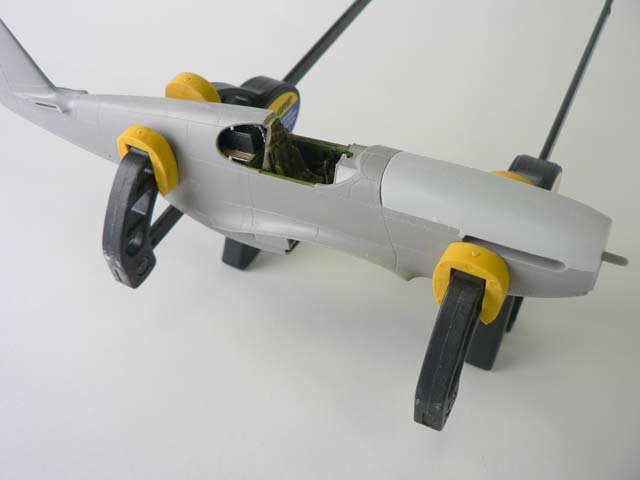
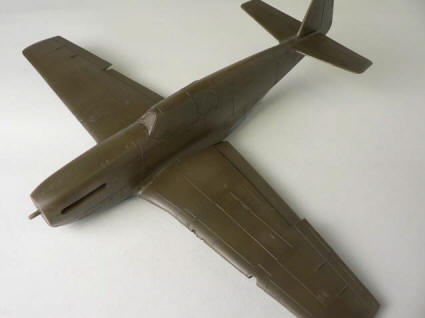
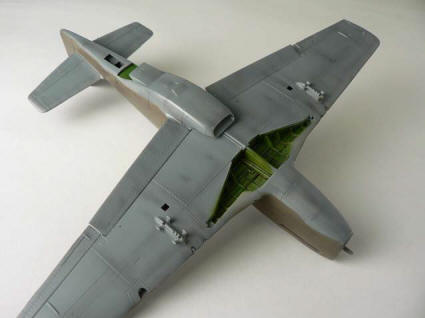
The ICM’s choice of plastic is rather soft and a bit warped, so it required some clamps to keep everything together while the glue dried. At this point, you realize that you are almost half way done with the building as the parts count is not particularly high. The Wings and stabilizers fit were rather good with just a bit of filler required. The kit provides separate flaps, so I decided to pose them in a done position to add some interest. There is a rather large seam in the belly exhaust area that would have been rather difficult to fill and sand. Instead I simply cut a thin plastic card to fit and glued it over the seam. A liberal dose of Tamiya thin cement to soften the plastic area followed by light sanding easily covered this area.
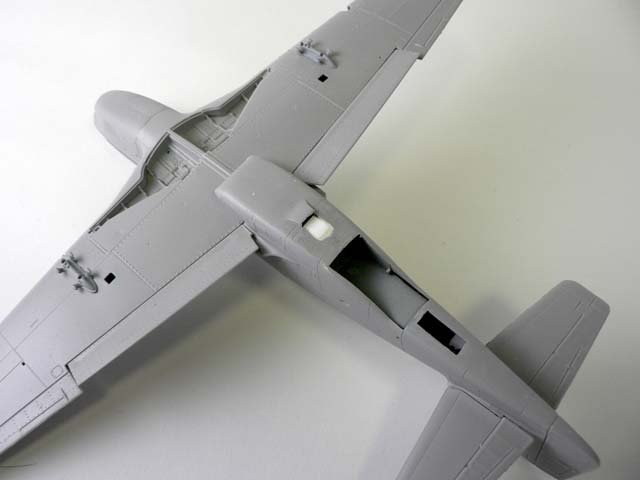
Now a word regarding the wheel well area – be warned that it is not accurate in this kit. The rear wall is shown as boxed in while it was opened in the real plane. To correct this, you will have to cut the rear wall, add a spar in that area that runs parallel to the length of the wing, and then fix up the details. The easiest way may simply to cut the entire area out and use a resin replacement. In any case, it’s one more flaw I was willing to live with this kit.

After some minor seam cleanup, the clear parts were installed, sealing in the cockpit. Using Tamiya tape and a sharp No. 11 knife, these were masked off for the primer coat. I like to use Tamiya primer right from the spray can – wonderful stuff but has a tremendous odor, good ventilation and a mask is a must. This was allowed to cure overnight and the wheel wells were finished with interior green. The wells were masked and Tamiya IJN gray was used on the underside. While the wells are incorrect and a bit shallow, it does come with fairly good detail. A wash of diluted black and brown oil mixture was applied to make all this detail standout. Finally, a bit of silver was added to certain conduits and wiring to variety to this area. I then use Tamiya smoke to lightly emphasize panel lines and add gun port exhausts stains.
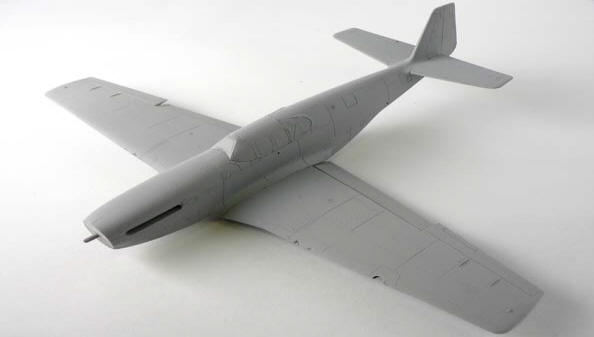
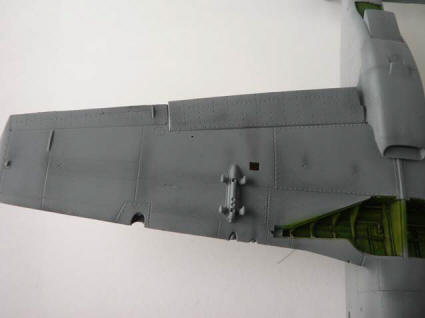
Silly putty was then used to mask the bottom to get ready the top color, in this case a faded application of Model Masters olive drab. Instead of using post or pre-shading, I was able to achieve the same effect by lightly spraying the initial coat and then going back over with more color along panel lines. Since the undercoat was a light gray, this area with less paint will naturally be lighter. Being generally lazy and impatient, I find this technique to be a tremendous time saver.
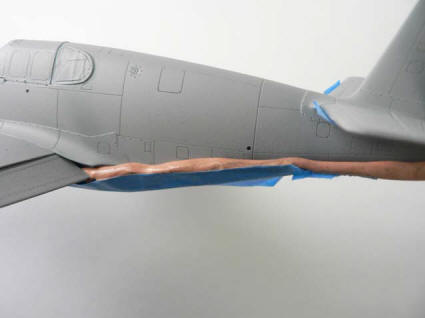

A coat of future was applied undiluted from the airbrush in preparation for the oil wash. Since the actual aircraft was quite worn, I liberally flow the wash into panel lines – brown oil wash on the bottom and black on top. I wait a bit and then use a cotton swab to drag the wash back, simulating the air flow. This will both emphasize the panel lines and create a dirty used effect on the aircraft surface. At his point, the effect may seem exaggerated, but after a flat top coat, it will be diminished nicely.

After allowing everything to dry overnight, I applied the decals. The decals were from AeroMaster sheet #AMD48430 – SE Asian Mustangs Pt 2. They went of fine and did a fine job conforming to the surface with a little Microsol – even on the compound curve area where the shark teeth is applied. Just to add a bit more details, holes were drilled out into both sides beneath the exhausts using a pin vise. This is a very easy step that adds much to the overall finished product. A final flat coat ties everything together.

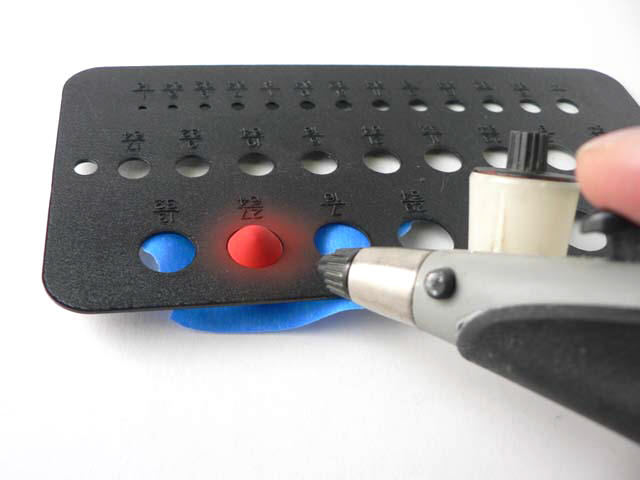
 The spinner of Hill’s final P-51 consisted of bands of red, blue, and white, representing the colors of the 3 different squadrons under his command in the 23rd Fighter Group. I accomplished this by first spraying the spinner with PollyScale Reefer white, then using a template meant to measure drill bits, I pushed the spinner through so that only the bottom was exposed and sprayed blue. I then repeated the process with a smaller opening to paint the red.

Final weathering was applied using the silver artist pencil again to add chips and worn areas. You have to apply this after the flat coat is done as the Future would have been too slippery. The formation lights were undercoated with silver, and then Tamiya clear red, blue, and yellow as used to finish them off. Once the bombs and antenna mast was added, fishing line was used to add the aerial and the plane was finished.
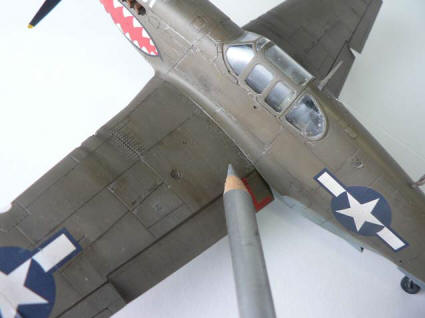
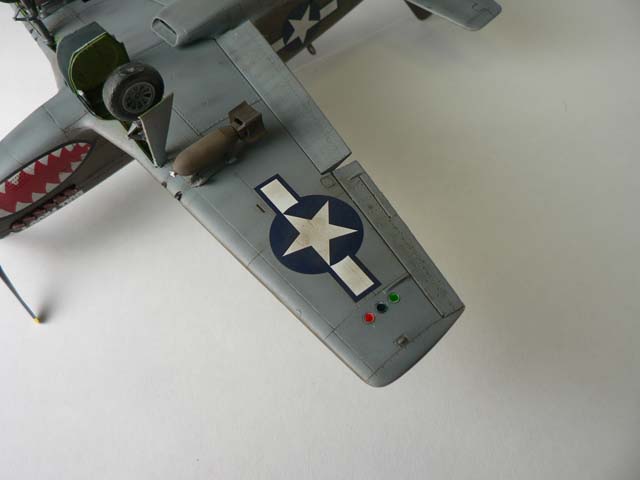
Finished Model
