P-40B AVG – 3rd in series Tex Hil – Monogram
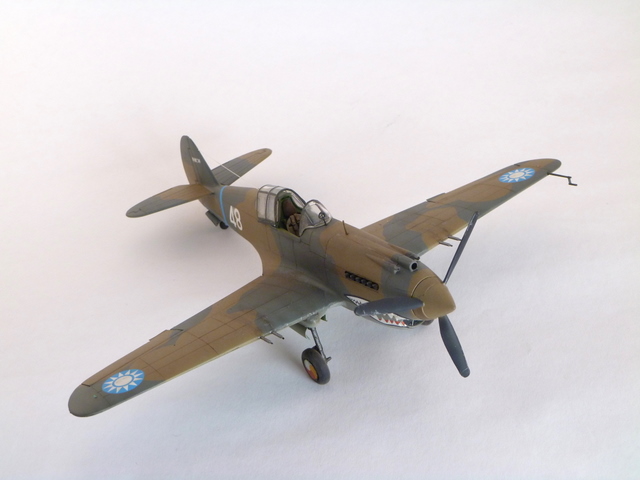
Classic Monogram P-40B kit in the Flying Tiger’s 2nd Squadron Leader “Tex” Hill’s #48 markings. This is a 3rd in a series of articles regarding Tex Hill and his aircraft. Appeared in issue of Scaled Aircraft Modeling International
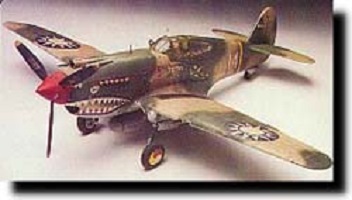
To build the P-40B in 1/48, discounting out of production kits, you have your choice of the Trumpeter or the Revell kit. Trumpeter is a fairly new kit with all the expected features but with certain inaccuracies, the main one being a very shallow cockpit floor. The Revell kit is the old Monogram one going back over 30 years now with its own set of ‘features’ standard from that time period. I just happen to have that kit in my stash, so the Monogram kit it is. (Update, Airfix has a new 1/48 P40B that seems to be the new state of the art and the most accurate)
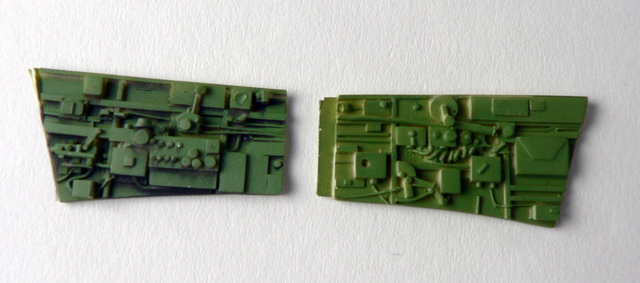
Every modeler has his own criteria of what must be ‘fixed’ with every kit. With the old Monogram kit, these included the non-existent cockpit and the open wheel wells with no details for me. With the cockpit, I used the Legend resin cockpit, a wonderfully cast item. It comes in a sturdy box but with no instructions or painting guidelines. Since it was only a few pieces and I had reference pictures, these issues were easy to overcome. My resin piece did have a broken pedal, but that was also easily repaired with some styrene. Once the original side wall details were removed and a bit of sanding applied to the resin pieces, the fit was fairly straight forward. Since there are no instructions, you have to go slow and use a bit of dry fitting to find the best placement for the cockpit.

After a base of interior green, I sprayed black from underneath to create strong shadows. You can see the effect on the treated and non treated panels below. The details were then picked out and a oil brush helps bring out all the details.

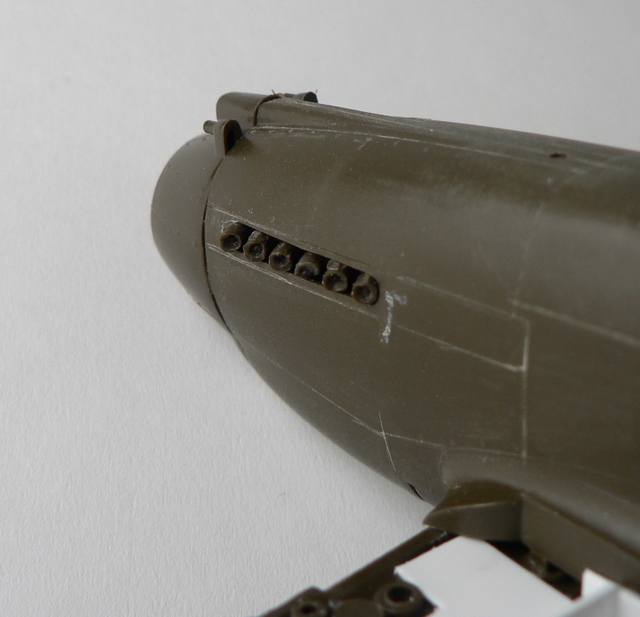
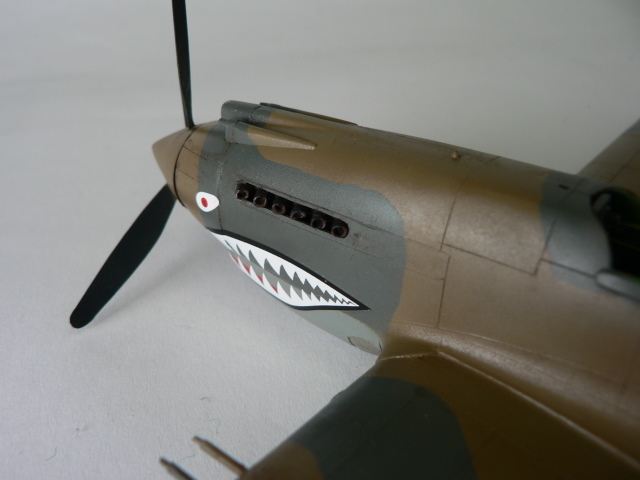
Once the cockpit was closed up, I decided to rescribe the fuselage. While I have not big objections to raised panel details, this kit was covered with embossed rivet details. In toning this down with a sanding stick, much of the raised panel details were destroyed – so out the re-scriber comes. I then carefully drilled out holes for exhaust with a Dremel tool. The trick here is to move the plastic toward the drill and not the other way around for a more controlled situation.
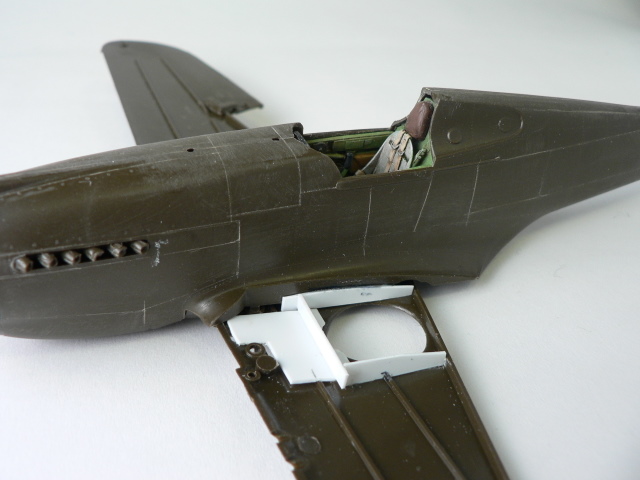
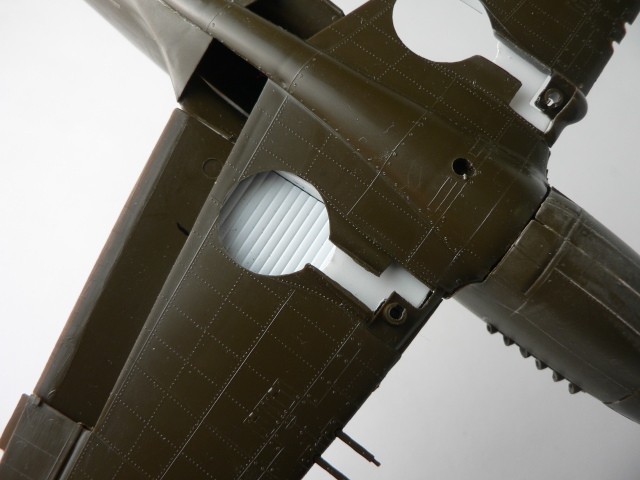
Before closing up the wings, it was boxed in with plastic card. A textured evergreen sheet was used as a short cut to simulate the details on the well’s roof. If you really wanted to, you can detail this area further with wiring and lightening holes. The instruction now would have you add a few pieces to allow the flaps to be movable on hinges. However the hinge is not very detailed and this feature creates a bit of gap, so I just skipped the hinges and glued the flaps shut.
At this point, you realize that you are almost done with the building process; there are just not that many pieces to this kit. So onto painting it is.
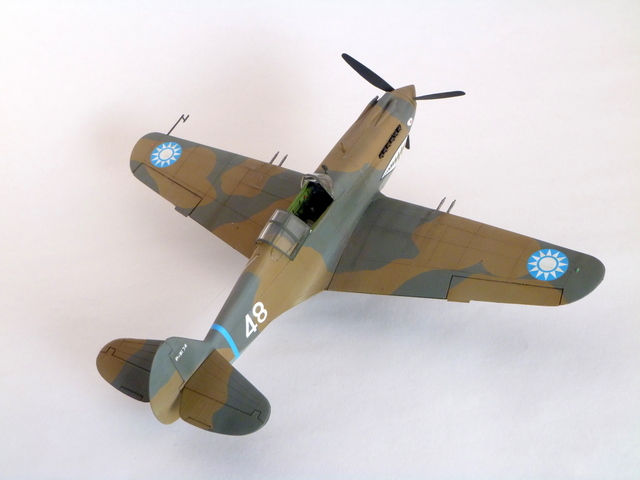
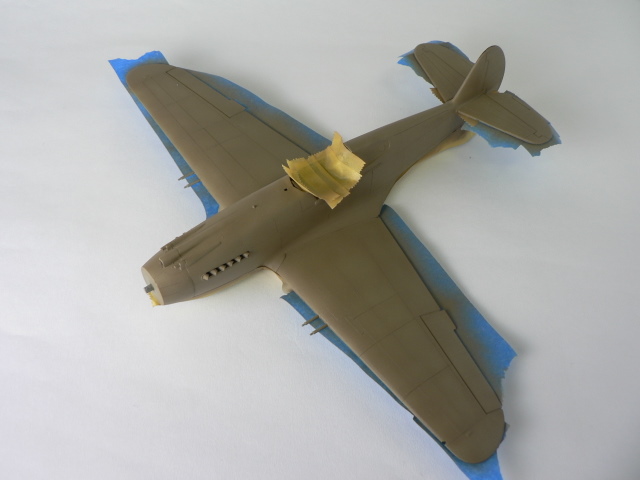
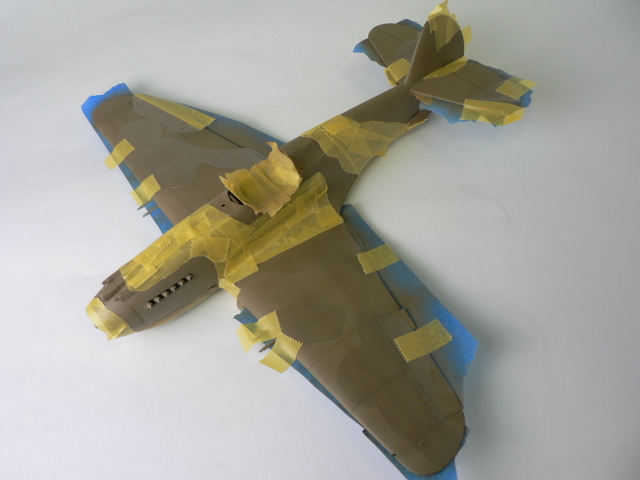
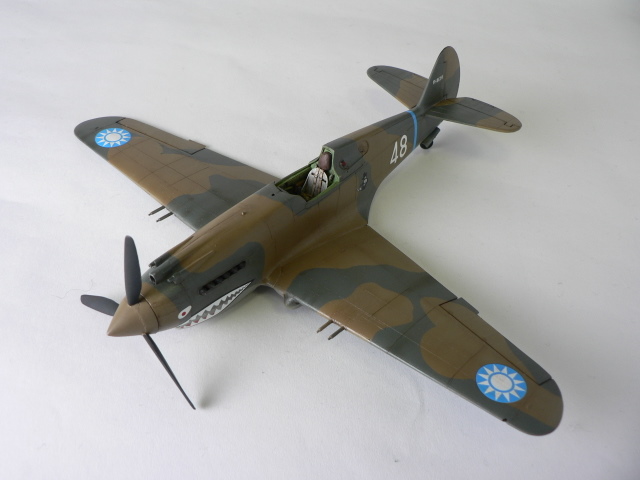
As usual for me, I laid down a coat of Tamiya white primer. The lower part was painted with Tamiya light gray. After building two pristine looking aircraft, I wanted to create a somewhat sun bleached a worn aircraft this time. Then I used Model Master RAF Dark Earth that that lightened with a bit of white and Tamiya Buff. Instead of the pre-shading, I simply apply a heavier coat of the paint along panel lines and a lighter coat in the other areas. With the white primer, this technique saves me a step and gives the same effect. I then photocopied an enlarged image of the camouflage pattern, traced the image of the wings onto Frisket paper, and cut out the pattern. Frisket paper already has a light adhesive and can be applied directly on the model. The fuselage had too many compound curves to make this work, so I used Tamiya tape to hand mask that part. A coat of lightened Model Master RAF Dark Green was then sprayed on with the same technique of darker coats along panel areas. The exhausts were painted Tamiya red brown followed by Model Master Gun Metal dry-brushed on. Finally, a graphite pencil was rubbed onto the edges to get a metallic shine.
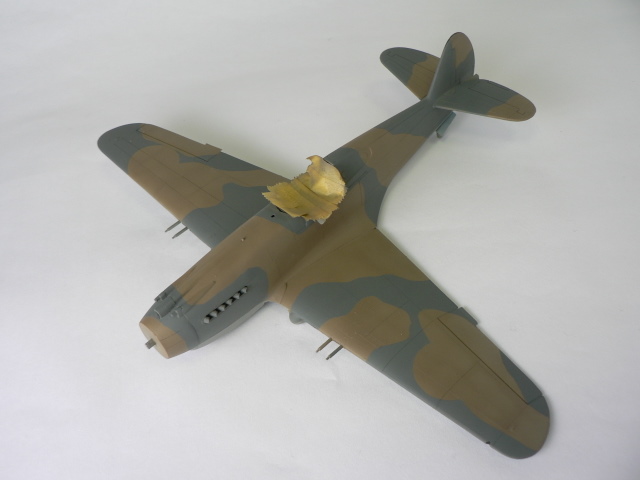
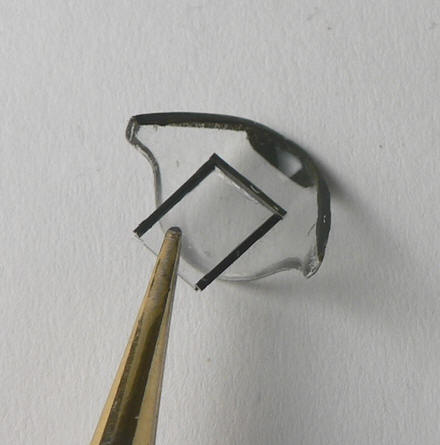
The clear parts were dipped in future, let dry and then masked with Tamiya tape. A new #11 blade was used to cut the framing out. The same dark green was applied here. A coat of future to entire airframe was sprayed on and it’s time for decals.
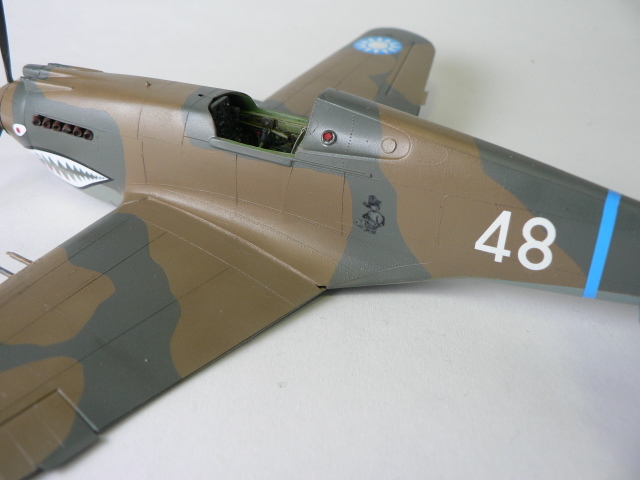
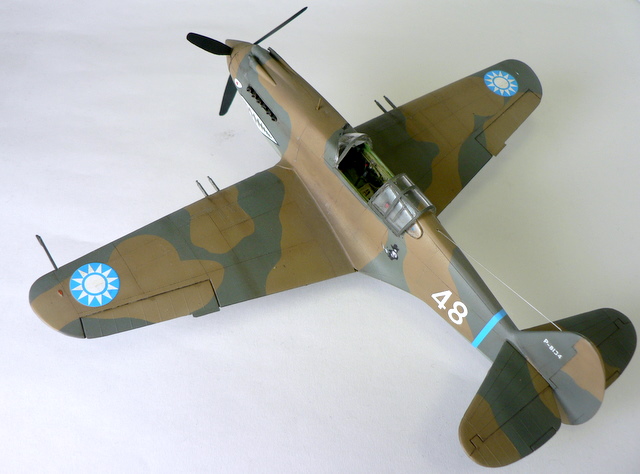
Given that #48 is the best known of Tex Hill’s aircraft, you would think there is wide choice of decals available. Unfortunately for me, there are currently no in production decals for this plane in 1/48. After much fruitless searching for out of production decals, I decided to improvise. First I used Eagle Editions sheet for the Second Squadron (#31- AVG Tomahawks 2nd Squadron). This gave me some faded and non-faded Nationalist Chinese Stars – the ones included in the Monogram kit are not faded and way too big. The non-faded ones I used on the bottom way and the faded ones went on top. Since there were variations to the AVG plane’s shark mouth, I was lucky to reuse the one from #47, which was very close. The eyes had yellow ‘pupils’ in a red dot, which Tex’s plane was just a red dot. This was easily remedied with a small drop of paint.
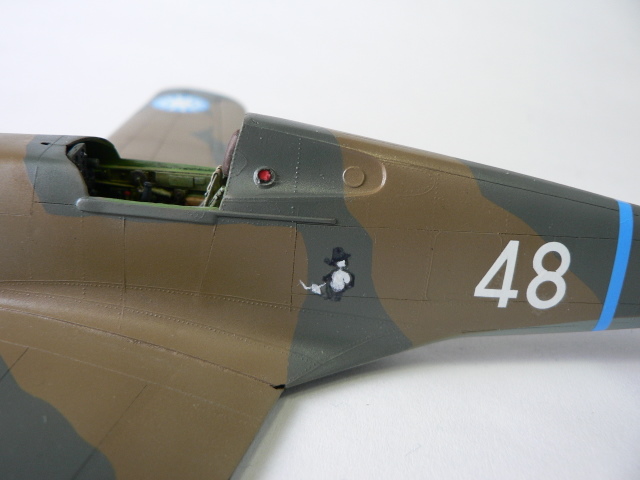
The number 48 gave me unexpected problems as I could find any suitable replacements in my stash or even on any available decal sheets. I tried printing my own, but I couldn’t cut a smooth enough oval to satisfy myself. Finally, I noticed the same decal sheet provide #49 and #45, so I improvised by using the top of 9 and the bottom of 5 to create them from the same decal sheet. The cowboy panda bear sent me back to the drawing board. I decided to print out my own. But as it was very small; I don’t think I would have been able to cut all the intricate shapes out on white decal paper. So I printed out multiple images on clear decal paper. I applied one decal first, which gave me outline of the white areas. I filled those in with a fine tip brush and white paint. Once dried, I applied another decal on top to restore the details and clean outline.
I used a dark brown and black oil wash to bring out the panels lines and further emphasize the movable surfaces. A nice flat coat restored the finish to the plane and blended the decals. I added additional weathering with Tamiya weather sets – the ones that looks like Lady’s makeup cases. These were used to add exhaust and gun stains. A silver pencil was then used to add wear and chipping near the wing root, access panels, cockpit, and propellers.
The cockpit clear pieces were then masked, painted and installed. Note however that the windshield is incorrectly molded. There should be no framing in front, instead an armor glass was fitted behind the windshield and is often mistaken as framing. To duplicate this, I sanded smooth the windshield and restored its clarity with successive sanding of finer grits – followed by a dip in Future polish. I then used styrene strips to form a frame around a rectangular piece of clear styrene and installed that as the armor glass.

After adding the last minute details like the antenna and pitot tube, the plane was finished. A nicely weathered AVG Tomahawk.