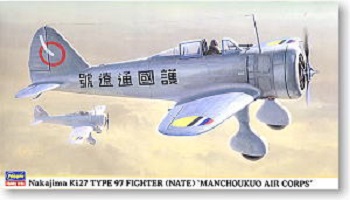
Nakajima Ki-27 Type 96 “Nate” in Manchuoko Service – Hasegawa
The Nakajima Ki-27, code named “Nate” by the US entered service in the mid 1930’s and saw extensive action in China. They were the primary fighter opposition to the famed AVG “Flying Tigers” before the US entry into WWII. Previous to that, it first saw action against Russian built I-16’s and I-15’s in the Chinese air force and was superior in all respects to its contemporaries in Asia.
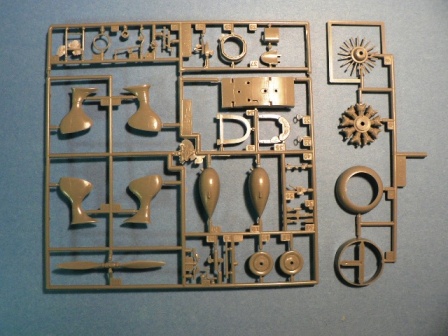
This Haseqawa kit is a reboxing of a mold from the mid ’70s, which was purchased from a company that went out of business – Mania. As you can see in the sprue shots below, its a simple kit but very well detailed, especially considering its age. It has finely recessed panel lines and lots of rivets – much in vogue back then.

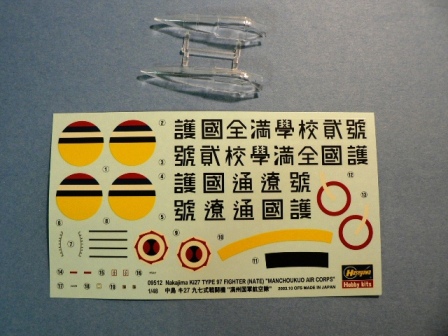
This new reboxing has decals for two aircrafts with the Manchuoko markings. Manchuoko being the Japanese name for a puppet state it set up in Manchuria, China. The Kanji characters indicate that these planes were gifts from a school and a local company. Two different style canopies are provided, even though only 1 is appropriate for Manchuoko service. The instruction even provides color & schemes for other previous boxings of the kit, but does not provide those decals.
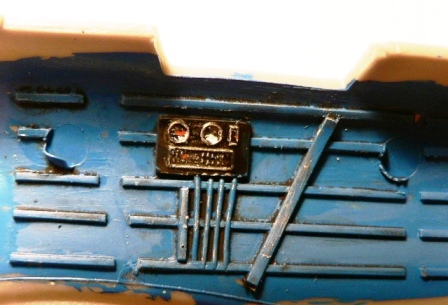
As usual, I started construction with the cockpit, nothing really exceptional to mention as its fairly well detailed. I did not spend too much time here nor add any special details – as once closed up very little can be seen. The only controversial area seems to be the cockpit color. The instructions indicate a blue color, but it seems to be rather hotly debated at J-aircraft.com. In either case, I did find a color picture of the airplane in blue, so I blue it is. I painted it a bit lighter in shade as the cockpit will be rather dark once closed up. I used my usual raw umber oil wash follow by drybrushing and a silver pencil to highlight the details. The panels had nice relief, so a rubbing with the sliver pencil was enough to show them off. 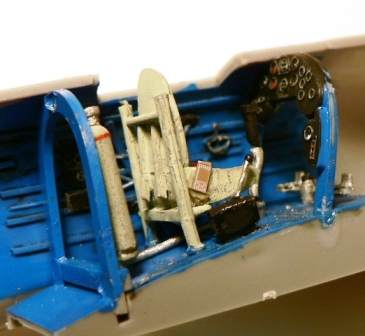
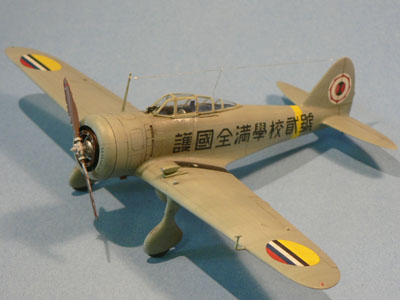
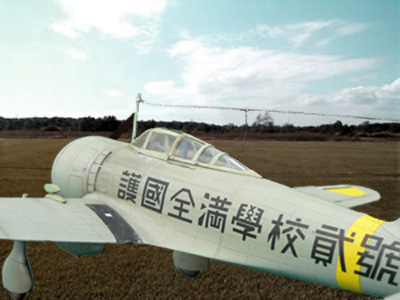
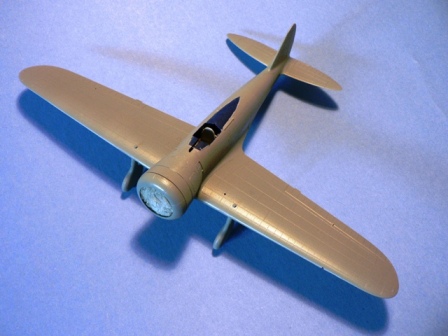
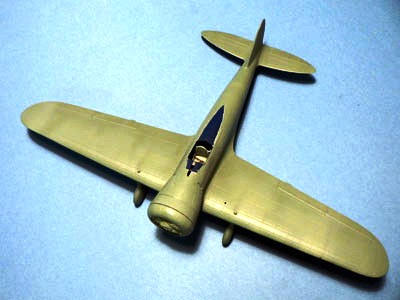
Once closed up, everything fit fairly well. Some filler will be needed especially between the wing and the fuselage area. First I coated the plane with Tamiya gray primer – the left photo below. Afterwards I gave the plane a mix of Gray-Green & HellBlau as called for in the instructions. Again, a rather unique combination of colors. I then lightened the mixture with some white and sprayed on a rather random pattern for weathering. A coat of future then went on to prepare it for wash and further weathering. At this point, the darker/lighter colors may look too stark, but after the wash and a flat coat, much of the effect is lost – so its important to dial up the contrast at this point.
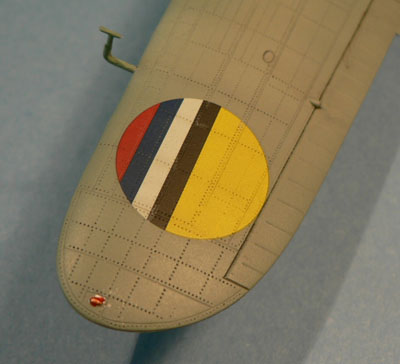
I applied my usual oil wash – raw sienna for most the plane and darkened with black for the control surfaces. The decals went on next followed by another wash to bring out more details. This kit has well done rivets throughout, and I use a light wash to bring that out, hopefully without over doing it. I made sure the decals were washed and weathered along with the rest of the plane at this point. I followed some exhaust stains on the bottom and some general oil stains at different hatches.
The canopy was then masked and painted. Once applied, you can hardly see in, so I’m definitely glad I didn’t spend too much time in the cockpit. A a silver pencil was used to create wear in high traffic areas and finally a PollyS flat coat was sprayed on to blend everything in. I think I got that used but not abused look that I was aiming for, and for the first time I felt in control of the airbrush instead of the other way around!
At this point, the antennas post, pitot tubes, etc were glued. Finally the attenna wire made from monofilagment wire was attached with white glue as insulators. The plane is done.