F18 Chippy Ho – Testors Metal display model
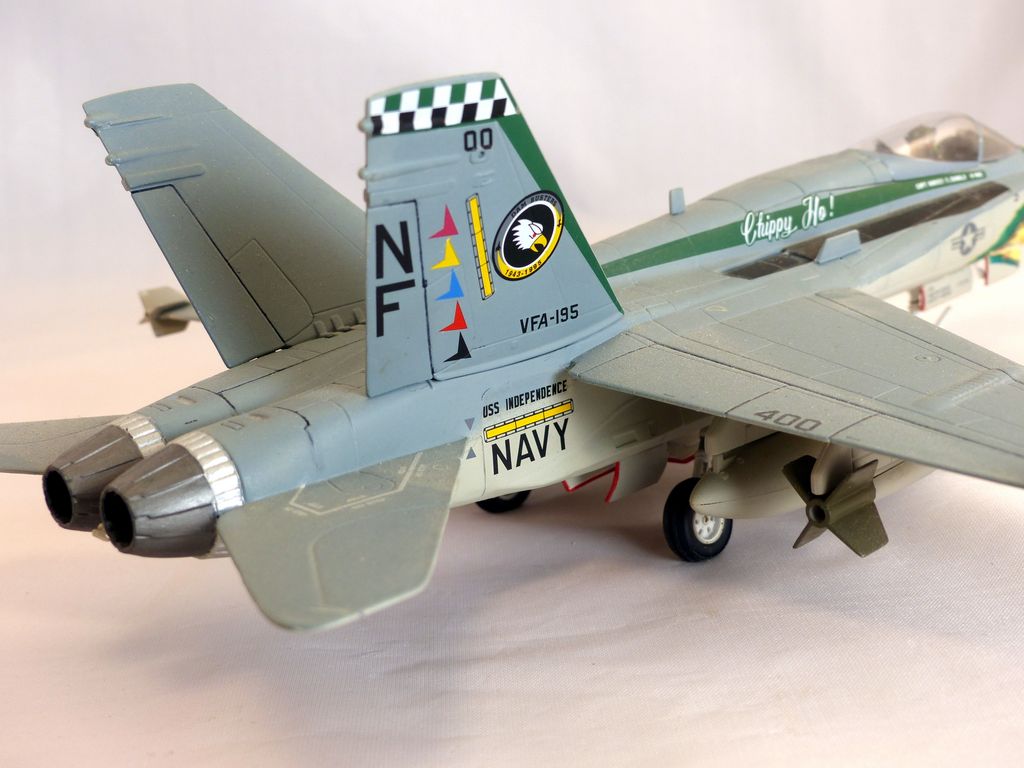
This F18 Hornet kit is unique in that its a metal kit, only the armaments and wheels are plastic. While not as detailed and authentic compare to styrene model, it makes into a sturdy office display. The scheme of this particular aircraft is the CAC’s bird “Chipp Ho” based on USS Independence.
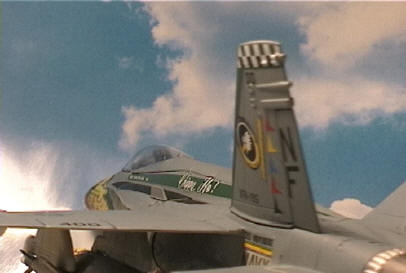
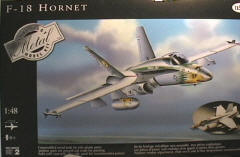
The Kit from Testors looks to be an unassembled edition of US Armor’s diecast “collectors” 1:48 Aircraft. Comparing the kit the some web site’s picture of the assembled plane indicates choices in ordinance and a more detailed decal sheet. The decal sheet itself allows you to build USS Indepences’s CAC’s bird “Chippy Ho” in this great “Eagle Nose” artwork. The sheet is fairly comprehensive with a good amount of stenciling.
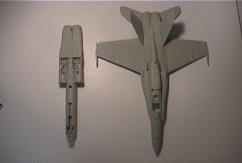
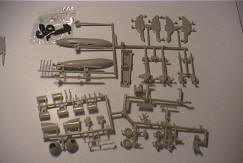
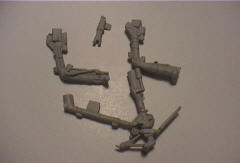
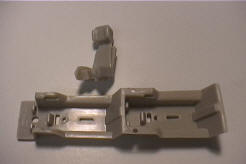
The main body consists of 2 metal halves with recessed panel lines, or some cases ‘trenches’ is perhaps more descriptive. The landing gear are also strong metal with surprising amount of details. The rest of the model consist of the clear spruc and one plastic spruce of ordinance. Most of the metal pieces are meant to be screwed together with provide screws.
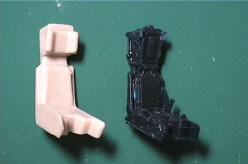
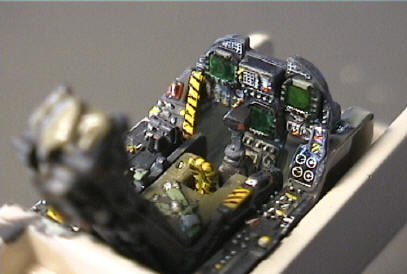
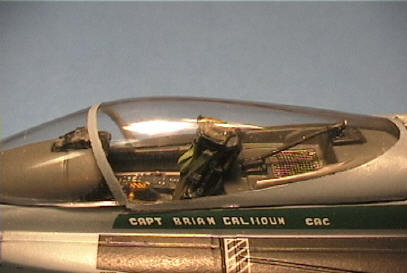
The cockpit is unfortunately devoid of any worthwhile details, as you can see from the floor tub. The kit’s front and side panels are smooth with decals to provide details for both. I decided to recycle an old Revell F18 Hornet’s seat and front instrument panel. I was also able to carve out the 2 side panels, thin them, and glue them onto the existing tub with CA cement.
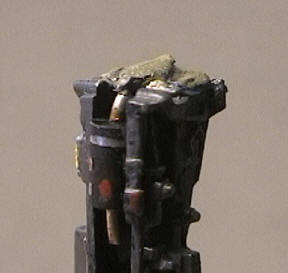
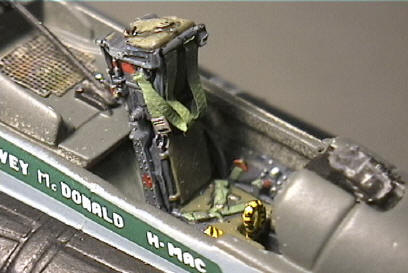
The seat was brush painted medium gray and then dry brushed with light gray and silver. A was of dark gray was added to give additional depth. The top seat belts and buckles were made from a Reheat set of buckles and fabric material. The lower seat belts were already molded into the seat cushion and painted to give depth. The rear of the seat was simply an empty trench, but once installed, the top would show. So I painted over a capacitor stripped from an odd circuit board – that’s the metal leads you see on top and bottom- and CA glued it in.
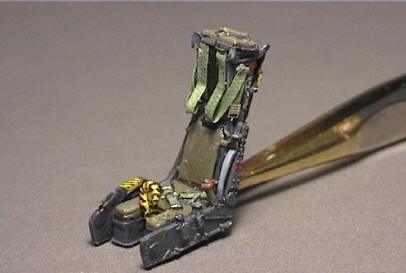
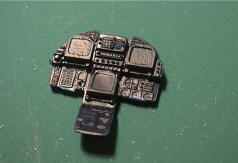
Once panels were painted gray and the details were picked out with light gray and sliver paint. The screens were painted with Tamiya clear green, and a photoetched piece were added for the canopy eject bar (yellow/black bar on the left side).
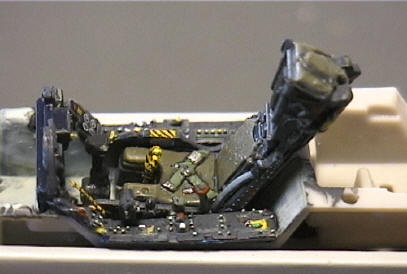
I then added a photoetched ‘webbing’ from an F117 kit for the storage bin cover behind the seat.
Once the cockpit was finished the rest of the kit was a fairly quick build. One troublesome spot of the line between the two halves, they don’t mate properly especially toward the back and large gap needs to filled with putty. There are three screw holes on the bottom which also needs to be covered with putty.
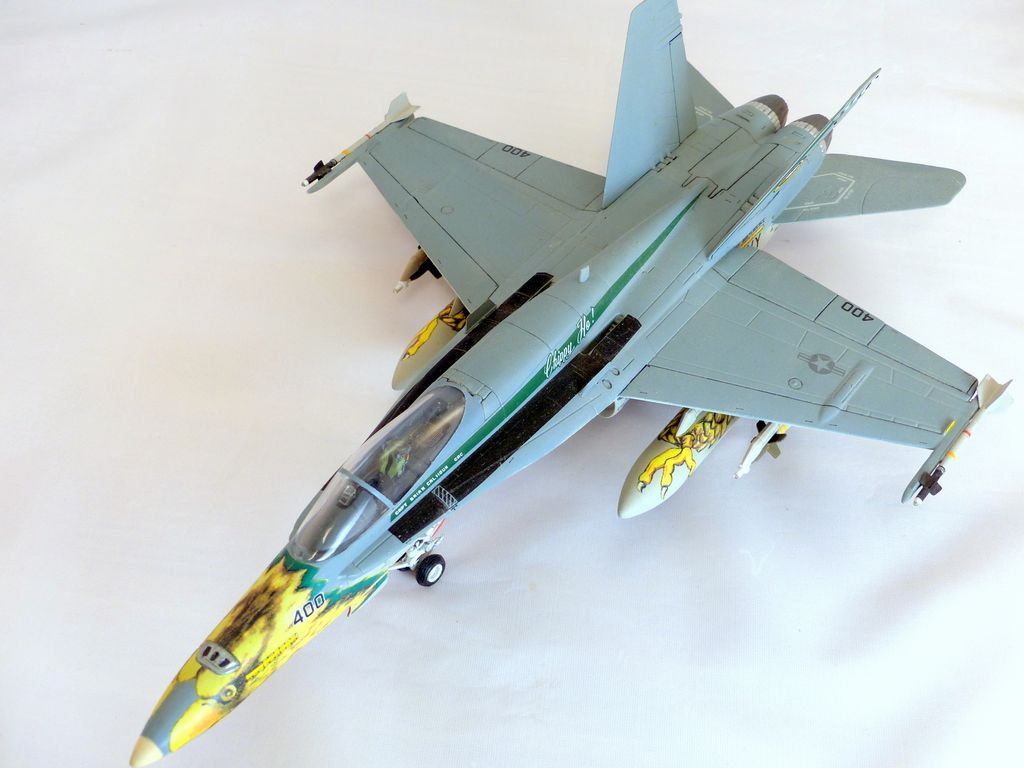
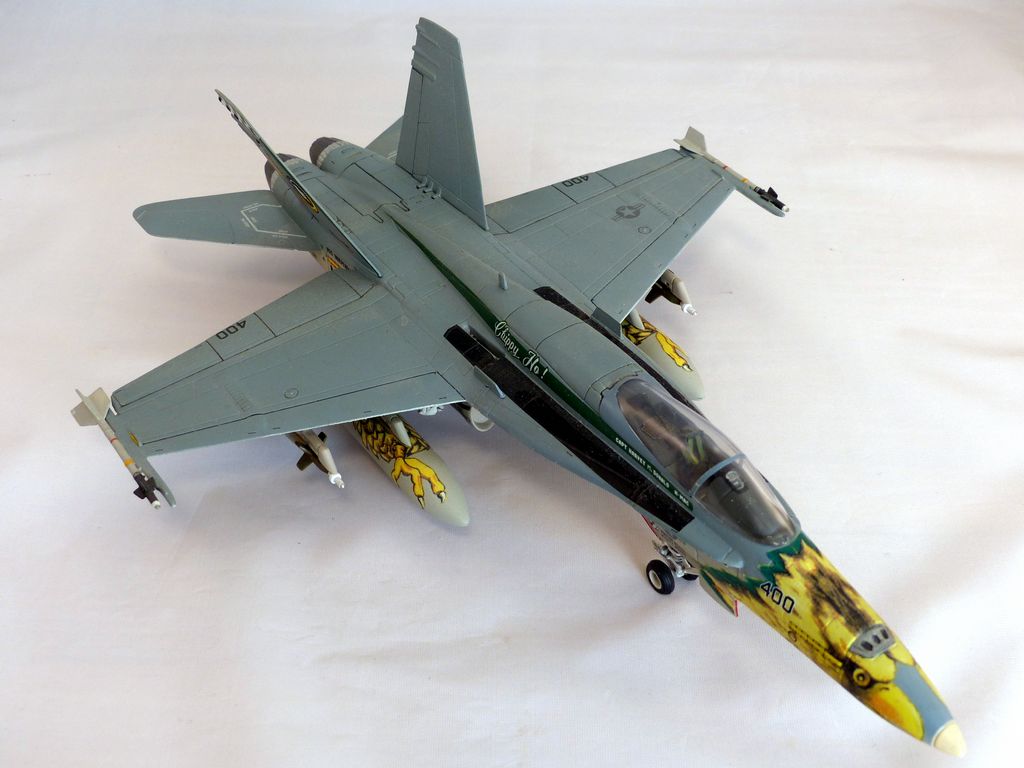
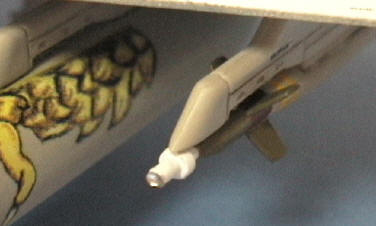
Since the number of parts for the the main body and wings were minimal, the other area that I spent some time on was the ordinance and decaling. I usually pay way too little attention to ordinance, but in this case I add MV lenses to the tip of guide missiles to represent where the laser or heat guidance would be. Stripes and also added with decals or hand painted. You can see the talons decals also on the drop tanks.

The rather complicated eagle nose art was next. As with all large decals, cutting it into smaller manageable pieces is the key. These large pieces required 3 coats of MicroSol to settle down properly. Besides the slight overprinting of yellow behind the green feathers, they were nicely printed. The rear tail decals were given as 2 large pieces with huge areas of clear, instead to trying to make that disappear properly, I choose to cut away most of the clear parts before application.
.