Mitsibushi A5M4K “Claude” – Classic Airframes
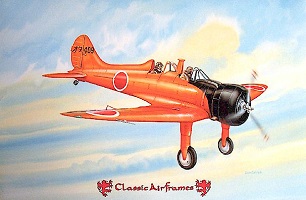
The Mitsibushi A5M4 was the model immediately preceding that of the the A6M Zeke series, more popularly know in the west as the “Zero”. Used in combat throught the 1930’s in China by the Japanese Navy, they faced off against Curtiss Hawk II’s. This particular version depicted here is the two seat trainer, A5M4-K, belonging to the Kasumiguara Kokutai in Omura. The kit also provides decals for a generic trainer that has an all orange paint scheme.
This is my first try at a limited run injection kit with lots of resin details.Hyperscale has a nice writeup of what comes with the box in its preview of this kit. Classic Airframes also has the single seat A5m4 fighter version of this plane, these two kits is almost identical except for the additional resin detail for the backseat the modifiation of the airframe.
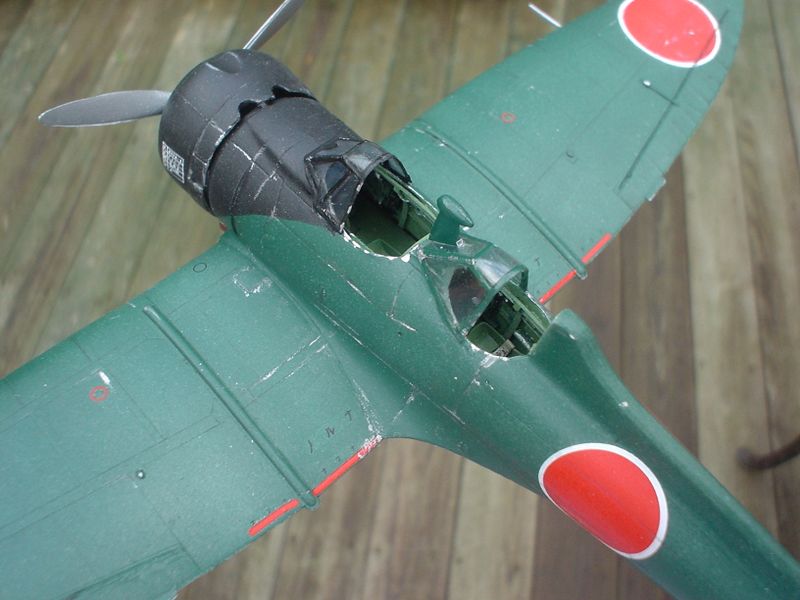
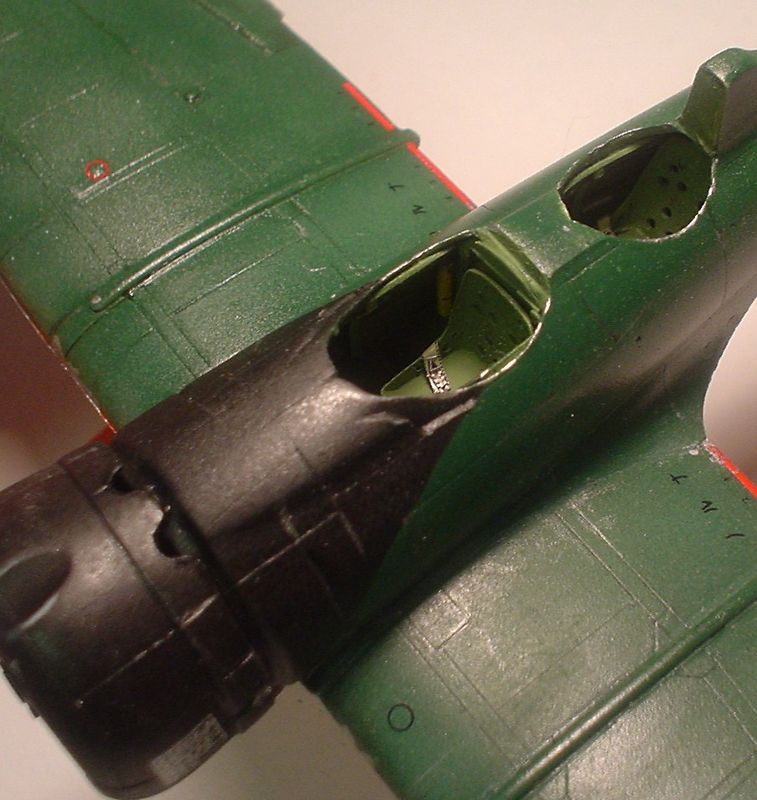
 The first area you will notice is to the resin interior which is meant to be completed as a single “tub” with sidewalls attached to the floor. This is then sandwiched by the two airframe sides. However, after removing copious amounts of plastic from the side walls and large amounts of resin, I still couldn’t make the tub fit properly. Luckily, I used masking tape to mockup the assembly and tested fitted. So I resorted to gluing the sidewall details to the airframe first, test fit and sand the floor multiple times, and then sandwiching the buildup floor into the airframe. Despite the fit problems, it does buildup into a nicely detailed cockpit.
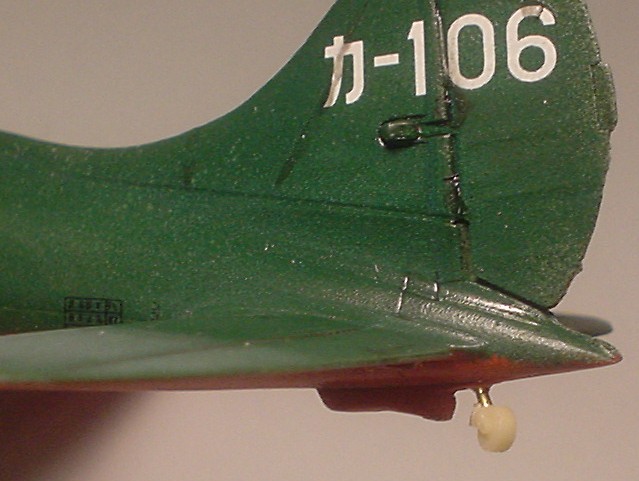
The second area that needs attention is the lack of locating pin or positioning tabs. Given the general fit problems, the missing locating pins is probally good as you probally will have to shave them off to get a good fit anyway. But missing and reinforcing tabs for hte wings or stablizer (instructions shows simple ‘butt joints’ to the airframe) seems to be much too weak of a joint. So I drilled holes and used solid brass tubes as reinforcements. The same technique was used in the resin tail wheel, where I replaced the decending support with the same brass tubing. This was a resin part that was broken out of the box. The picture above shows the piece installed but unpainted.
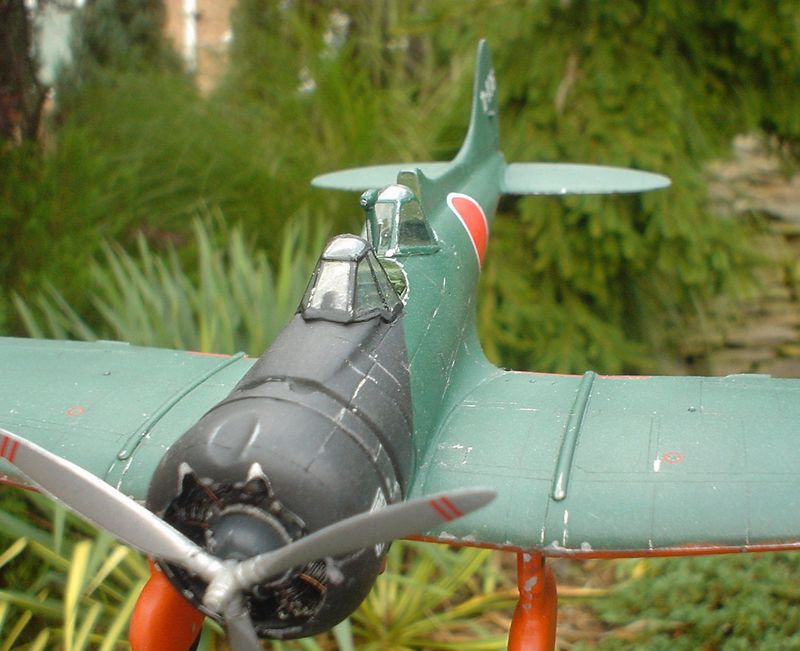
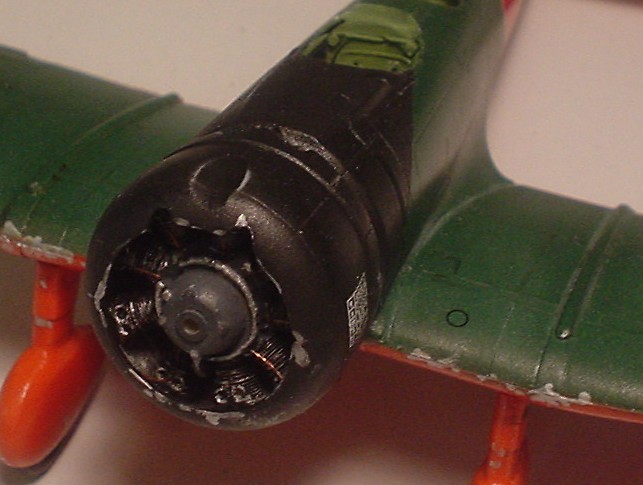
The next area of attention was a nicely done resin engine that just needed drybrushing and some rods. I didn’t go crazy with it as most of it is hidden once the cowl is put inplace. Note that significant thinning of the crowl and reduction in size of the cylinder heads are also needed to fit the assembly. Everything else when in fairly smoothly with lots more fitting, putty, and sanding. The plane was ready for painting. Two schemes were provited, an overall orange or green/orange. I’ve proceeded with the more subdue one, trying out some new techniques in fading the panels. The effect doesn’t really show up well in these photos as I was perhaps too conservative in applying the ‘faded’ coat. Applying a future coat before decaling lost much of the initial faded effect. Next time, I will be a bit braver.
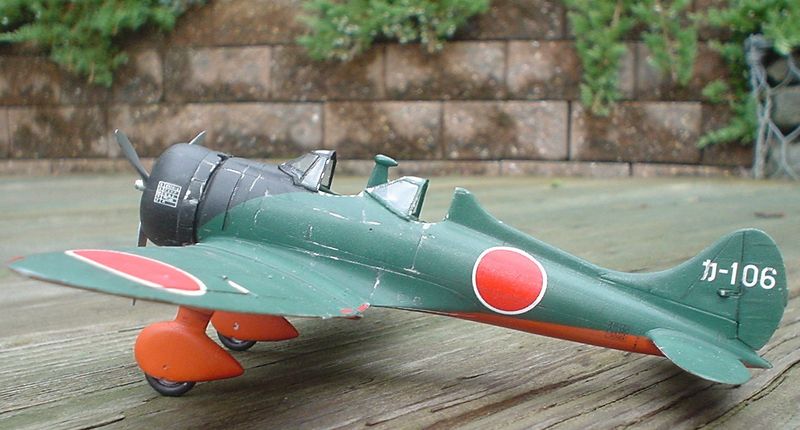
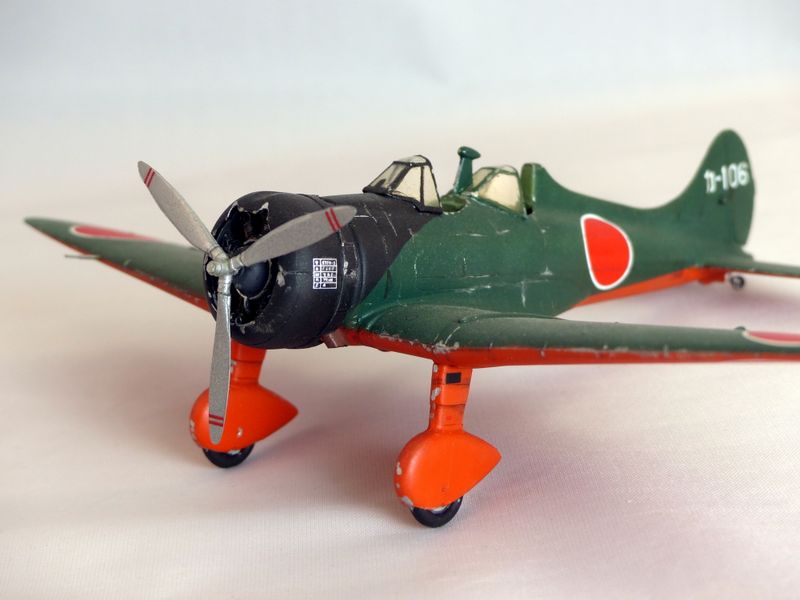
After the decals, which went on wonderfully, a Tamiya thinned “smoke” wash was used to deepen the panel lines, I finished with some paint chipping,. Not too excessive as this plane would have seen service in the mid to late 1930’s, before Japan’s resources were severely put to the test by the American forces. The last major hurdle were the windshields. These were my first vaccum form ones and one definitely needs to get accustom to their thin and flexible nature as compared to injection molded ones. They have to be cut out from their molded sheet and the 2nd windshield needs a cutout for the radio. Thankfully, they provided 2 of each as I needed them! Finally here’s the finished model. Quite a challenge to my modelling skills, but definitely worh the effort to create some of the lesser known planes that the big manufacturers will not be making anytime soon.